RECOMMENDED LABOUR TIME: 4.5 HOURS LUK PART NUMBER: 619308900
“Despite excellent reliability the Jazz II can present wear, so the chance of it arriving at an independent garage is highly likely.”
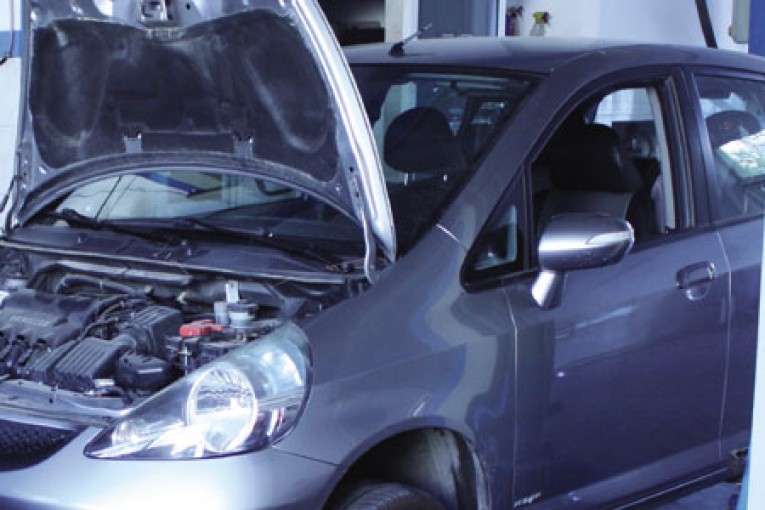
Now into its third generation, the Honda Jazz has been around since 1982. With various engine alternatives (including a hybrid option) this small city car is proving to be quite popular on UK roads. Despite excellent reliability it can present wear, especially due to the miles driven around the city, so the chance of this vehicle arriving at a UK independent garage is highly likely.
For this repair we used a two-post ramp, two long axle stands, an engine support and a transmission jack with cradle. You’ll also require a driven plate alignment tool. Before starting the repair, if the vehicle is installed with alloy wheels then ensure the wheel nut locking tool is available. Disconnect the battery cables and stow them carefully before removing the battery and battery tray.
Remove the air filter box
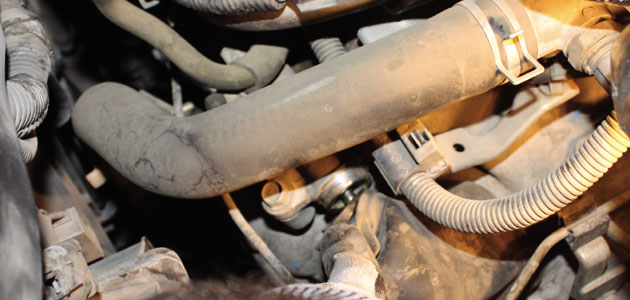
Disconnect the air sensor cable on the air filter box and remove the air filter box as a complete unit to expose the top of the gearbox. Carefully remove the two bolts that hold the slave cylinder in place and remove the bolt that holds the hydraulic clutch line. Take care not to tear the protective push rod boot.

The slave cylinder and pipe doesn’t require complete removal and can be stowed carefully, making sure the pipe is not bent in any way.

Disconnect the reverse light switch and unclip the two clips securing the cable and stow carefully. The gear linkage cables can now be removed. Remove the clip that secures the cables in the bracket and remove the clips that hold the cables onto the linkage arm on top of the gearbox. Pop off the cables and stow carefully without bending them. Disconnect the speed sensor and oxygen sensor and stow. Install the engine support. Remove the upper transmission mount bolt and finally remove the top transmission mount bracket.
The vehicle can now be raised and the engine under-tray can be removed. Drain the transmission oil. The next stage is to remove the drive shafts; this means disconnecting the ball joints and stabiliser links on both sides. Remove the drive shaft nut then, by suitable means, push the drive shafts inside. Using a 5mm Allen key and 14mm ring spanner release the ball joint pin and separate the stabiliser links from the stabiliser.

Remove the spring clips and castle nut and separate the lower arms from the knuckle. Then remove the cotter pin and nuts and separate the ball joints. Once this has been done remove the three bolts and heat cover and remove both drive shafts, taking care not to damage any seals from the gearbox.

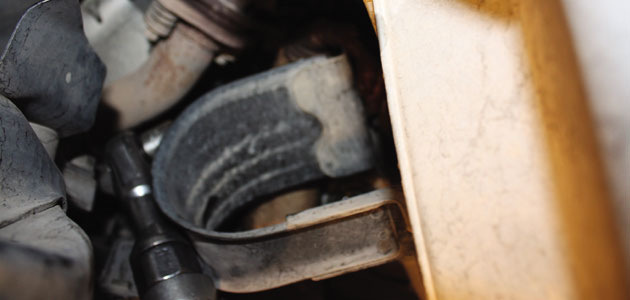
The sub frame will need to be removed next. The steering rack is attached to the sub frame but the rack can stay attached to the vehicle as you have no reason to remove completely. Remove the two sub frame stay bolts. Detach the rack from the sub frame and gearbox by removing the bolts and brackets. Finally, remove the three rear transmission mount bracket bolts.
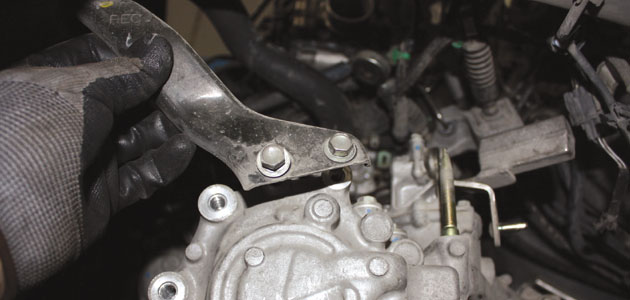
Support the sub frame using the long axle stands and remove the sub frame mounting bolts, before carefully lowering the sub frame. Support the gearbox using the transmission jack and remove the rear transmission mount and bracket. Remove the protection cover from the gearbox and then remove the front transmission mount.

The starter can remain in position for this vehicle. Remove the bell housing bolts and air cleaner bracket and carefully separate the gearbox from the engine and lower to the floor.

Remove the worn clutch, bearing and fork.
Check the flywheel for signs of heat stress or excessive wear. If the surface of the flywheel is to be skimmed, make sure that the same amount is taken from the clutch bolting surface. Failure to check and rectify these areas may cause the clutch to operate incorrectly. Clean the bell housing and remove any debris. If any oil leaks are visible then these must be repaired before refitting the gearbox.
Before fitting the new clutch disc, make sure the input shaft is clean and free from any wear. Put a small dab of high melting point grease (not a copper-based product) on the first motion shaft splines and make sure the new driven plate slides freely back and forth. This not only spreads the grease evenly but also makes sure you have the correct kit. Wipe away any excess grease off the shaft and driven plate hub. Using a universal alignment tool and checking the driven plate is the correct way round (note “Getriebe Seite” is German for “Gearbox Side”), the clutch can be bolted to the flywheel evenly and sequentially.
Make sure any dowels have not become dislodged or damaged and replace any that have. Install the gearbox and make sure the bolts are secured and all mountings are refitted before removing the supporting transmission jacks.
Refitting the remaining components is the reverse of removal.
For the latest in online support log on to www.repxpert.com.
MEET THEM AT MECHANEX
Schaeffler Automotive Aftermarket’s three quality brands – LuK, INA and FAG – will all be in attendance throughout 2015 at our MECHANEX trade shows.
Offering visitors the opportunity to talk to Schaeffler’s group of experienced experts who will be on hand to offer helpful demonstrations and workshop hints, attendees can also find out about the latest technologies that will soon be appearing in their workshop.
More details about our 2015 calendar of events can be found on the MECHANEX website.


