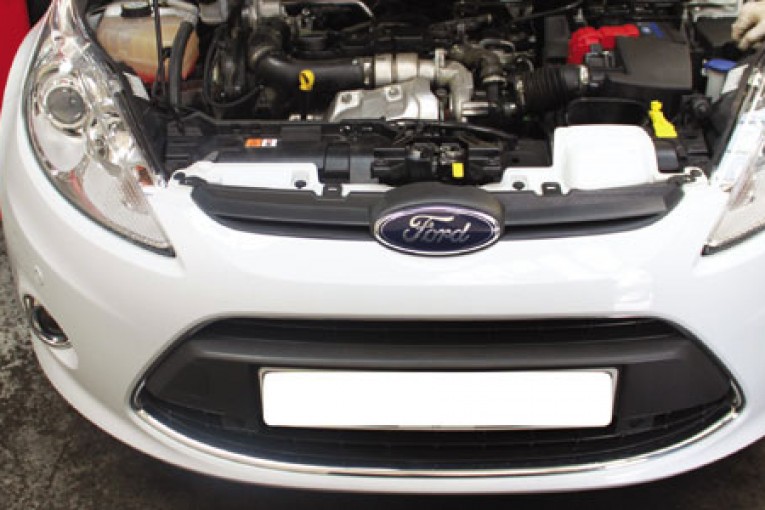
In this month’s ‘Clutch Clinic’, the experts at LuK offer some handy hints to help out any independent garages that may be faced with a clutch replacement on the Ford Fiesta 2011 1.4tdci.
The Ford Fiesta, one of the most popular small vehicles on the UK roads today, is available in many different engine options and body styles and has proved to be a popular choice of vehicle for all ranges of driver.
You will require two transmission jacks and an engine support beam to carry out the clutch replacement. We used a two-post ramp for the repair but a four-post ramp would also be suitable. If the vehicle has alloy wheels fitted then make sure that the locking key is available before starting the job.
Remove the battery
First disconnect both battery leads, as the battery will need to be removed completely. Stow the leads safely and securely out of the way. Unclip the DPF pressure sensor from the air filter box and stow securely out of the way.
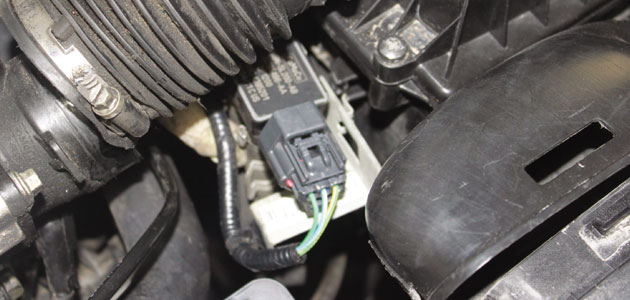
Remove the air filter housing as one complete unit.
Disconnect the MAF sensor, which is now accessible and stow securely out of the way. Remove the battery retaining plate and remove the battery. Unbolt the ECU that is attached to the battery housing and carefully stow the ECU.
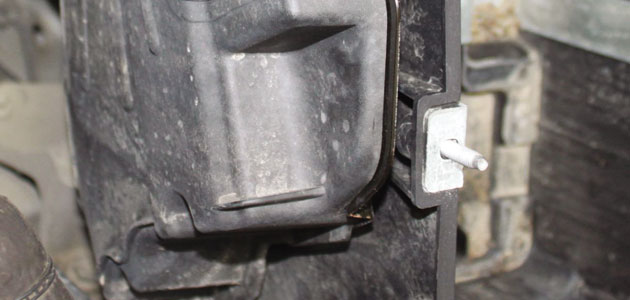
You will need to remove the battery housing to gain access to the top of the gearbox so you can remove a starter motor bolt, one top bell housing bolt and a wiring loom.
Remove the bolt for the earth lead that also holds in place the bracket for the slave cylinder pipe.
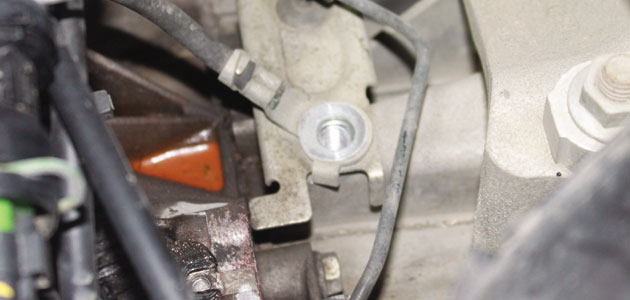
Stow the earth cable and hydraulic pipe, including the bracket safely. The wiring loom is cable-tied to a second bracket that is held in place by the starter motor and bell housing bolt. Break the cable tie from the bracket and remove the bolt. Safely stow the wiring loom so it is clear from being caught when refitting the bell housing.
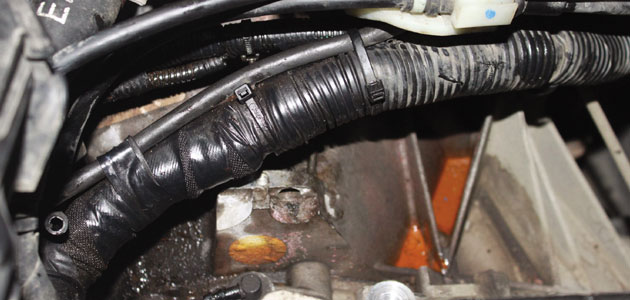
Support the engine with an engine support beam and remove the three top gearbox mount bolts and carefully raise the vehicle.
Remove the front wheels
With the vehicle now raised, drain the transmission oil and then remove both front wheels. The gear selection mechanism is located in a housing on the side of the gearbox; remove the plastic protection cover to expose the gear change cables.
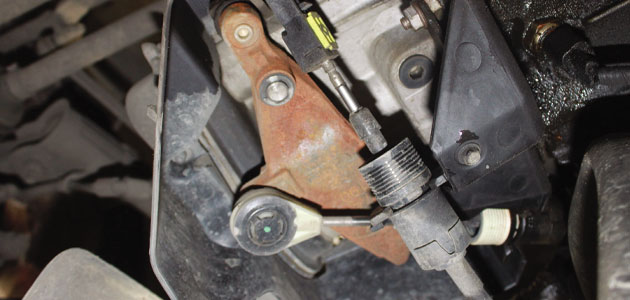
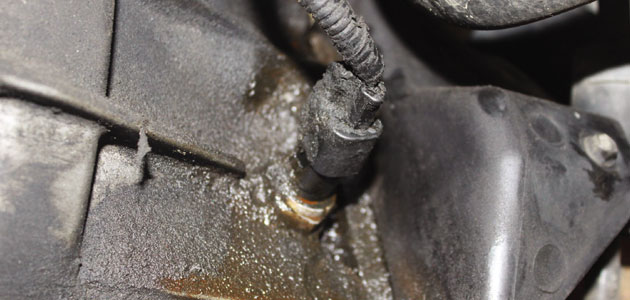
The cables are the “pop off” type so they can be easily disconnected, however don’t forget to stow them securely. Disconnect the reverse light switch.
Remove the bolts from the N/S and O/S bottom ball joints and disconnect both of them from position. Slacken the bolts holding the support bearing bracket and drive shaft.
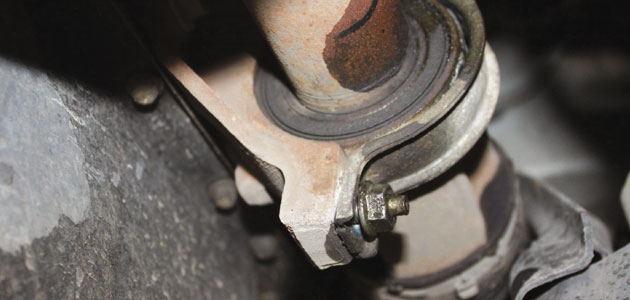
Remove the N/S drive shaft completely. The O/S drive shaft can just be removed from the gearbox side and supported safely out of the way. Support the gearbox with the transmission jack and remove the bottom gearbox mount. Remove the remaining bell housing bolts and separate the gearbox from the engine before carefully lowering to the floor. Remove the worn clutch and CSC.
Check the flywheel for signs of heat stress or excessive wear. If the surface of the flywheel is to be skimmed, make sure that the same amount is taken from the clutch bolting surface. Failure to check and rectify these areas may cause the clutch to operate incorrectly. Clean the bell housing and remove any debris. If any oil leaks are visible then these must be repaired before refitting the gearbox. Before fitting the new clutch disc make sure the input shaft is clean and free from any wear.
Put a small dab of high melting point grease (not a copper-based product) on the first motion shaft splines and make sure the new driven plate slides freely back and forth. This not only spreads the grease evenly but also makes sure you have the correct kit. Wipe away any excess grease off the shaft and driven plate hub. Using a universal alignment tool and checking the driven plate is the correct way round (note “Getriebe Seite” is German for “Gearbox Side”), the clutch can be bolted to the flywheel evenly and sequentially. Install the new slave cylinder without pumping the bearing as this will damage the component.
Make sure any dowels have not become dislodged or damaged and replace any that have. Install the gearbox and make sure the bolts are secured and all mountings are refitted before removing the supporting transmission jacks. Refitting the remaining components is the reverse of removal.


