
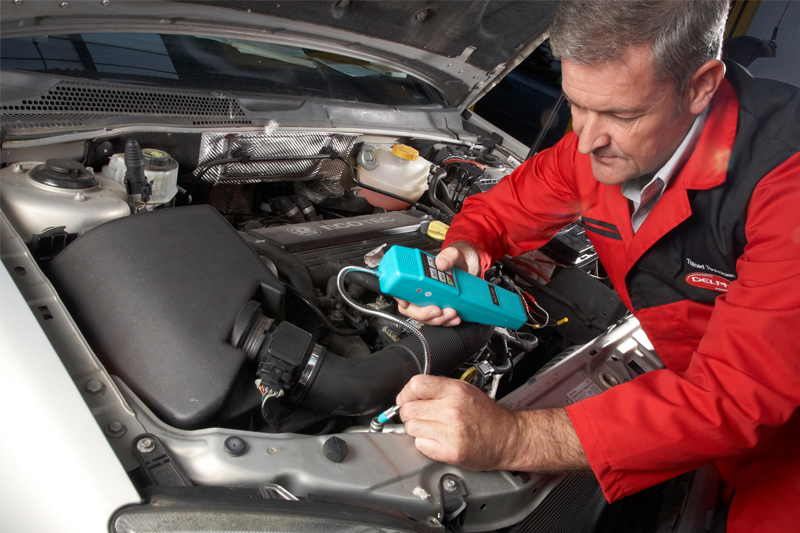
Delphi runs through some best practice tips for installing a new compressor.
With warmer days just round the corner, now is the time to be thinking air conditioning – even more so when you consider that it’s a market on the up. With the right tools, skills and know- how, as well as OE-quality parts, A/C servicing is a great opportunity to generate additional revenue and profit for your garage this summer. By following common fault tips from Delphi, you can be well on your way to achieving this.
When installing a new compressor, it’s important to make sure the compressor is oil balanced with the correct type and amount of lubricant. Most of the time this involves draining and measuring the oil from the failed compressor, followed by adding a specific volume of new oil to the replacement compressor. Always follow the instructions provided with the compressor or in the vehicle’s service manual to know how much oil and what viscosity to add.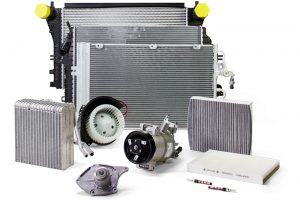
After adding the oil to the compressor, a good tip is to rotate the compressor clutch at least four turns prior to installation. This serves two purposes – rotating the clutch circulates oil through the compressor, which reduces the potential of compressor damage due to dry bearings. It also reduces initial torque when the clutch is first engaged. By design, some compressors have a high initial torque. If the torque is high when the compressor is engaged, it could cause the compressor drive belt to snap or cause the engine to stall.
Use the correct torque tools to attach refrigerant lines when installing compressor brackets and when securing the compressor to an engine. Excessive torque may strip threads in the aluminum compressor housing or mounting points. Under torque will result in a loose, damaged, or noisy compressor.
It is important to remember that when a compressor fails, it often contaminates the condenser and accumulator dehydrator. In this instance, it’s advisable to check the entire system for contamination and replace related components as required. A common cause of A/C failure is air and moisture in the system.
To operate at its best, an A/C system should contain less than 2% air by weight. For every 1% increase in the amount of air, there will be an equivalent reduction (approx. 1%) in cooling performance. More than 6% air can cause a noticeable decline in cooling performance, and worse still, potentially lead to the evaporator freezing-up.
Remember to properly evacuate the system to remove all moisture inside the system. If you don’t, when the system is recharged, the moisture and oil will react, making the oil acidic. This can cause corrosion and possibly premature failure of the system.
Always oil o-rings with mineral oil prior to assembling a refrigerant joint. Installing dry o-rings onto fittings may result in rolls and twists, causing improper seating or damage in the form of pinches, nicks and cuts. These conditions cause leaks.
Finally, always leave protective shipping caps in place until assembly of refrigerant lines. This helps to prevent loss of lubricant, contamination to the compressor, and absorption of moisture by PAG lubricant. Of course, any technician handling refrigerant must hold some form of accreditation to demonstrate their competence and understanding of legislation and health and safety law. This is mandatory. Delphi offers a two day A/C training programme including an overview of the components, how best to diagnose faults and an assessment for EC307/2008 F-Gas legislation.


