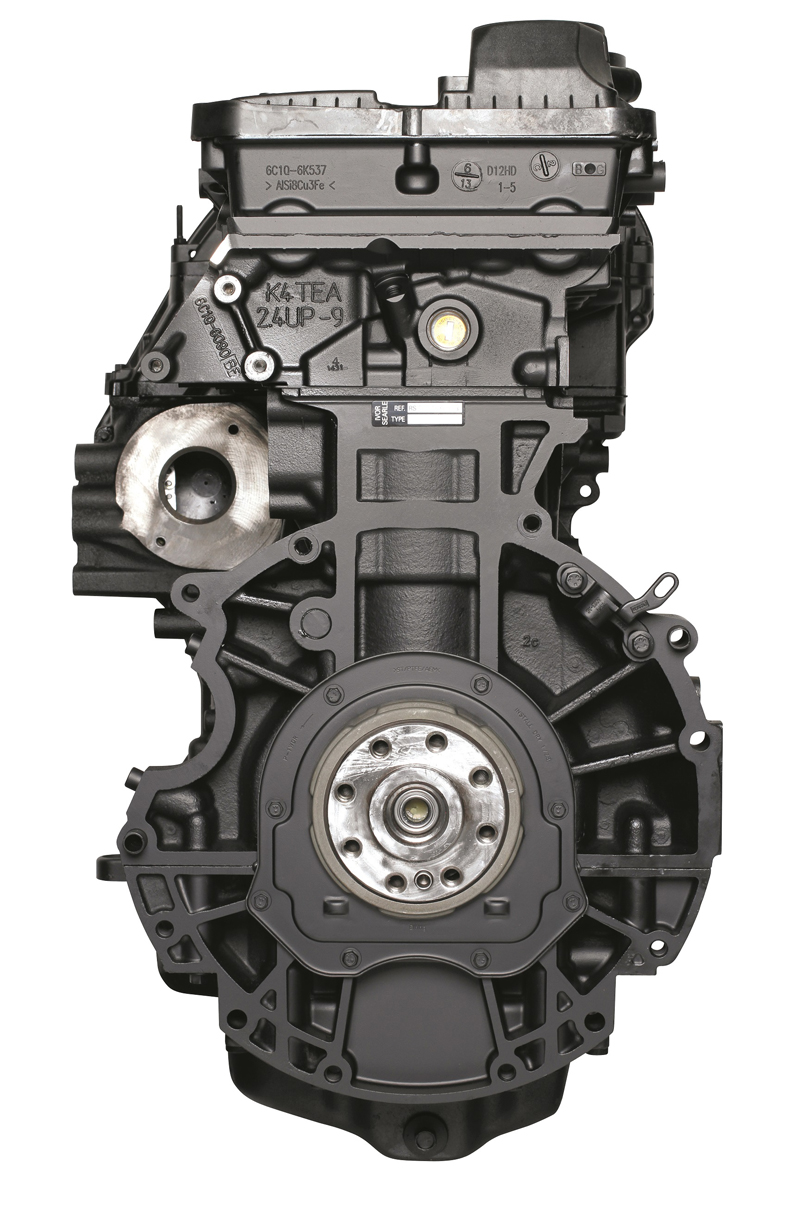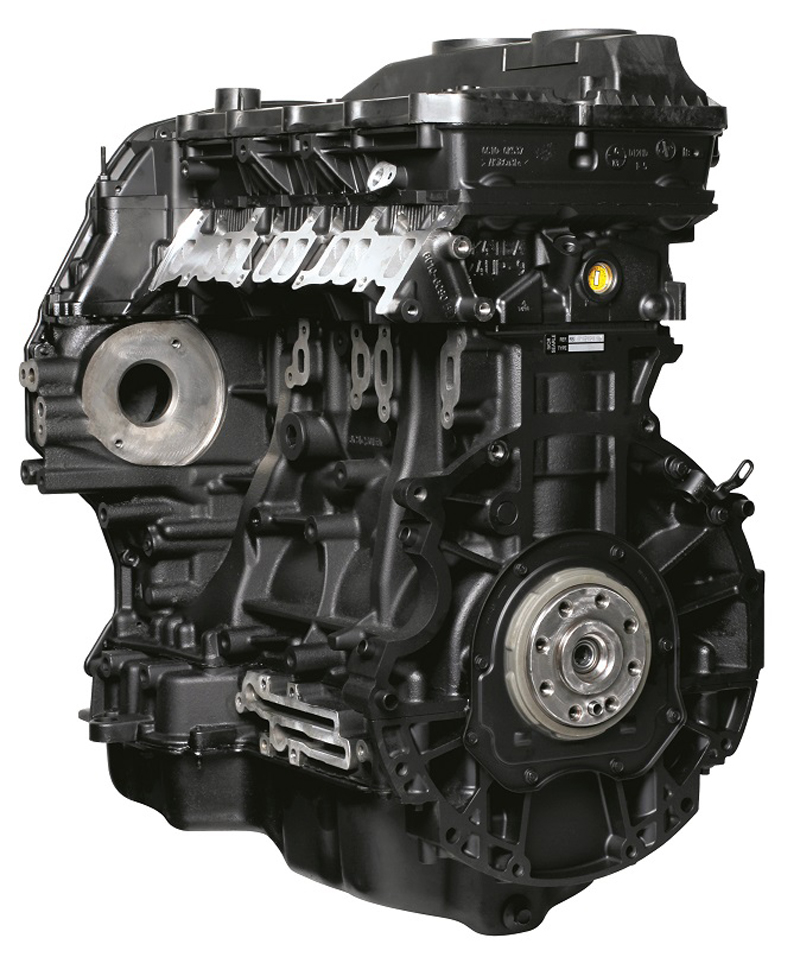
David Eszenyi, Commercial Director at engine remanufacturer Ivor Searle, provides some handy tips for installing a remanufactured replacement unit.
Pre-installation
Prior to fitting a replacement engine, it is important to ensure that the root cause of the original unit’s failure has been identified and, where appropriate, remedial action taken. Failure to do so could result in similar problems with the replacement engine, which will not be covered by the warranty provided with the remanufactured unit.
Before installation, always visually check that the replacement engine is compatible with the unit it is replacing. Furthermore, the remanufactured engine supplied may be fitted with temporary transport items that will need to be exchanged with the items from the original engine prior to fitting the new unit.
Typically, these include the sump pan, rocker or cam cover, injection pump and locking tools. Always read information and/or instruction labels that are supplied with the fitting gaskets, or fixed to the engine or packaging, as they are specific to the engine supplied. It is good practice that all ancillary parts should be thoroughly cleaned prior to refitting to the exchange unit.
Engine oil
Remanufactured engines are supplied without engine oil. So, before turning the engine, it is critical that the replacement unit is filled with oil that meets the original manufacturer’s specifications and filled to the correct level.
Cooling system
Before fitting the replacement reman engine, we recommend that the cooling system is thoroughly checked, cleaned and, if required, that system components are replaced.
Breather system
Where parts require transferring from the old engine to the new one, it is essential that the items incorporating crankcase breathers are thoroughly cleaned or replaced with new parts, including the rocker or cam covers. In addition, all rubber breather pipes should always be replaced, and any electronic or vacuum control valves should be checked for correct operation. If the breather system is blocked or restricted, the crankcase can become pressurised. As a result, the efficiency of the oil control rings and valve stem oil seals is reduced and problems with high oil consumption could occur.
Poor crankcase ventilation will also prevent the engine from disposing of impurities such as water vapour and acids, which are formed as a by-product of combustion. These will reduce the life expectancy of the lubricating oil, causing sludging and premature engine wear. The gasses that build up in a pressurised crankcase will attempt to ventilate wherever possible, usually via the dipstick, rocker or cam cover gaskets and engine oil seals.
Air intake manifold
This must be thoroughly cleaned and checked for cracks, corrosion and distortion. The intake manifold gasket must be fitted correctly; the securing nuts, bolts or studs must be tightened in the correct order and to the correct torque. Bolt and stud threads should be treated with a sealing compound to prevent oil or coolant leakage.
Many air intake manifolds are fitted with butterfly or other variable valves, and these should be checked for wear and serviceability before they are re-fitted. If the original engine failure resulted in engine debris entering the induction system, then it is essential that all traces of debris are removed to prevent this being sucked back into the replacement engine, thus causing further damage.
Diesel fuel system
If the replacement engine is supplied without fuel injection equipment, such as the fuel pump, injectors, distribution rail and associated pipework, it is strongly recommended that the fuel pump and injectors are tested by a specialist prior to re- fitting. All pressure sensors should also be checked for operation. Care should also be taken that all fuel pipes and other components of the diesel injection system are meticulously clean, as any contamination could result in serious engine damage.
Starting the engine
Always check that the oil and coolant levels are correct before starting the engine. It is also advisable to disable the fuel or ignition systems and turn the engine via the starter motor until the oil pressure indicator light goes out.
After running the engine, check the oil and temperature gauges. If there is low oil pressure, or the engine temperature is excessive, stop the engine immediately and check for possible causes. The new engine must not be left idling for prolonged periods. Such early life operation will create cylinder bore glazing and consequently excessive oil consumption. At the end of the test drive, ensure that the oil pressure and coolant temperatures are still at the correct levels and check for oil, water and fuel leaks. Finally, always stress to customers the necessity for an engine oil service and inspection after the first 500 miles.


