STEP 1
Raise the vehicle up on a two-post lift and position Absolute Alignment’s wheel alignment stands and low-friction turn plates under all four wheels.
STEP 2
Following the on-screen instructions, lower the vehicle onto the alignment stands and remove the turn plate pins. Then lock the brakes with the pedal clamp. Bounce the vehicle to ensure it has returned to normal ride height.
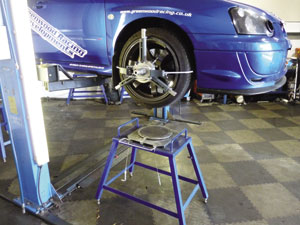
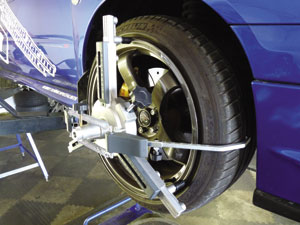
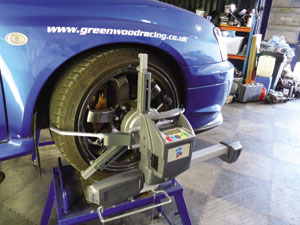
STEP 3
Attach the wheel clamps to all four wheels, ensuring a good fit on the wheel rim, and then attach the four Bluetooth wheel alignment heads.
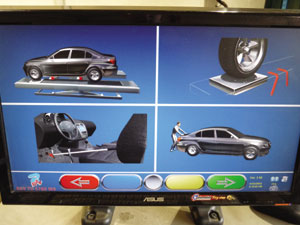
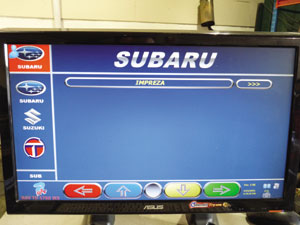
STEP 4
Select the vehicle make/model from the wheel aligner data bank. This gives you the manufacturer’s full wheel alignment specs and target data.
STEP 5
Straighten the steering wheel and level the Bluetooth alignment heads. If a low spoiler is detected the aligner will automatically walk you through a low spoiler procedure before continuing.

STEP 6
Turn the steering wheel 10˚ to the left and then the right, allowing the wheel aligner to record the caster on the vehicle. The aligner display will tell you when to clamp the steering wheel straight ahead with the steering wheel clamp supplied.
STEP 7
You should now have your vehicle’s wheel alignment data live on the screen via the Bluetooth heads. This allows you to show the customer any faults or save the “before” measurements, ready to be printed out at the end of the job.
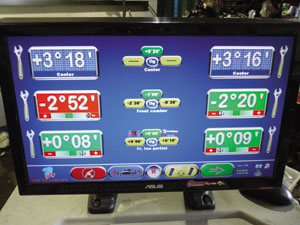
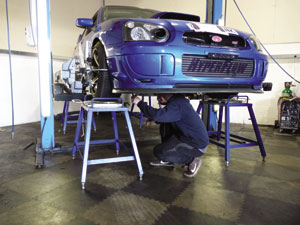
STEP 8
Adjust all the out-of-specification angles into the green segment on the wheel alignment screen to return the vehicle to correct manufacturer tolerance.
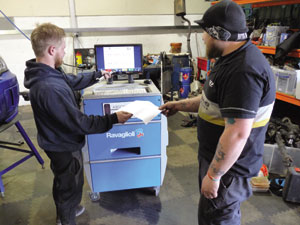
STEP 9
Save the information to the aligner for future reference. Print a full-colour report sheet for the customer showing manufacturer specifications and the “before” and “after” figures. This will help you to show your customer what remedial work has been done.