
Filter specialist Mann-Filter provides PMM readers with some expert guidance on changing the oil filter.
‘‘Good lubrication means a happy engine” even to the latest examples of modern engine technology. However, good lubrication requires not only the right oil in sufficient quantities, but also effective filtration of the lubricant.
Oil filter changes require care to ensure that the filter is fitted correctly and is in working order. If a defect goes unnoticed, leaks and increased wear may occur, leading to permanent engine damage. Therefore, it is important to carry out a few checks prior to installation. We asked Mann-Filter to put together the most important tips for installing oil filters.
- Select. Ensure that the filter is appropriate for its intended application. With similar applications and engines sometimes using a different filter part number due to an unnoticed specification change, fitting an incorrect filter can easily occur. You can remove doubts quickly with just a click on the online catalogue found on the QR code below, or by using a trusted supplier. Using the right filter prevents malfunctions, ensures sufficient oil supply and helps the oil pressure to build up quickly after engine start-up. Increased wear, damage to the engine and leaks caused by incompatible seal shapes and sizes can be avoided, especially if the filter has different seals for different filter housings.
- Check. The filter should be checked before installation to ensure that it is sound and intact. If it was damaged during transport, this damage may cause leaks, stop the filter from functioning correctly or lead to malfunctions or increased wear on the filter.
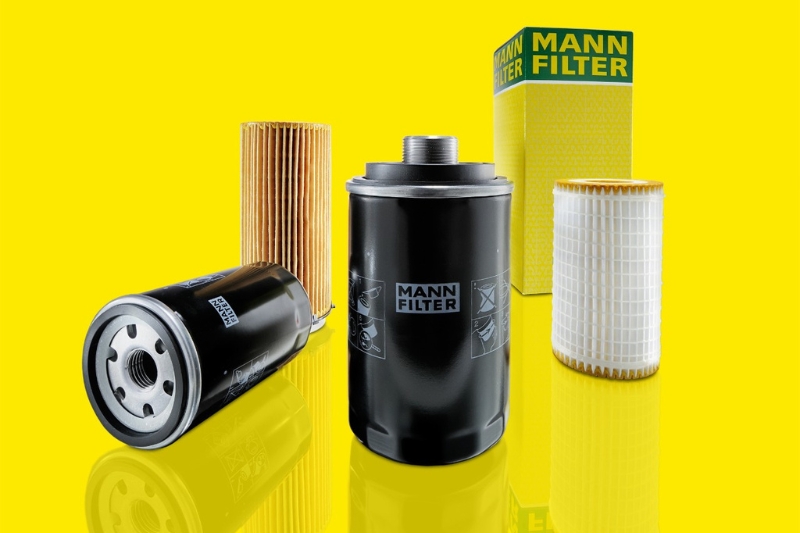
For spin-on filters, check for dents or surface issue on the canister. Even a small dent can cause pressure build up inside the filter causing internal damage or cause premature failure of the canister and catastrophic leakage.
For filter inserts, check filter pleats are not damaged or the element has not been deformed or crushed.
- Clean. A clean working environment makes all the difference when changing filters.
For spin-on filters, the sealing surface on the engine block and/or filter head must be cleaned before the new spin-on filter is installed. Cleaning prevents leaks at the sealing surface and loss of oil.
For filter elements, this is particularly important with exposed filter media or when the filter housing is open and contaminant ingress is possible.
- Lubricate. It is also important to lubricate the seal of the filter before installing. Lack of seal lubrication makes uninstalling the filter more difficult and time-consuming at the next service. In addition, tightening the new filter can result in a “dry” seal with a high adhesion factor and risk damage, causing leaks.
- Tighten (spin-on filters). Pay attention when tightening a spin-on filter. If you resort to using a belt wrench, this can damage the canister, for example by creating dents that may cause tears to develop due to the pulsations of the lubricant. To avoid this, it is very important to follow the individual steps in the installation instructions printed on the spin-on filter. As stated in the installation instructions, the spin-on filter should always be tightened by hand.
- Install (filter elements). Filter elements must be very carefully installed to ensure that they are positioned correctly in the housing or housing cover. During installation, observe any directional labels on the filter (i.e. ‘top’ or ‘bottom’) as this may affect the oil flow or draining of oil back to the sump. Any instructions in/on the filter box should also be followed (some filter elements ‘click’ into the housing cover rather than into the housing and this can cause poor or incorrect fitment).
Technicians fit oil and oil filters daily and are the hands-on experts, but just refreshing the basics detailed above may help prevent any unintentional mishaps and damage to reputation and vehicles.


