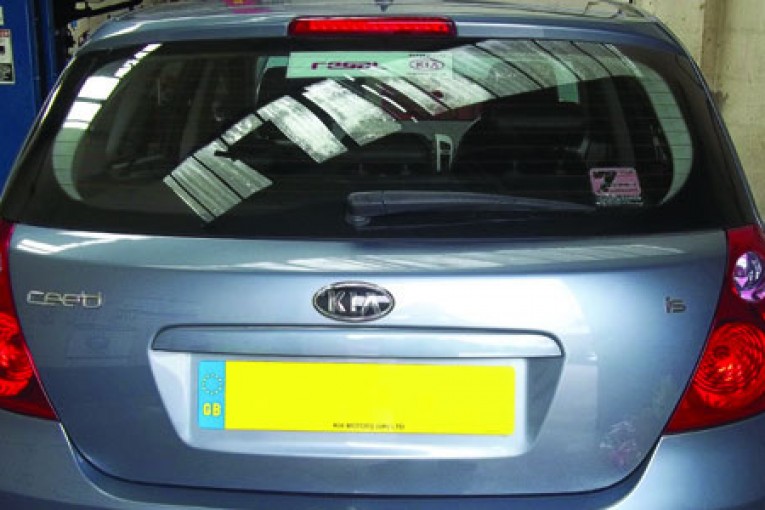
The Kia Cee`d is a small family hatchback with various engine and body style options available to choose from. Launched in 2006, it has become increasingly popular on UK roads so these handy hints will be of great use to any independent garage looking to undertake the repair.
In this example we used a two-post ramp, an engine support beam, two long axle stands and one transmission jack. The vehicle may also be fitted with alloy wheels so make sure the locking tool is available before starting the repair.
Remove the air filter housing
Remove the engine cover and disconnect the battery cables. Disconnect the MAF sensor switch and ECU cables and stow carefully. Remove the air filter housing and ECU as one complete unit. Disconnect the speed sensor and reverse light plugs and stow safely out of the way.
Remove the locking pins holding the gear change cables in place (pictured below) and carefully pop off the gear change cables and stow.
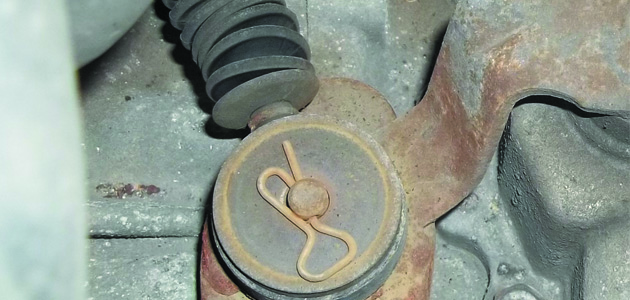
Remove two bolts from the shift linkage bracket, enabling you to remove as a complete unit from the gearbox. Unbolt the battery earth cable from the top of the gearbox (pictured below) and stow.

Install the engine support beam and remove the two accessible starter motor bolts, one of which holds a bracket for the wiring loom. Remove the bolts from the top gearbox mount, raise the vehicle and remove the nearside front wheel and plastic wheel arch lining. Drain the gearbox oil.
Remove the under-tray and then the turbo charger pipe, which is secured by two brackets on the sump.
In this repair we avoided removing the sub-frame completely. Support the sub-frame with two long axle stands. Unbolt and remove the four bolts securing the steering rack in place. Disconnect the exhaust support bracket from the sub frame (pictured below).

Remove the two front sub-frame bolts completely and slacken the rear sub-frame nut and bolts just enough so the front of the sub-frame can be lowered on the transmission jacks. Remove the nearside ball joint bolts and disconnect from its position and remove the drive shaft.
Remove the front and rear gearbox mounts. Remove the bracket that secures the hydraulic pipe to the gearbox (pictured below)

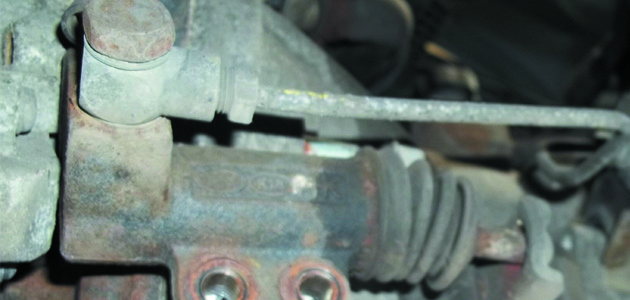
Then remove the two bolts that hold the external slave cylinder in position (pictured below) and carefully stow away from the working area.
Remove the clutch
Support the gearbox with the transmission jack. Remove the bottom starter motor bolt and three bottom bell housing bolts from the rear of the gearbox; one bell housing bolt is hidden behind a plastic cover (pictured below).

Remove the remaining bell housing bolts from the front and carefully separate the gearbox from the engine. You should have enough clearance inside the wheel arch to position the gearbox inside and support using the transmission jack safely. Remove the clutch and release bearing.
Check the bell housing for any debris and oil contamination and rectify before refitting the gearbox. The release bearing should always be changed during a clutch replacement; the release arm should be checked for smooth operation and for wear on the ball pivot. Check the flywheel for signs of heat stress such as hair line fractures or cracks; the surface of the flywheel should be checked to make sure it is within manufacturers’ wear tolerance.
If the surface of the flywheel is to be skimmed, make sure that the same amount is taken from the clutch bolting surface. Failure to check and rectify these areas may cause the clutch to operate incorrectly.
Before fitting the new clutch disc make sure the input shaft is clean and free from any wear, smear a little high melting point grease on the splines then slide the new clutch plate up and down the splines a couple of times, remove the plate and wipe any excess grease off.
Refitting the gearbox is the reversal of removal, remembering to refill the gearbox oil to the correct level when the gearbox is refitted.
Check out the latest in online support from Schaeffler Automotive Aftermarket (UK) by visiting www.repxpert.com


