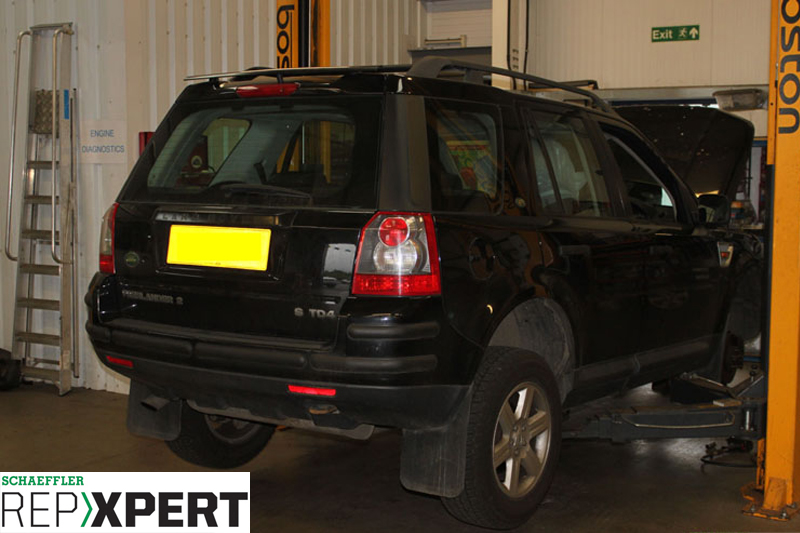
Schaeffler REPXPERT Alistair Mason has been busy this month, as he also replaced the timing belt and water pump on a Land Rover Freelander 2, which was fitted with a 2.2 TD4 engine, and had covered more than 124,000 miles.
The 2.2 common rail turbo diesel Ford Duratorq was co-developed alongside the Peugeot/Citroën PSA group. Car manufacturers that use this engine include Citroën, Fiat, Ford, Jaguar, Lancia, Land Rover, Mitsubishi and Peugeot. More than 300,000 vehicles in the UK are fitted with this type of engine.
On this occasion, the engine was identified as an ‘interference engine’, so in the event of timing belt failure, consequential engine damage is likely. It is important to install the new timing belt system at ambient room temperature and to always turn the engine in the normal direction of rotation, unless otherwise advised by the OEM installation instructions. Recommended torque values should be used and all the tensioners and pulleys should be replaced at the same time as the timing belt. (see below).
Procedure step-by-step
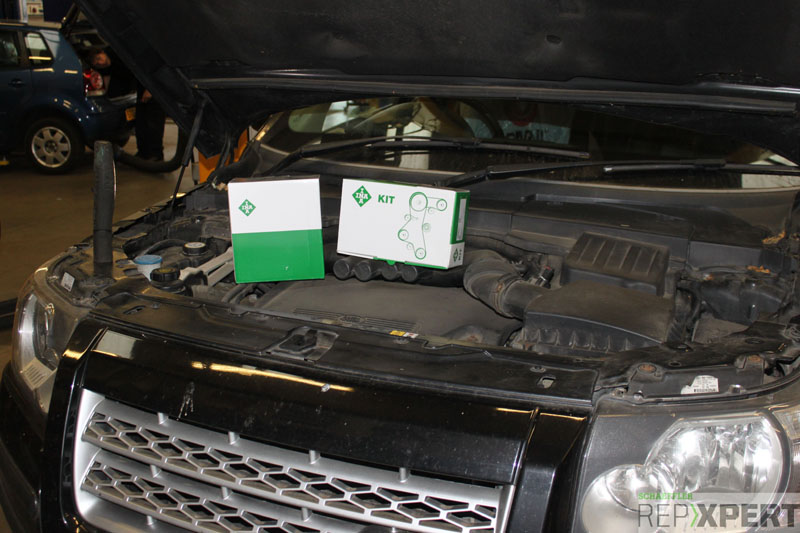
A two-post ramp, locking pin for the crankshaft and locking pins for the camshaft are required for this repair. In addition, before starting the repair, it is advised to obtain the locking wheel bolt tool and the radio code.
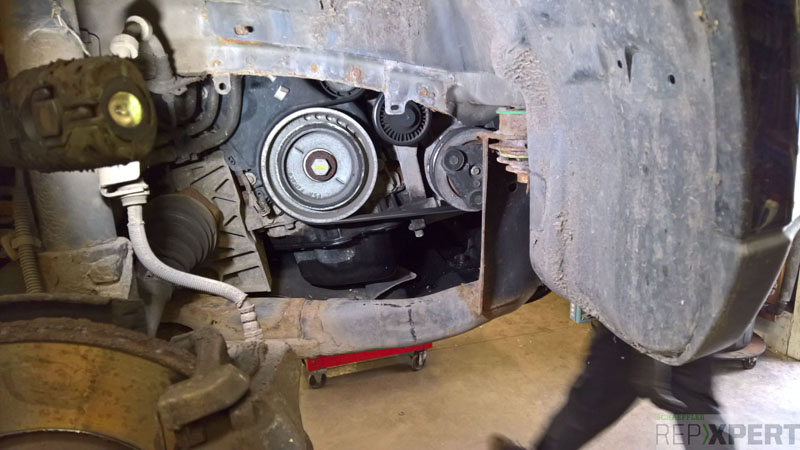
With the vehicle placed on the ramp, open the bonnet and raise the ramp to waist height. Remove the O/S/F wheel and wheel arch liner (see below) and the engine undershield. At this point, remove the auxiliary drive belt and inspect for any wear – it is always advisable to replace the auxiliary belt when replacing the timing belt. Check the operation of the one-way clutch on the alternators – which is called an over-running alternator pulley (OAP) – as this can seize. Also check the condition of the tensioner
and idler. Next, disconnect the air intake pipe from the turbo, lower the ramp, remove the engine cover and disconnect the intermediate top air intake pipe/baffle unit (see below).
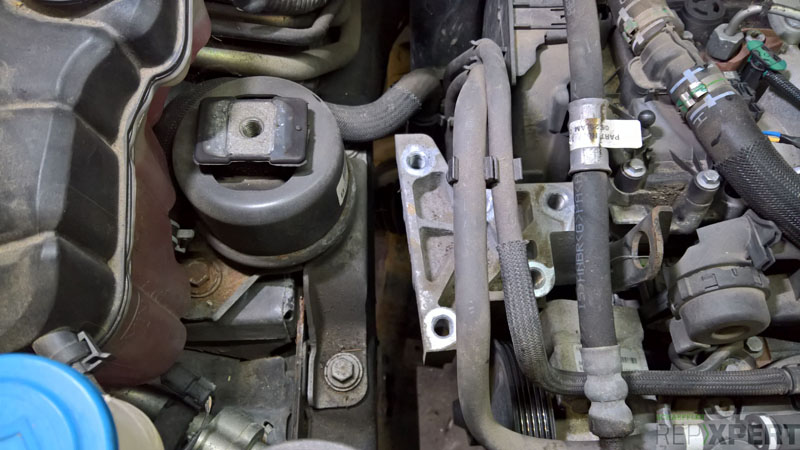
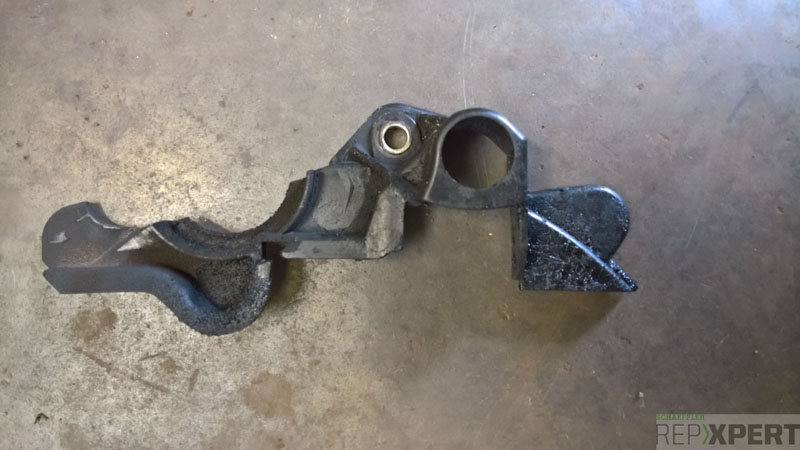
Then remove the air filter assembly, coolant expansion tank, top engine torque arm and mounting (see below). Remove the air intake hose that runs down the back of the engine to the turbo by unclipping the power steering pipes, then removing the small retaining bolt at the top of the hose. Take off the starter motor and plastic plate (see below), lock the flywheel using the ring gear, then slacken and remove the crankshaft pulley and timing sensor ring. The pulley bolt can be refitted and used to rotate the engine as required.

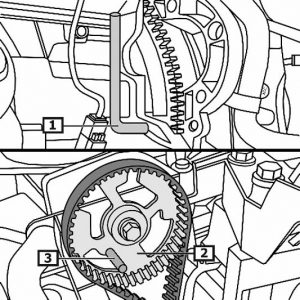
Next, disconnect the crankshaft speed and position sensor multi-plug, then the wiring loom. Unscrew the four bolts from the lower timing belt cover, remove the lower timing belt cover, then unclip and remove the upper timing belt cover. Rotate the engine in a clockwise direction until the cambelt timing pin holes align (see left).
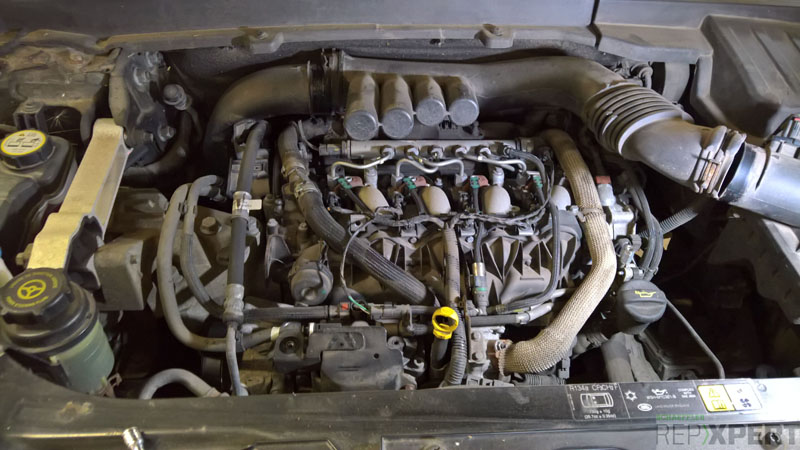
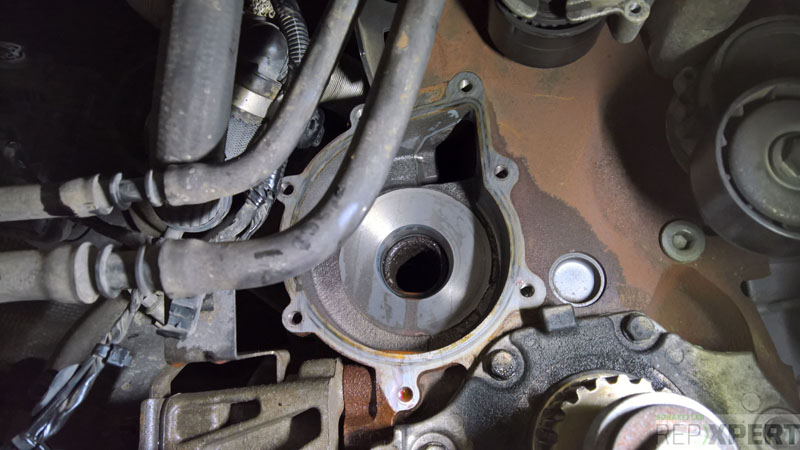
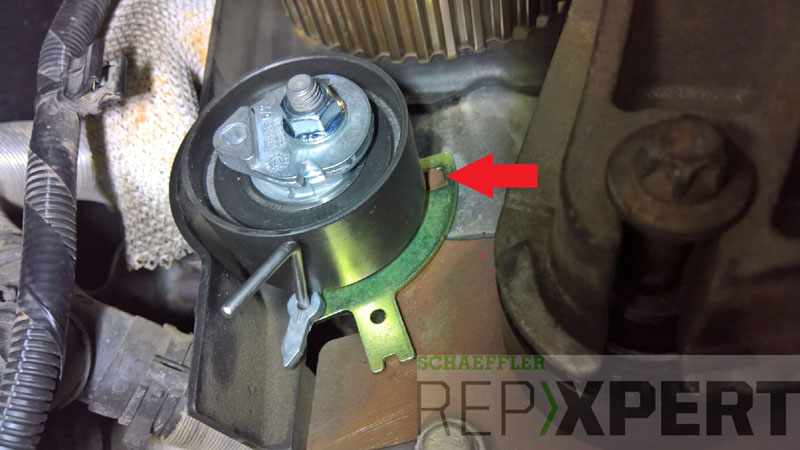
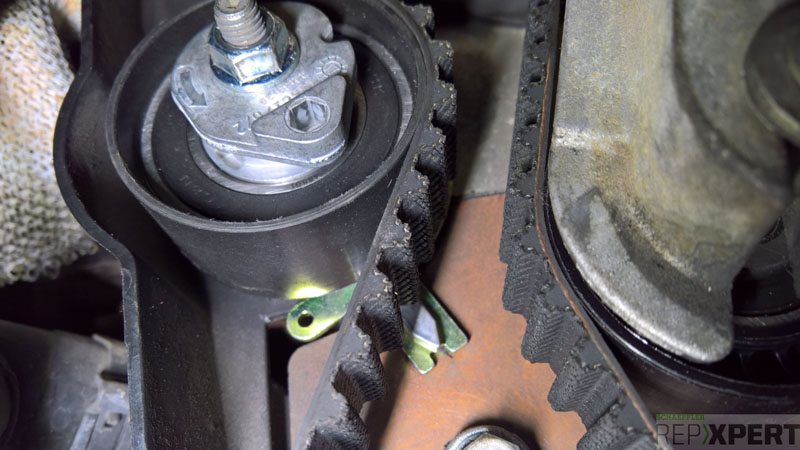
Subsequently, lock the flywheel and camshaft with locking pins one and three. Next, slacken the tensioner, removing the tension from the timing belt so it can be disconnected. Detach and replace the timing belt tensioner, tensioner stud, idler pulley and bolt, before draining the coolant and removing the water pump (see below). Clean the mating face, then fit the new coolant pump and gasket – tighten to the manufacturer’s specification.
Ensure the timing belt tensioner is located correctly on the location dowel (see below). Fit the new timing belt in a clockwise direction, starting at the camshaft. Once installed, adjust the tensioner so that the pointer is just to the left of the notch on the base plate. Now tighten the tensioner, remove the camshaft and crankshaft locking pins, and fully rotate the engine 10 times. After the engine has been fully rotated, refit the camshaft and crankshaft locking pins, setting the tensioner to the start position, with the pointer in the centre of the notch on the base plate (see below). Rotate the engine two more revolutions, checking the tensioner pointer is still in the start position.
With the timing belt now fitted and tensioned correctly, assemble in reverse order of removal. Refill the cooling system with the correct grade and strength of coolant. Run the vehicle to operating temperature, remember to recode the radio, reset all electrical systems and clear control unit fault memories. Once the cooling system has been refilled, give the vehicle an extended road test to ensure the coolant level is correct.


