FAI Auto Parts look at the development of timing chains and best practise replacement advice.
Although roller chains were used from a very early stage of internal combustion engine development, they went out of favour for most volume engine manufacturers in the late 1960s when, in 1967, General Motors invented the timing belt. This new technology had many advantages over timing chains of the day.
Belts offered a big reduction in noise and cheaper material/production costs – a particularly important factor for the vehicle manufacturers. Timing belts also had a much shorter life span and were easy to install, being mounted externally, which meant that they became part of a standard service schedule. This created a whole new revenue stream for franchise dealers and independent garages alike.
This shift in technology has meant that, apart from technicians/specialists working on BMW and Mercedes – who stayed with chains for most of their engines – most mechanics in the UK and Europe will have been trained to fit timing belts but not timing chains.
Now that many OE manufacturers have moved back to using chains to synchronise their engines, many mechanics are taking on timing chain kit replacements without having any real training or knowledge of the product/system, anticipating that the job will be like changing a timing belt, which it is not.
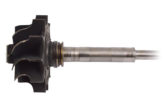
Although chains have been reintroduced, they are not like the chains used back in the 20th Century. Modern chains are a much smaller pitch, and are made from high strength steels using special surface coating to reduce friction and increase wear resistance. The chain designs fall into two categories: roller and silent. Roller is the most common and simplest type, whereas silent chains are designed for minimal contact with the sprockets, thus reducing the noise generated.
Timing chains are not currently included in any major manufacturer’s service program, as they see them as a ‘fit for life’ component. This is clearly not the case, as the demand for timing chain kits (TCKs) in the aftermarket is growing year on year. The most common failure is through chain extension (stretching), which is caused by oil anomalies such as incorrect grade/specification and contamination (foreign bodies, e.g. metallic particles, carbon particles, fuel and chemicals).
The hard components (metallic and carbon particles) can act as an abrasive, wearing engine components prematurely, whilst also building up around critical oil galleries and feed holes, reducing the oil flow/pressure to vital components such as the timing chain tensioner. Under such conditions, tensioner force applied to the chain can be reduced, allowing the chain to move out of its designated path.
The effect is to allow the chain to flex when tension is reduced and snap back into correct alignment when tension is reapplied. This can happen thousands of time a minute and the repetition will cause accelerated wear and metal fatigue, with eventual chain failure a certainty.
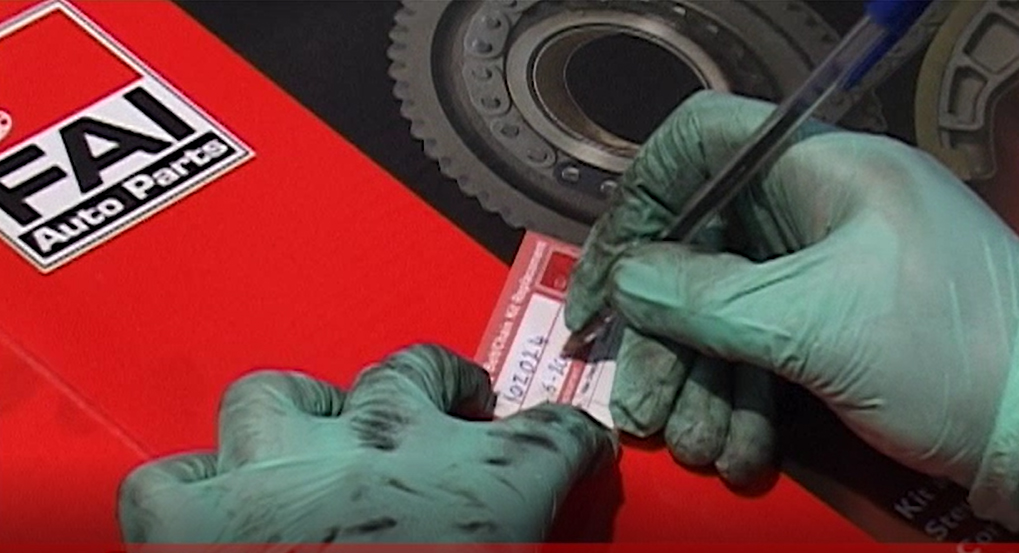
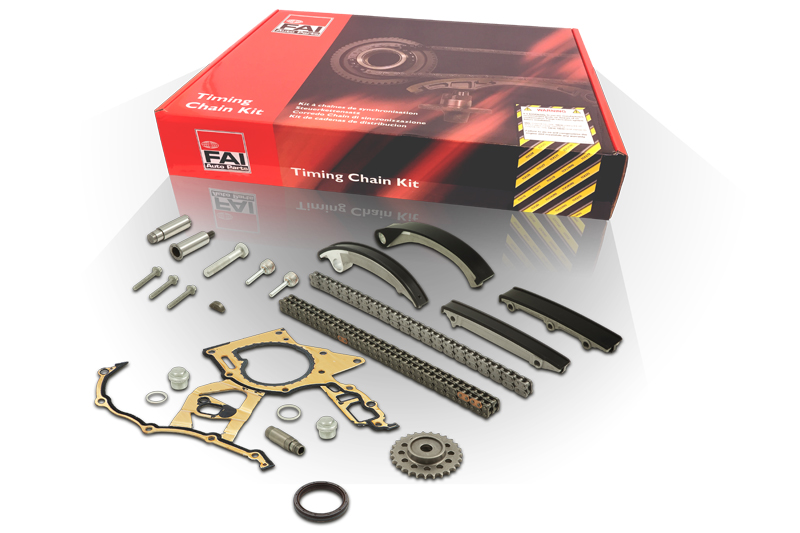
It is for these reasons that aftermarket suppliers like FAI not only include ‘best practice’ leaflets in every timing chain kit, but also offer online video and technical presentations on site at their customers’ preferred locations.
The following photos show best practice and the consequences of poor maintenance:
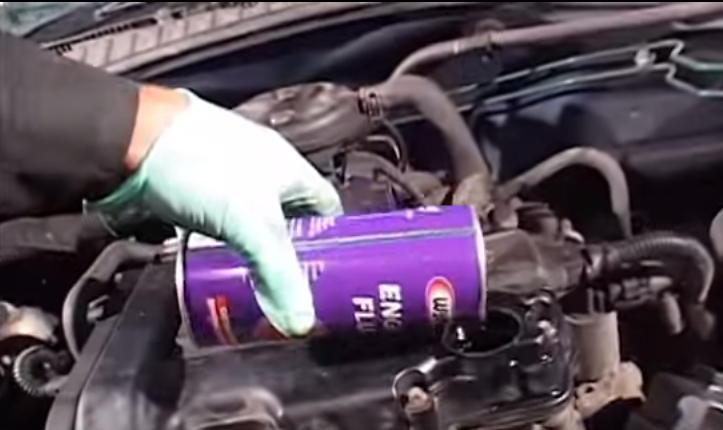
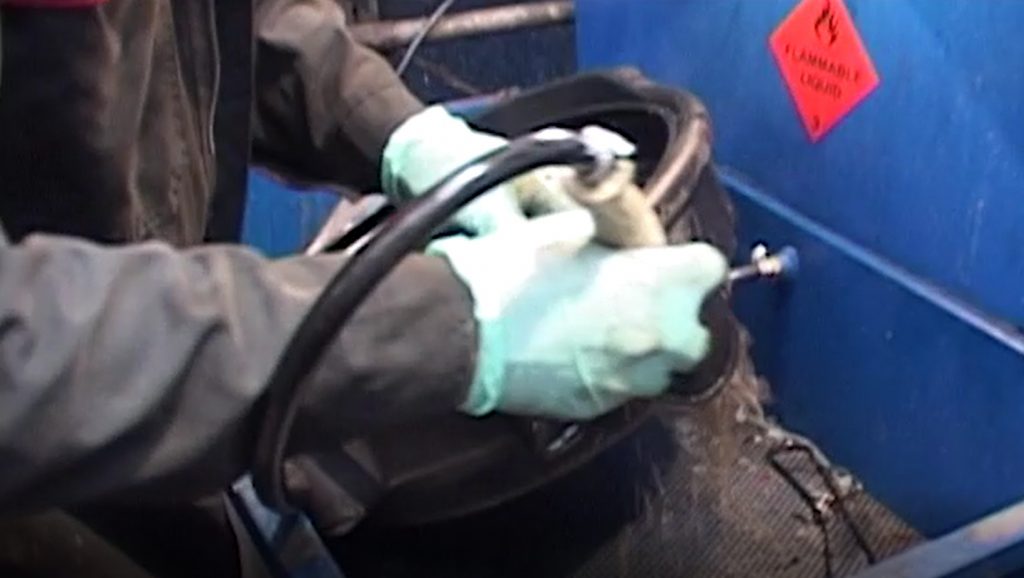
Before removing the old timing chain, add an engine flush to the oil and run the engine for 10 minutes. This will reduce any contaminants in the engine oil galleries and increase engine hygiene. (See below)
Always use the correct engine locking tool. Not to do so will compromise the timing/synchronisation of the engine, causing possible catastrophic engine damage on start up. (See below)

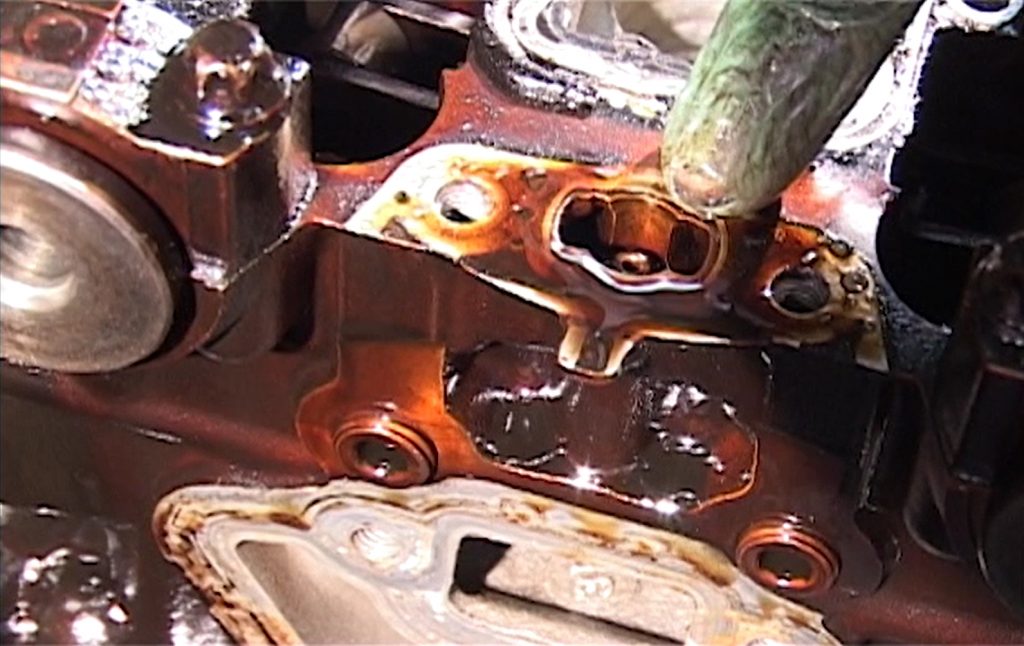
Ensure all oil feed holes are inspected and any blockages are removed. Not to do so will compromise the function of the new timing chain kit. (See below)
Any old oil residue or carbon deposits must be removed before re-fitting any parts. Do not release the tensioner until the complete TCK has been installed. (See below)
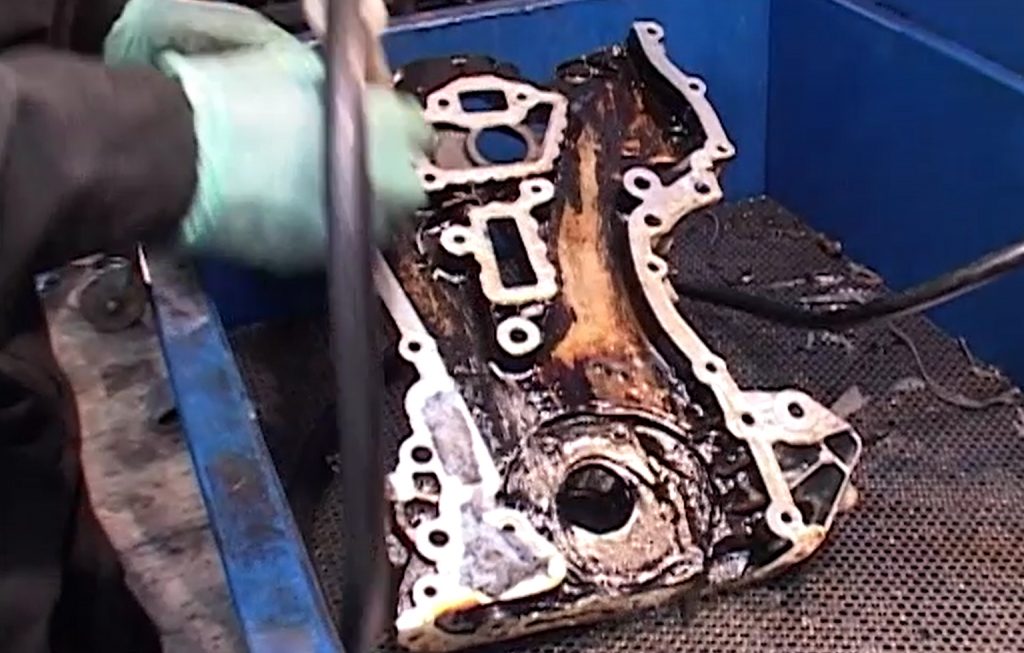
Thoroughly clean all parts to be replaced, as all contaminants must be removed. Not to do so will jeopardise the integrity of the repair. (See below)
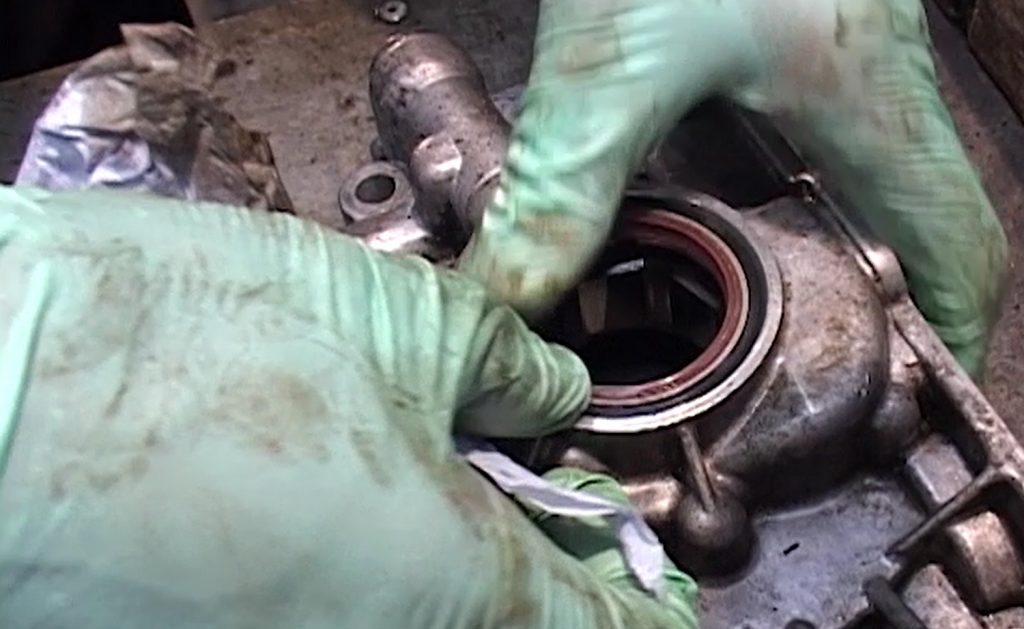
When replacing rotary seals, ensure the seal is fitted correctly and there is no damage to the sealing surfaces of the seal or the engine. (See below) Note: When fitting PTFE oil seals, do not use any oil to lubricate the seal and allow four hours before starting the engine. This will ensure the PTFE material has had the required time to form a fluid-tight seal.
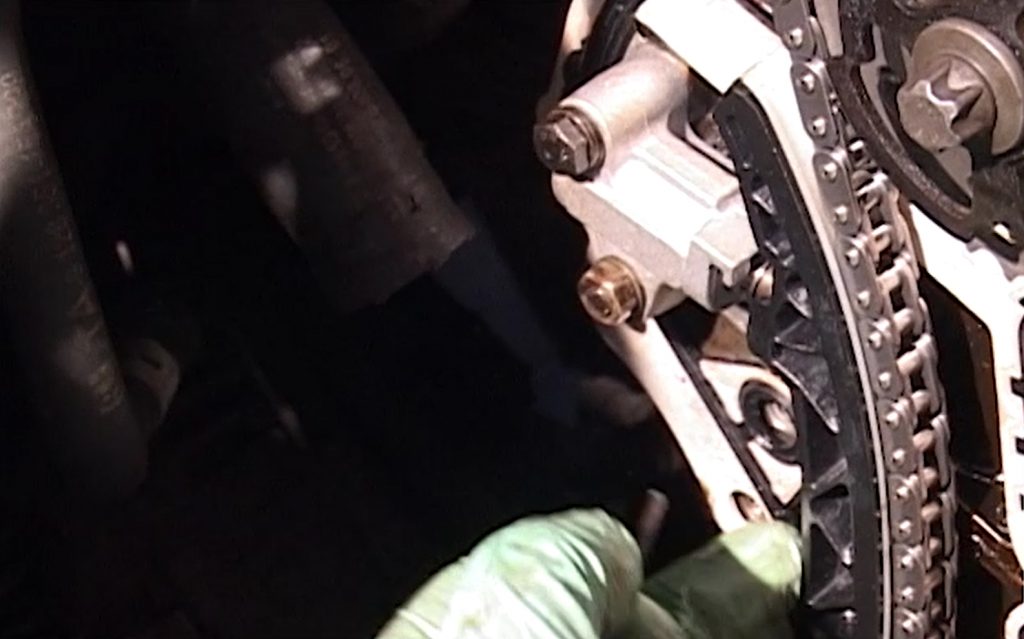
Always use calibrated tools to ensure critical fixing bolts are tightened to the correct force/value (See below).

With spark plugs or glow plugs removed, turn the engine over by hand for two revolutions to make sure that the engine is synchronised and that there is no piston-to-valve contact or any other issue(s). It is important not to use any additional sealants (RTV) when replacing gaskets. All gaskets are designed to be fitted dry.
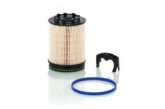
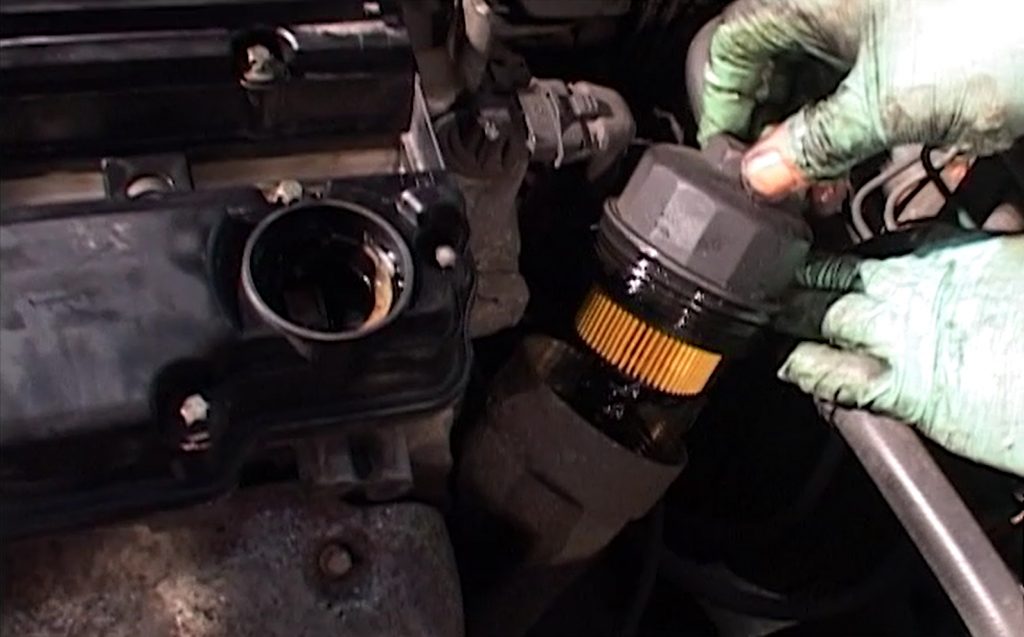
Always replace the oil filter. (See below)
Sump pan, oil pump and oil pick up pipe must be thoroughly cleaned and inspected for damage. Any damaged parts must be renewed. (See below)
The engine must be refilled with the correct amount and grade of oil. Failure to do this can result in the chain and tensioner failing. See OE manufacturer’s recommendations or refer to the information on the FAI box. (See below)
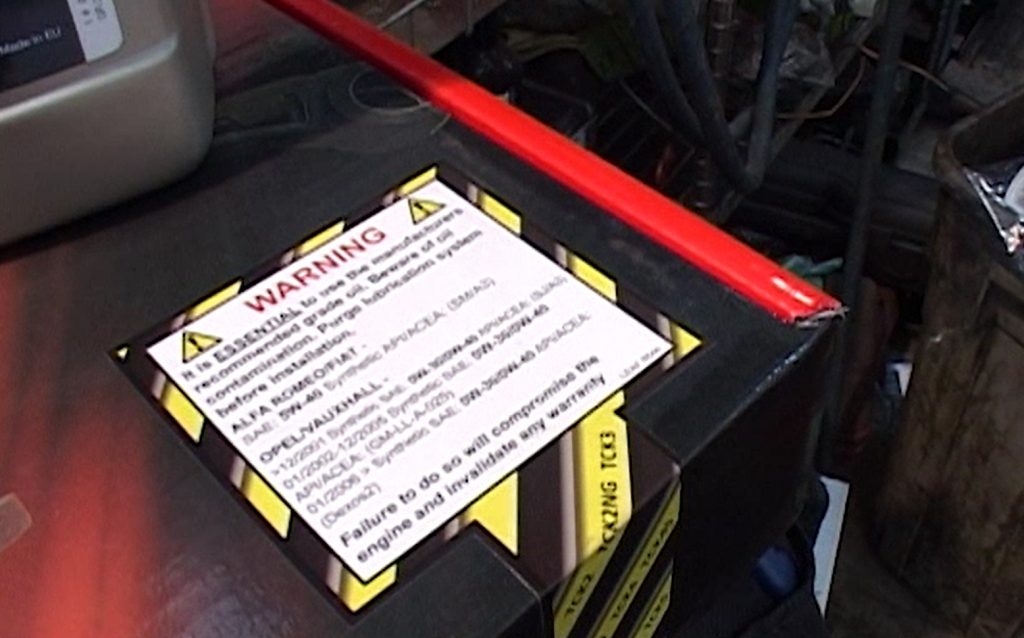
Always inform your customer of the oil you have used, and that they must use the same oil for topping up if required. (See below)