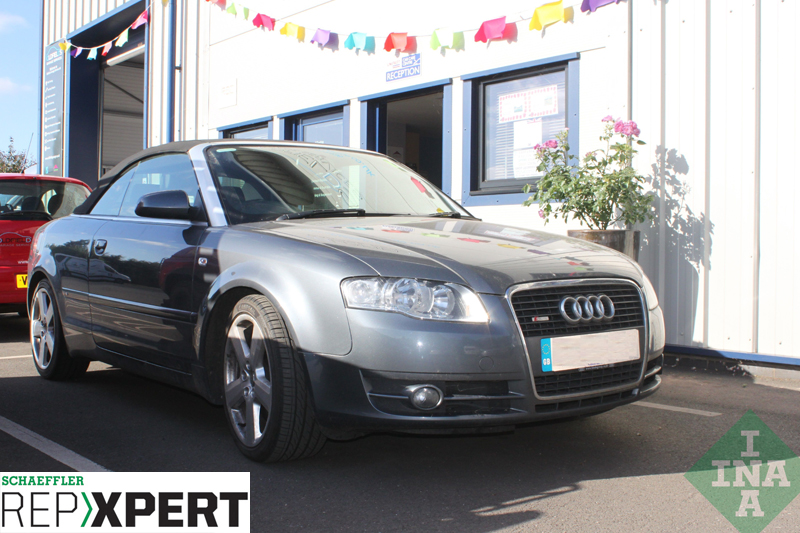
This month, REPXPERT’s Alistair Mason replaced the timing belt and coolant pump on a 2008 Audi A4 Cabriolet, fitted with 2.0L TFSI with engine code BWE.
THE 4T GUIDELINES
When replacing a timing belt, Alistair recommends that technicians follow Schaeffler’s 4T guidelines:
■ Temperature – Ensure the engine is at an ambient temperature
■ Tools – Always use the correct tools and engine timing tools
■ Torque – Always use a calibrated torque wrench and torque bolts to the manufacturer’s recommendations
■ Tension – The belt tension must be set correctly
TFSI engine (engine code BWE), which had racked up more than 127,000 miles. The recommended service interval is 80,000 miles or every five years, so this particular vehicle was due for its second timing belt replacement.
This job has a booking time of just over two and a half hours and requires no special tools; only a vehicle lift and coolant draining collection system are needed. The engine was identified as an ‘interference’ type – therefore, the likelihood of engine damage if the timing belt fails is very high.
Step-by-step procedure
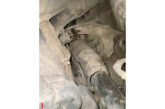
With the vehicle placed on the vehicle lift, open the bonnet and remove the battery earth lead, then put the vehicle into ‘service position’. At this point, the front panel and radiator need to be brought forward to gain better access to the timing belt area.
Firstly, remove the vehicle’s engine undertray, unscrew the two Torx screws that retain the wheel arch liner at the front and ease the liner away from its fixings. These steps allow access to two more Torx screws and two bumper retaining nuts (see below).
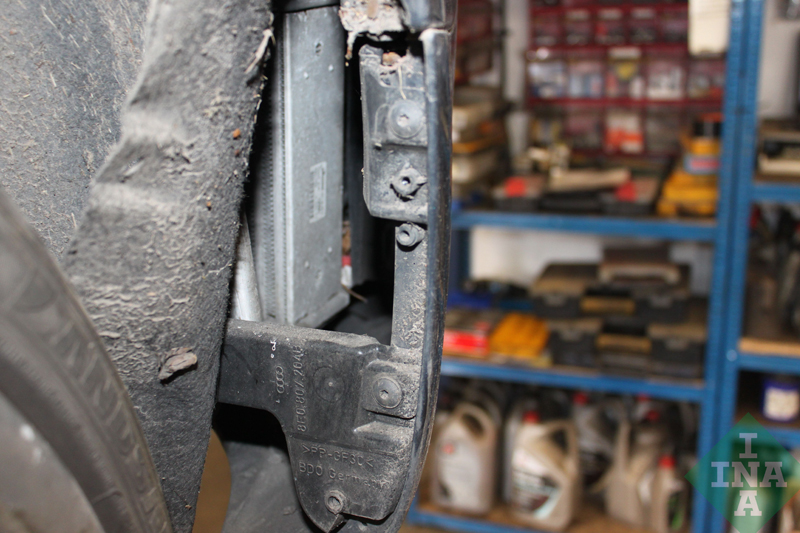
Detach the remaining Torx screws and bumper retaining nuts, before repeating the procedure on the other side. Ease the bumper away from the wings, as it is also held with retaining clips (see below).
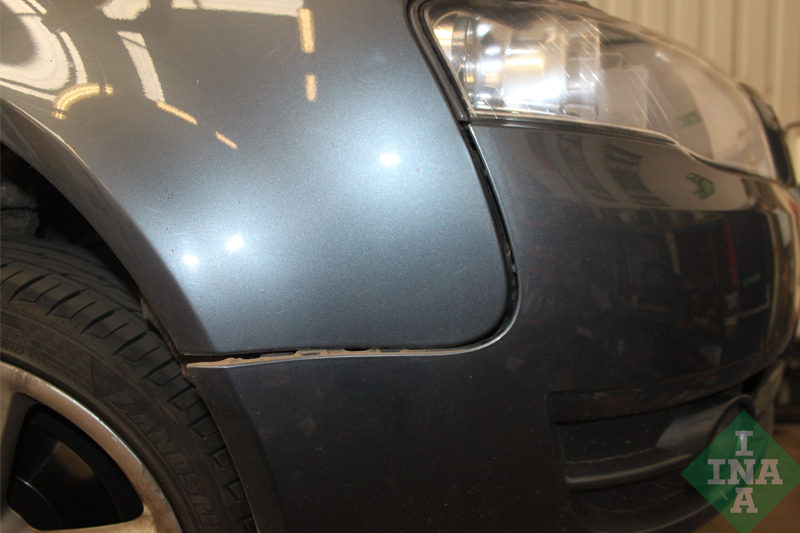
Above the grille, there are three Torx bolts that need to be unscrewed, and then the bumper can be removed from the vehicle. Once free, disconnect the multiplug plug on the N/S and stow the bumper in a safe area.
The front panel then needs to be brought forward, which is achieved by detaching the three small Torx bolts from either side (see below) and then the six bolts that mount the front panel to the front of the chassis legs.

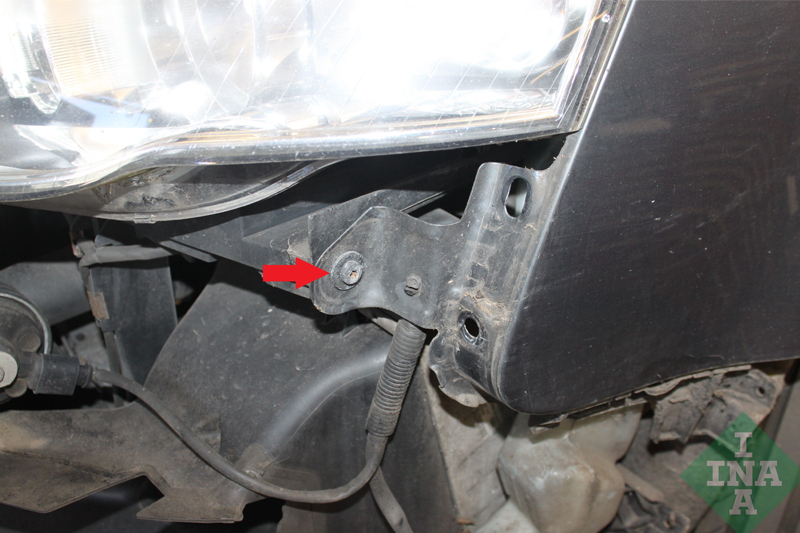
Once all bolts have been unscrewed, the front panel can be brought forward about 100mm.
Next, remove the front end auxiliary drive (FEAD) belt by releasing the tension on the tensioner. Inspect the belt for wear – it is always best practice to replace the FEAD belt when replacing the timing belt. With the FEAD belt removed, check the overrunning alternator pulley for correct operation. Also check that the idlers and tensioner are serviceable with no excess free play, and if they are quiet and smooth in operation.
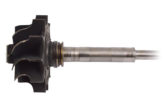
Now remove the FEAD belt tensioner’s three bolts and remove the component. Slacken the six spline bolts that retain the front pulley, and then remove the upper timing belt cover to gain access to the camshaft pulley timing marks.
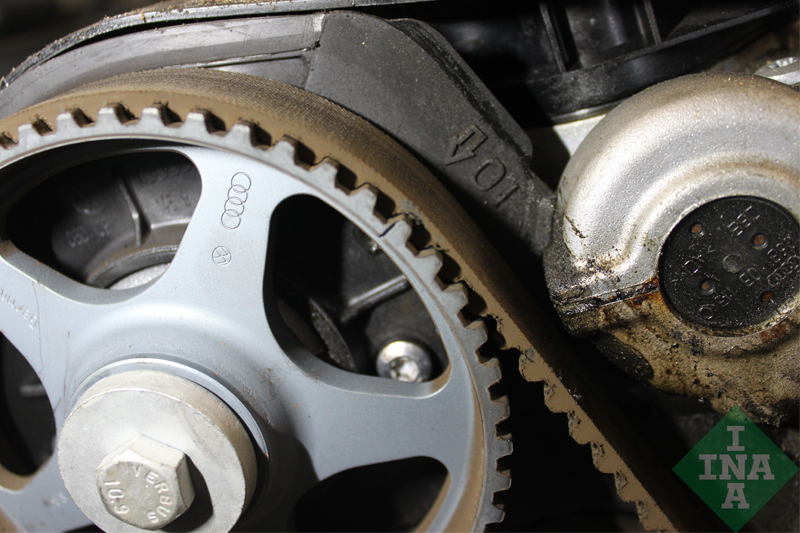
Using a 19mm twelve-point socket, rotate the crankshaft in direction of rotation until the timing marks on the crank pulley (see below) and the camshaft pulley (see below) align with the pointers.

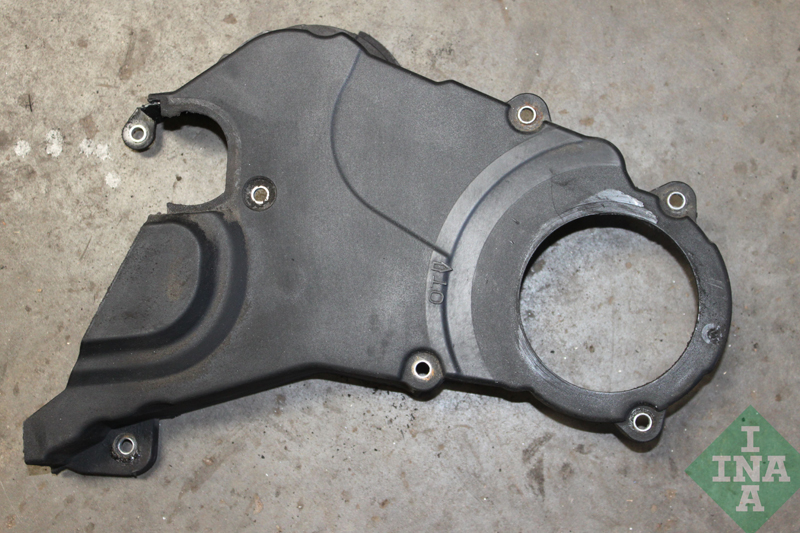
Once aligned, remove the front pulley and then the lower timing belt cover (see below). To help when installing, it is a good idea to stamp a reference mark on the bottom of the timing belt pulley.
The timing belt tensioner nut can then be slackened; rotate the tensioner body in an anti-clockwise direction to release the tension and then ease the timing belt off the water pump pulley. At this stage, the timing belt can be easily removed from the engine bay.
Replacing the coolant pump
During this particular repair, the coolant pump is replaced as part of the timing belt change. To do this, firstly raise the vehicle to gain access to the underside. At the bottom hose radiator connection there is a cooling system drain tap. Turn the tap 90°, lower the vehicle lift, place a coolant collection tray under the tap outlet and then ease the tap out to allow the coolant to drain.
Once the coolant has drained, remove the three retaining bolts from the coolant pump and ease it out of the engine block.
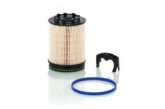
With the coolant pump removed, ensure the mounting face and sealing area are clean, and then confirm the new pump is correct for application. Lightly lubricate the new seal with a silicon-based grease and install the new coolant pump, before inserting the three bolts and torqueing to the manufacturer’s specification.
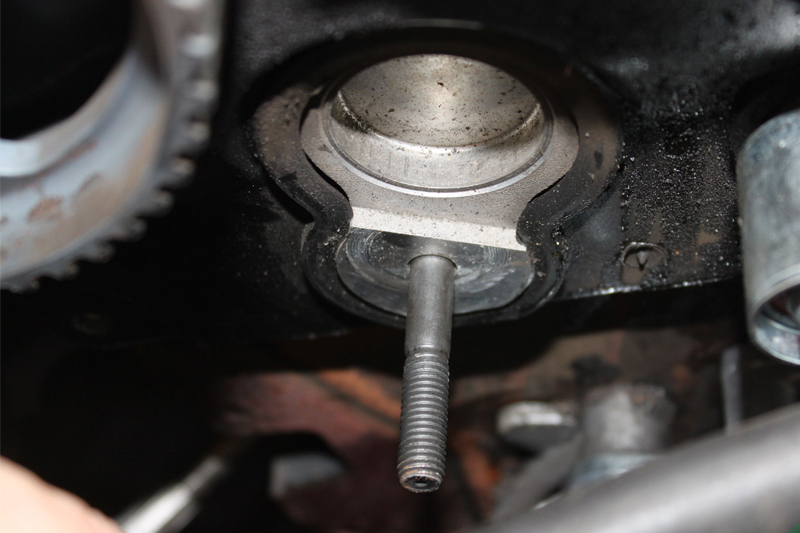
Next, ensure all the drained coolant has been removed from the timing belt area so as not to contaminate the new components. Replace the two timing belt idlers supplied in the INA timing belt kit. Best practice is to replace the stud for the timing belt tensioner, as this has potential to stretch (see below).
Fit the new timing belt tensioner, ensuring it locates in the core plug. Install the new timing belt, starting at the bottom pulley, and work in a clockwise direction before finally sliding the belt onto the coolant pump pulley.
Once aligned correctly, using an Allen key, rotate the centre of the tensioner in a clockwise direction until the two notches on the tensioner align. At this point, tighten the tensioner nut and torque to the manufacturer’s specification.
If a reference point was put on the bottom timing belt pulley, ensure this aligns and the camshaft timing is correct, then refit the lower timing belt cover and front pulley. Rotate the engine two complete revolutions and check the crank and camshaft timing marks align, as well as the notches on the timing belt tensioner.
Once confirmed, the remaining components can be refitted in reverse order of removal. Refill the cooling system with the correct grade of new coolant. Once the battery has been reconnected, reset all affected electrical systems and carry out an extended road test to ensure the cooling system has bled through correctly.