Just like all steering and suspension system components, the ball joint is a safety-critical part. A worn ball joint can compromise a vehicle’s ride and handling – but in the event of failure, the results can be much worse. Delphi provides some insight into what to look out for in a failing joint and how to replace it correctly.
 How to spot a failing ball joint
Since the ball joint constantly pivots through multiple planes and angles – much like a human hip joint – it is subject to significant stress and wear, and will eventually need replacing. Whilst ball joint replacement is not part of the routine maintenance schedule, these components should be checked regularly and according to manufacturers’ intervals for any signs of damage and/or excessive free play. Other common symptoms of a worn ball joint include:
- Clunking noises coming from the vehicle’s front suspension when driving over bumps or turning.
As the joints wear, they become loose in the socket, and rattle as the suspension moves. This can cause excessive vibration from either side of the vehicle or through the steering wheel.
- The vehicle’s steering wanders from left to right on its own. As the joint deteriorates, these symptoms will progressively worsen until the part fails. Waiting until joint failure is dangerous as the wheel could collapse, causing an immediate loss of control. If any of these symptoms are present, the ball joint should be checked and replaced where necessary.
 Why is it important to replace the entire ball joint and not just the boot?
A common cause of ball joint failure is the splitting or cracking of its rubber boot. When this happens, water, salt and dirt penetrate the joint’s internal components, damaging the boot. In this instance, Delphi advises replacing the entire ball joint, as a new boot could seal in the damaging substances, resulting in accelerated wear and corrosion.
Additionally, the ball joint is designed to operate with a grease lubricant, which is intended to last the life of the joint. A defective boot could lead to loss or heavy contamination of this essential lubrication. Without it, the friction within the joint increases significantly, which can cause the steering to become heavy or stick. It is worth noting that the ball joints on some older vehicles are serviceable and require lubrication periodically.
 How to replace a ball joint
To ensure a quality ball joint replacement, it is best practice to follow the steps below:
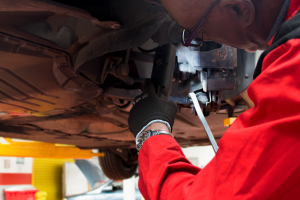
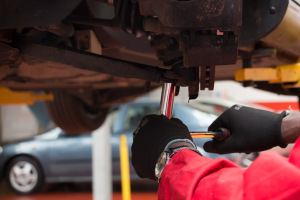
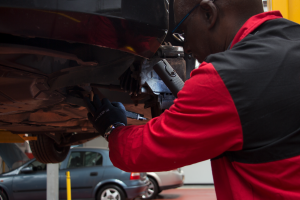
- After raising and securing the vehicle,inspect the ball joints to identify any excessive play, wear or damage. The method of inspection will be dictated by the type of suspension fitted. In general, it can be checked using a prybar or specialist tool, but if in any doubt refer to the vehicle manufacturer’s specifications.
- Remove the wheel to access the ball joint and move the brakes aside. Depending on the steering assembly, you may have to remove the caliper, which will extend the job. You may also need to loosen the mounts holding the control arm or antiroll bar in place to give you more room.
- Before removing the old joint, soak and loosen the bolts with penetrating oil. Remove the mounting bolts. Then remove the ‘pinch bolt’ that clamps the ball joint pin and, using a pry bar, lever the joint out of location. Undo the bolts securing the joint to the suspension arm and remove the joint.
 Note that ball joints can be mounted to the control arm in several ways: pressed in, clipped or bolted. In some instances, they may be integrated into the steering arm, requiring replacement of the entire arm. Pressed in joints will require a hydraulic press for removal and replacement.
- Inspect the wishbone mounting holes for damage or fatigue as this could damage the new joint. Fit the new ball joint to the suspension arm using new fixings torqued to the manufacturer’s specifications. Delphi supplies the required fixings with all its components. Remember to never use air or power tools.
- Insert the ball joint pin into the steering knuckle. Secure it with a new bolt and locking nut, tightening to the correct torque. Refit the wheel and wheel nuts and again tighten to the correct torque. Always torque components in their loaded position, to prevent additional stress when the vehicle is lowered to the ground.
- Finally, settle the vehicle on its suspension and check the wheel alignment, including camber, adjusting as required.