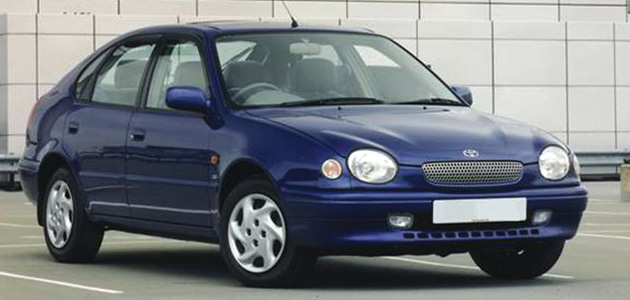
First introduced back in 1966 the Toyota Corolla has been with us for a massive 60 years, and incredibly, according to Toyota, one Corolla is sold on average every 40 seconds worldwide! The Corolla has been massively popular in the UK which is mainly due to its high reliability record and reputation for quality. These factors make it a popular purchase for familes and taxi drivers for example.
The 8th generation Corolla (E110) was introduced in 1995 and since then 62,878 models have been sold in the UK until production was stopped in 2002. In this article we are going to look at how to replace the front wheel bearing on the Corolla, and give you some handy hints and tips to help you on your way.
The type of bearing used on the Corolla can be a little tricky to fit because it has to be pressed into the hub and onto the flange, and during this process if its done incorrectly you can damage the bearing prematurely. But don’t worry because the bearing experts at FAG are here to help with this useful guide.
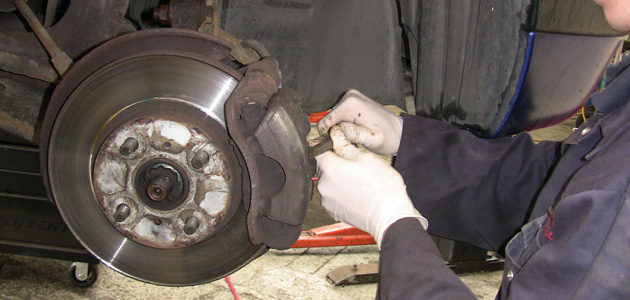
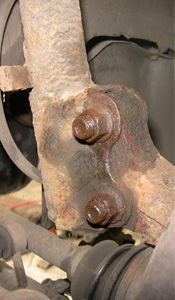
Firstly check to see if the vehicle has alloy wheels fitted, if it has it may be fitted with antitheft bolts so you’ll need to find the key. Raise the vehicle on a ramp (although the job could be done on the ground if necessary) and remove the wheel on the relevant side. Undo the three bolts securing the bottom suspension arm and release it. Undo the bolts (see pic, below) securing the brake calliper to the hub.
Push the brake cylinder back (see pic, below) and slide the calliper off.
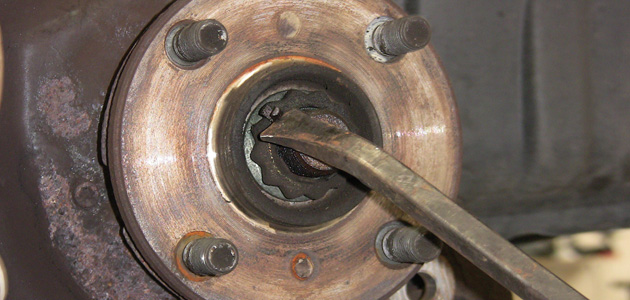
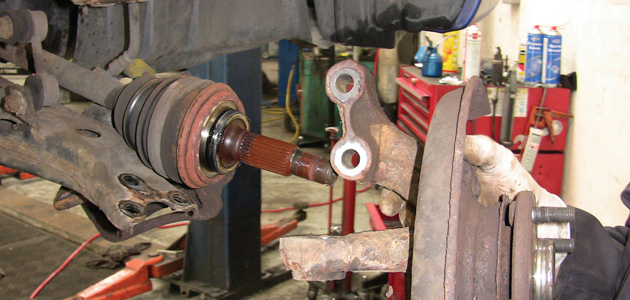
Undo the screw securing the disk to the hub and remove the brake disc. On the steering arm ball joint pull out the pin, undo the castellated nut and release the joint. Remove the hub nut pin (see pic, below), undo the nut and release the driveshaft from the hub.
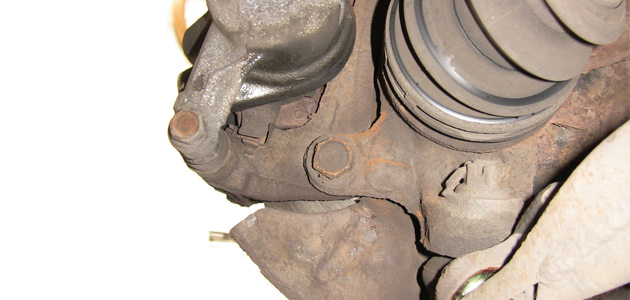
Undo the two large bolts (see pic, below) holding the hub to the suspension strut and release.
Remove the hub assembly from the vehicle (see pic, below).
Using a press push out the flange from the hub. Remove the two metal rubber seals (see pic, below) and push out the large metal flange around the outside.

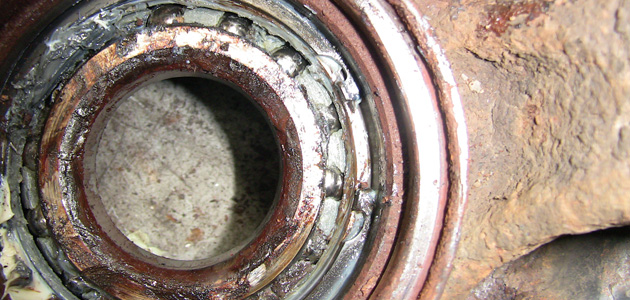
Once the seals have been removed you should be able to see a large circlip (see pic, below), remove this with a suitable set of circlip pliers.
With the circlip removed use the press to release the bearing from the hub. Finally use the press to extract the inner race that’s still attached the the flange. The new bearing can now be fitted.
Hub profile
Take the time to check that the hub profile is perfectly round and not damaged. The outer race of a bearing will always take the shape of the hub its being pressed into, therefore if the hub has been damaged and is oval this could prematurely wear the bearing over time. its important to not put any force through the balls or rollers inside the bearing. With this in mind when you press the bearing into the hub make sure you press on the outer race, and when pressing the bearing onto a flange use the inner race. By doing this we ensure that the pressing force is not transmitted through the bearing rollers/balls, but only through the metal race.
Many types of new wheel bearing will have an ABS encode ring placed just behind the oil seal on one side of the bearing. FAG colour-code the oil seals to indicate which side has the encoder in it; generally a black seal represents the side of the bearing that contains the encoder ring. However if you are unsure we do provide some detector cards which are available from your local stockists.
And finally its worth pointing out that the clamp load is essential on these types of bearings, so make sure you use a torque wrench when tightening the hub nut or bolt. Failure to do this could lead to premature failure of the new bearing.
Fitment of the bearing is the reverse of the removal.
Find out how to replace the front wheel bearing on a Mazda M3 by clicking here