The correct installation of drive system components is of paramount importance, even on a relatively simple engine such as Vauxhall’s 1.7-litre diesel unit. However, too many of these units suffer from drive system failure following their timing belt replacement because the installation is not carried out in the right way.
The main protagonist
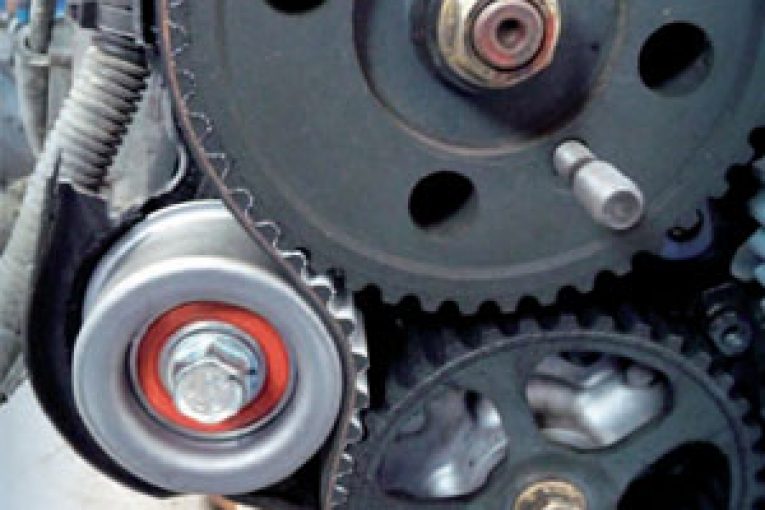
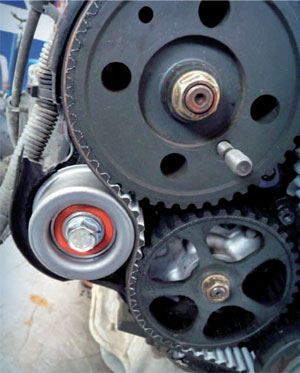
The most common cause of these failures is over-tensioning of the timing belt. This occurs because although it is straightforward to install the new spring loaded tensioner, it is also very easy for it to move while it is being secured; just a small movement can make a big difference to the tension on the belt.
To demonstrate the extent of this issue, if during its tightening the tensioner moves by just four or five degrees, the tension on the belt will increase threefold from the 20kg it is designed for, to a catastrophic 60kg plus. This then causes the system to distort and fail.
To prevent this costly problem, Dayco recommends that technicians follow its published fitting procedure designated for the specific engine code. Additionally you should make sure that the bolt is tightened to the manufacturer’s specified torque setting, which is also stated by engine code in the Dayco technical sheet.
It seems more than a coincidence that the most common failures tend to occur on the Z17DTH and Z17DTL units, which require an additional step in the installation procedure (see fitting procedure below).
Timing belt kits
Depending on the variant, Dayco provides either timing belt kit KTB414 or KTB468 for the Vauxhall 1.7 turbo diesel engine. However, both options contain an OE Dayco High Tenacity (HT) or ‘white’ belt, which is becoming a favoured original fitment timing belt for many of Europe’s VMs.
Fitting procedure
Naturally the precise detail of the fitting procedure differs according to the engine code, but to set the correct belt tension, the engine must be cold and should’ve been at rest for at least four hours:
 1) The TDC locking bolts must be installed in the camshaft pulley and the high-pressure injection pump pulley. The lug on the crankshaft pulley must be in line with the lug on the oil pump cover.
2) Position the tensioner and preload it by rotating it anti-clockwise with an Allen Key until the hexagonal hole is in the 5 o’clock position. Secure with the tensioner bolt.
3) Observe the direction of engine rotation and install the timing belt in accordance to its rotational arrows, in the following sequence: crankshaft pulley, oil pump pulley, idler, injection pump pulley, camshaft pulley and finally, the tensioner.
4) Loosen the tensioner bolt until the tensioner rests on the belt in order for it to apply the correct tension to the belt.
5) Not all units need this step, but engine codes Z17DTH and Z17DTL then require the TDC bolts to be removed and the crankshaft turned 60° clockwise until the timing marks align.
6) Tighten the tensioner bolt to the VM’s specified torque for the engine code in question, making sure the tensioner doesn’t move during this operation. It is advised that technicians make a reference point before tightening to make sure the tensioner hasn’t moved once the correct torque has been applied.
7) Dependent upon the engine code, the crankshaft must be rotated between two and six revolutions in the direction of engine rotation back to the adjustment position.
8) The lug on the crankshaft must then be in line with the lug on the oil pump cover.
9) Reinstall the TDC bolts to the camshaft and fuel pump pulleys. If it isn’t possible to install these freely then the tension procedure must be repeated.
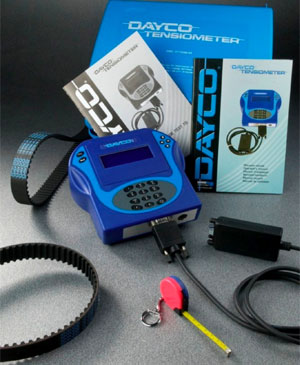
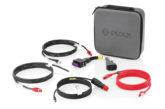
To simplify the process further, technicians can use a Dayco Tensiometer, which will ensure the correct tension is achieved. The tool is easy to use and just needs the relevant test code for the belt application to be entered and the belt vibrated. If the test reading is ‘OK’ the belt is fine, otherwise, the belt will need to be reset.