Gates provides some general guidelines for replacing the traditional style of car thermostat. However, remember to always refer to the vehicle manufacturer’s recommended procedures for replacement and maintenance of thermostats.
STEP 1 – Safety first
Always wait until the engine is cool before working on any part of the cooling system.
STEP 2 – Hose disconnection
- Remove the hose attached to the thermostat.
- Be aware that a considerable amount of coolant can pour out of the hose when you take it off.
STEP 3 – Position
- Look at how the thermostat is positioned.
- Before proceeding, make sure you are familiar with the configuration and remember to put the new thermostat back the same way.
STEP 4 – Removal
- Loosen the bolts on the old thermostat.
- Before removing it, note the precise position (12 o’clock) of the ‘jiggle pin’ (if fitted – it’s not always part of the design). It’s a device designed to allow trapped air inside the cooling system to escape through the thermostat.
- Remove the thermostat.
STEP 5 – Clean surface
Remove the old seal/gasket or old sealant remains and make sure the mounting surface is clean.
STEP 6 – Inspection
Before installing the new thermostat, inspect the other cooling system service parts: coolant hoses, water pump and pressure cap(s).
STEP 7 – Installation
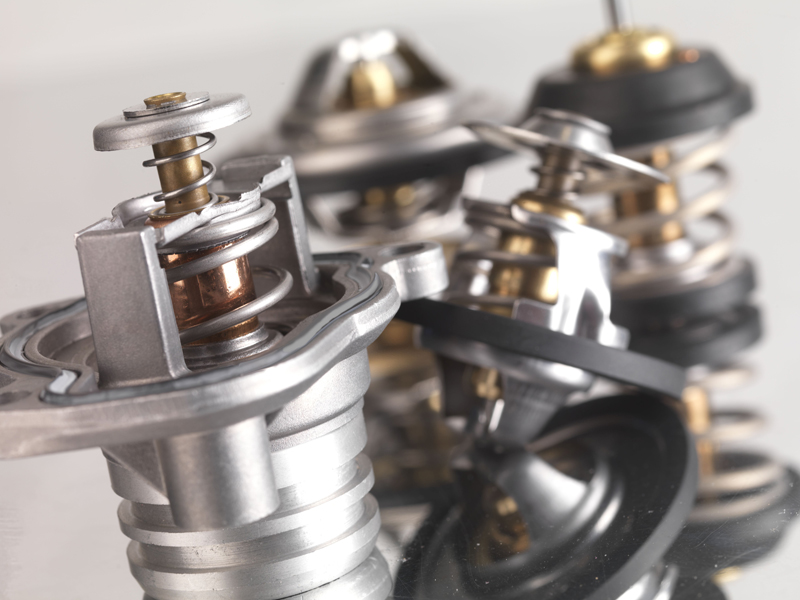
- Install the new thermostat so the copper heat-sensing element is toward the coolant flow. Remember to position the jiggle pin.
- If installed back to front, it won’t function.
- Old gaskets and seals should be replaced by new ones. Carefully follow installation instructions. Only apply sealant if specifically recommended by the vehicle manufacturer.
- Put a thin, even bead of sealant along the edge of the part, but don’t use too much sealant. If you do get too much sealant on the part, wipe off the excess before mounting the new thermostat.
- Too much sealant compromises the correct installation and will break off within the cooling system, contaminating it. Sealants are also made with different drying rates, so respect the sealant’s printed instructions.
STEP 8 – Torque setting
Tighten the bolts evenly to the manufacturer’s torque specifications.
STEP 9 – Hose connection
Re-attach the hose.
STEP 10 – Visual check
- Do a final visual inspection to ensure there are no leaks after the cooling system refill.
- Keep in mind that some leaks will become obvious when the engine is cold, but others only when it is hot.
For more information, click here.


