Autel ADAS VW Around View Monitoring System calibration.
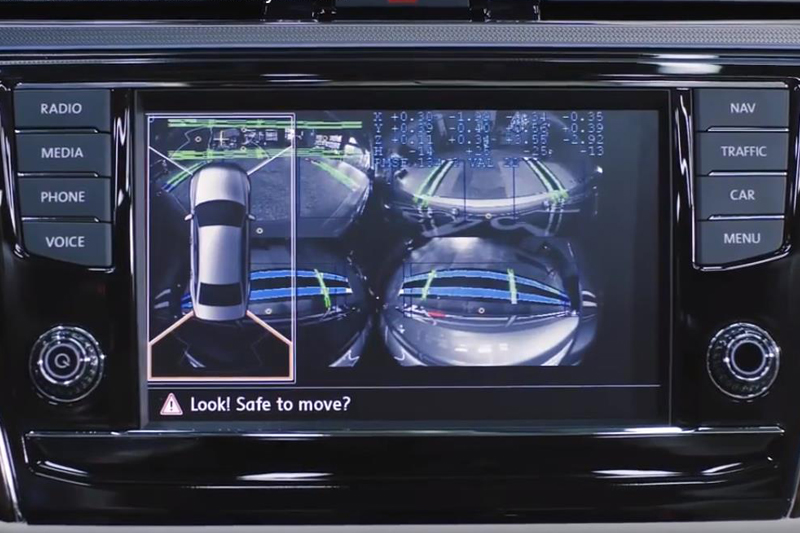
This VW system uses the input of four cameras to digitally synthesise and then display a panoramic view surrounding the vehicle. The front camera is located in the radiator grille and gives a 180 ̊ view from the front. The side cameras are located under the side mirrors, and give a 90 ̊ perspective towards the vehicle’s blind spots. The rear camera is located in the handle of the tailgate and presents a 180 ̊ view. These images are digitally stitched together and displayed on the vehicle’s central console screen. A calibration of the AVM system must be performed when
- One or more of the four cameras have been replaced, re-installed or re- positioned on the vehicle
- The Area View System Electronic Control Unit has been replaced or re-installed
- The software for the Electronic Control Unit has been re-installed or upgraded
- New data has been coded into the panoramic camera system control unit
- Vehicle components that may affect camera installation have been repaired or replaced
- The chassis has been adjusted
- The height of the vehicle body has been changed
Vehicle preparation
Set up and perform the calibration frame levelling procedure by following these steps:
- Park the vehicle on a flat and level surface, with its front wheels pointing straight
- Extend the side view mirrors
- Ensure the camera lenses are clean
- Check the respective camera images on the console display. The displayed images should be clear. Replace the camera if this is not the case. If the image is tilted, check the condition of the fixing brackets of the camera
- Ensure the vehicle’ s coolant and engine oil are at the recommended levels, and the fuel tank is full
- The vehicle should not be carrying any load
- Press the panoramic image button on the vehicle’ s central console to display panoramic image
- Apply the parking brake, and close all doors and boot
- Adjust the tyre pressure to the recommended value
- To avoid recognition error, ensure there are no objects surrounding the calibration area
- Ensure the calibration area is well lit
- Attach the Autel VCI to the vehicle, turn on the ignition, and connect the diagnostic tool
- Tap ‘Diagnostics’ , then the ‘Auto Vin’ button on the Autel tablet
- On the tablet screen, select ‘ADAS calibrate’
- Tap ‘Camera system rear view’
- Select 6C (overhead camera system)
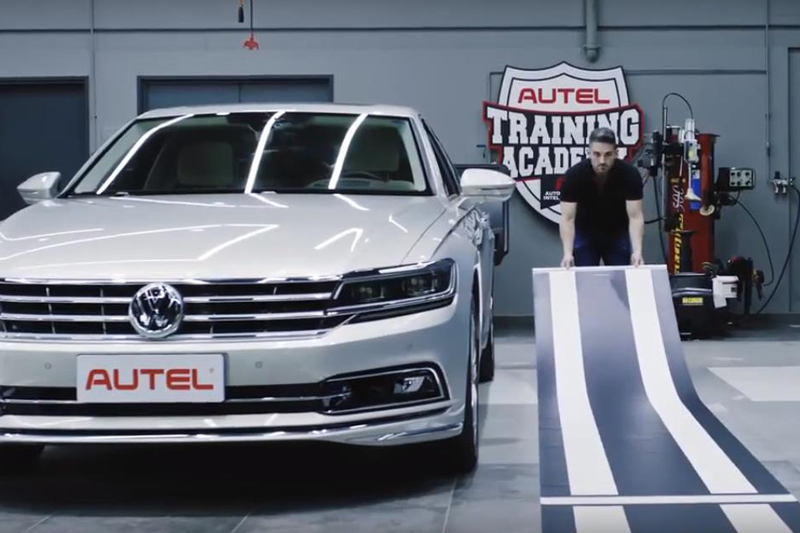
Place the patterns
- Place the patterns on each side of the vehicle, with the arrows marked on the pattern pointing to the front of the vehicle (see below)
- Ensure each pattern lies flat on the ground, and that no light is reflecting off them
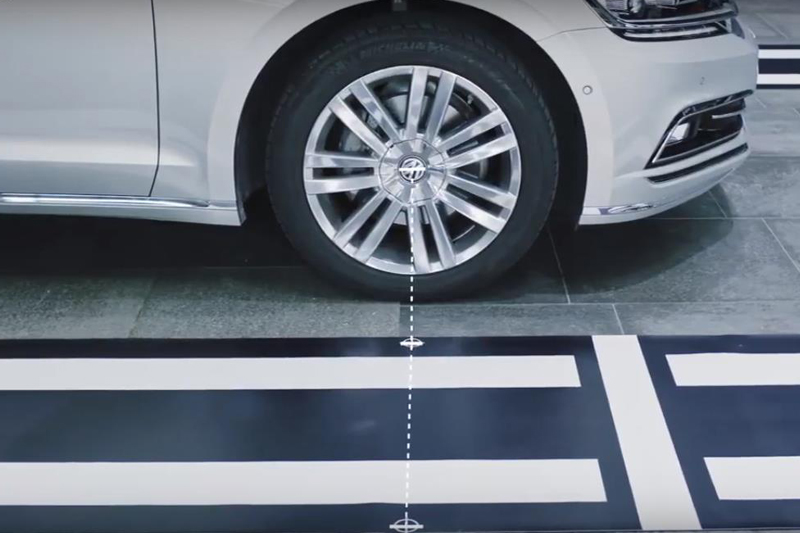
- The cross line on the pattern should align with the centre of the front wheel (see below)
- The patterns on each side should be parallel, with a distance of 2,000 to 2,500mm between them (see below)
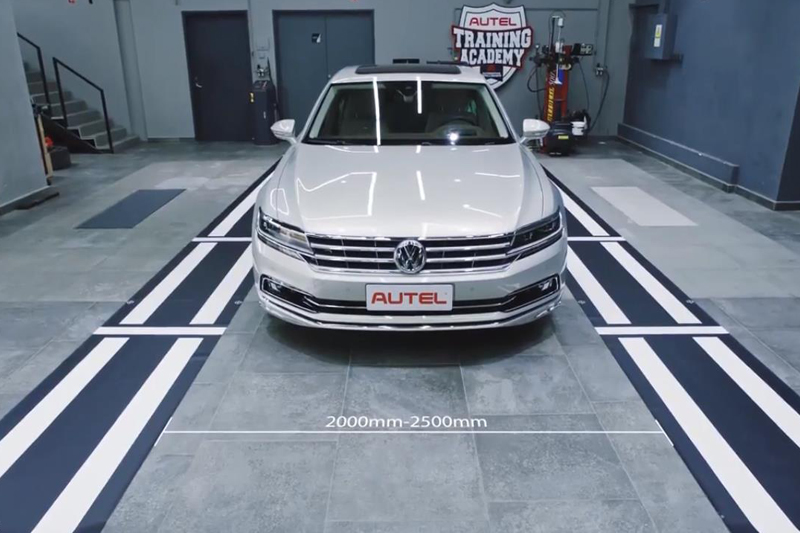
- The patterns on each side of the vehicle should be of equal distance from the wheels
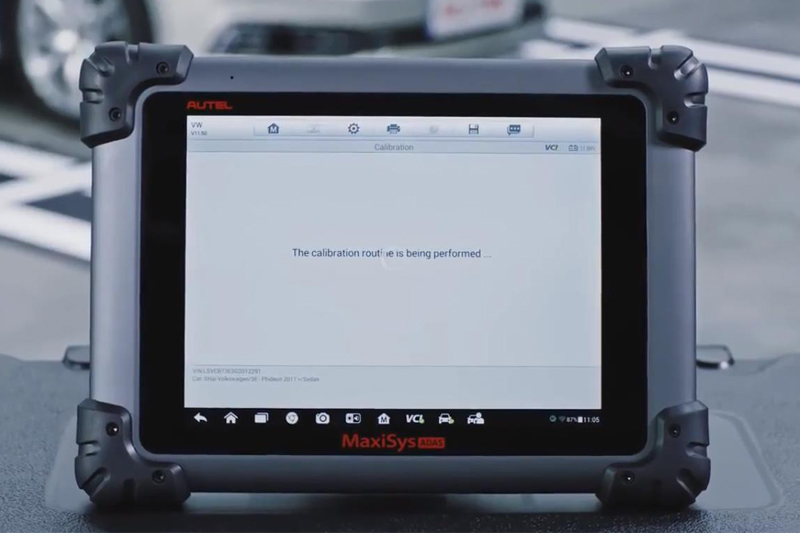
Initiate calibration
- Tap ‘OK’ to initiate the calibration process
- Calibration will only take a few seconds (see below)
- The pattern will display on the central control screen after the calibration has been successfully performed (see below)
For more information online, click here.


