Meyle talks through the process of an oil change for automatic transmissions.
Transmission oil should be replaced regularly to prevent any damages to the transmission and maintain its function and driving comfort. Despite many misguided assumptions, this affects both manual and automatic transmissions because transmission oil is naturally wearing out and additives are diminishing over time. It is vital to carry out an oil change every 60,000 to 80,000 kilometres, depending on driving behaviour and model.
In this guide, a Meyle-Original oil change kit will be used on a BMW ZF8HP 8-speed automatic vehicle. Tailored to the specific vehicle, the kit contains the adequate gearbox oil, new bolts for the oil pan, a filling plug with a new seal ring, and a detailed instruction manual for easy installation.
Step 1
Preparation
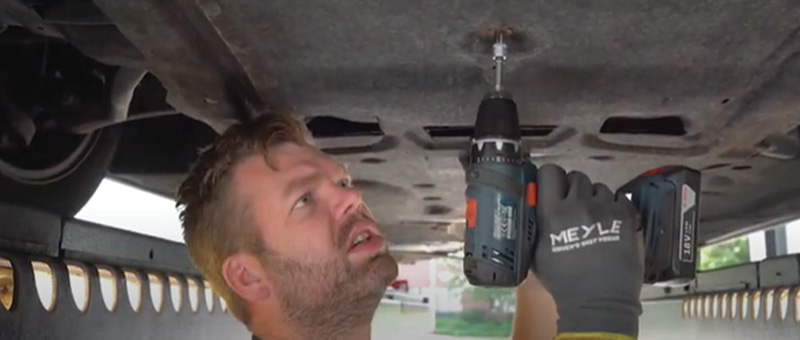
Before draining the oil, lift the vehicle with the lifting platform, remove the undertray and unscrew both brackets to access the oil pan with the integrated filter element.
Step 2
Draining the transmission oil
To drain the oil, remove the oil pan by loosening the screws. Have a collecting vessel for the dripping oil at hand. Check for any leaking parts that might need to be replaced to maintain the transmission function before filling in new transmission oil. Oftentimes, the oil sleeves are affected and must be replaced.
Step 3
Exchanging leaking parts
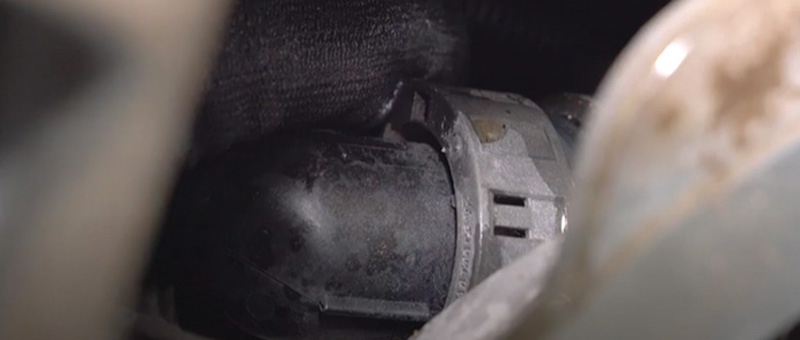
To remove leaking parts such as a defective sleeve, remove the retaining plate and slide out the sleeve. In the process always check for the electrical connection at the gearbox where the wiring harness goes in. While placing the new socket sleeve, make sure that the guiding pin is lined up with the designated slot at the gearbox housing. After that, tighten the screws of the retaining plate with eight Nm.
Step 4
Filling the gearbox
![]()
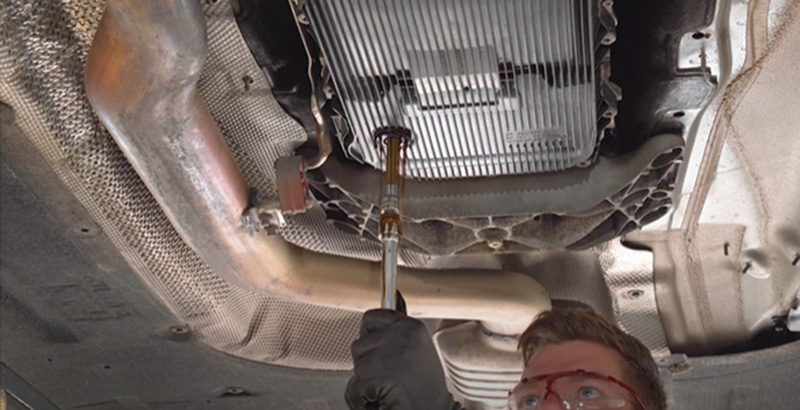
Before filling with new transmission oil, fit the oil pan with the integrated filter element and follow the proper tightening sequence as displayed in the picture above. After that, fill the gearbox with the vehicle-specific transmission oil by using the filling plug and a pump. If the car model is equipped with an external oiling cooler such as in the given example of the BMW, the gearbox needs to be overfilled with around half a litre of transmission oil that might lead to extensive dripping.
Step 5
Final check
![]()
After filling the gearbox, check the functionality of the gears. Shift through every single range of the gears while the engine is running. Hold for at least three seconds in each gear. If everything seems fine, tighten the filling plug with 35 Nm and bring the automatic gearbox oil temperature within the range of 30 to 50 degrees. For an additional test, increase the automatic gear oil temperature up to at least 75 degrees so that the cooler thermostat opens as well. After that, check the oil level, add oil if necessary, and close the system with the new bolts for the oil pan.
The vehicle manufacturer’s guidelines and instructions should be read and followed carefully, and they always take precedence over the general process shown here.