Wheel alignment is an essential element of making repairs to steering and suspension systems and can also prove to be a highly profitable source of income for workshops.
The key stages listed here are all applicable to Hunter imaging aligners, however, these may vary for other manufacturers and the operating manual should always be consulted for the correct operating procedure.
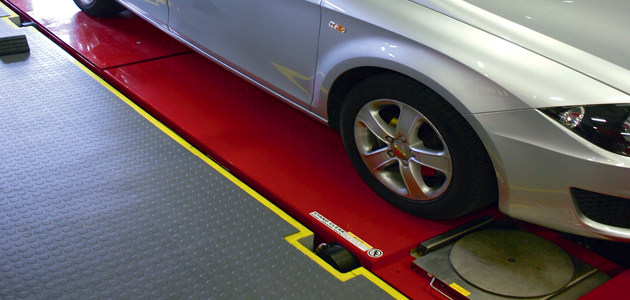
1. Drive the car onto the alignment ramp, stopping just short of the turn plates. Leave the handbrake on but turn the ignition off and lower the driver’s door window (in preparation for undertaking caster swing).
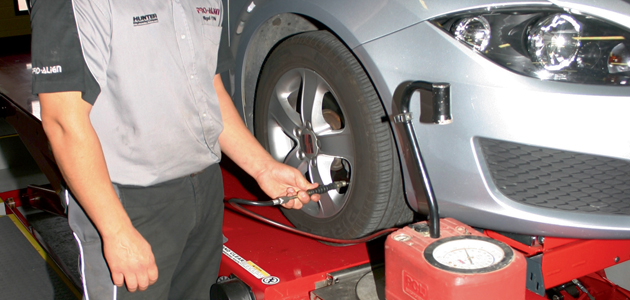
2. Carry out the pre-alignment check on the vehicle. Ask the customer to explain any issues or symptoms such as noise, vibrations or uneven tyre wear which are causing them concern. Check and adjust the tyre pressures if they are incorrect and measure the tread depth on all tyres, including the spare. Examine the condition of the tyres looking for signs of damage to the sidewall including scuffs, cuts, bulges and other impact damage.
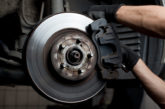
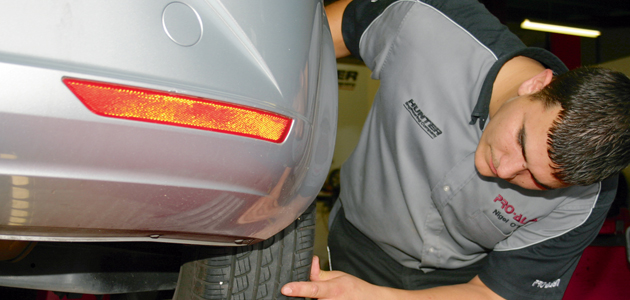
3. Examine other steering and suspension components for signs of wear, excessive play, damage and leaks. Checks should cover shock absorbers, track rod ends, wheel bearings and ball joints.
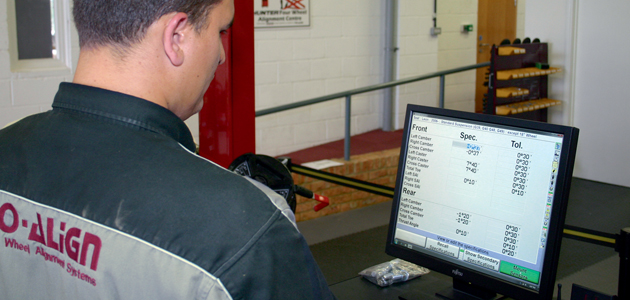
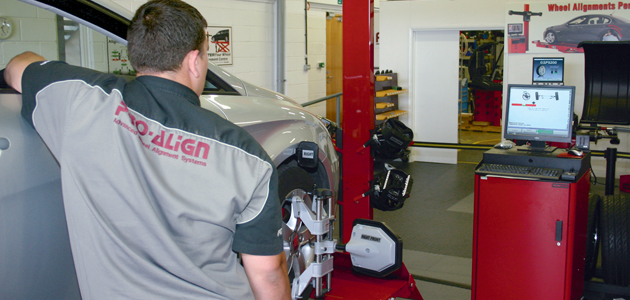
4. Enter the job and customer details onto the aligner console and select the appropriate vehicle type and data.
5. Measure the ride height and load the vehicle if required (according to the manufacturers specifications). Release the handbrake and then roll the vehicle forward onto the turnplates. Never drive onto the turnplates as this is likely to cause damage to them. Check both sides of the rear wheels.

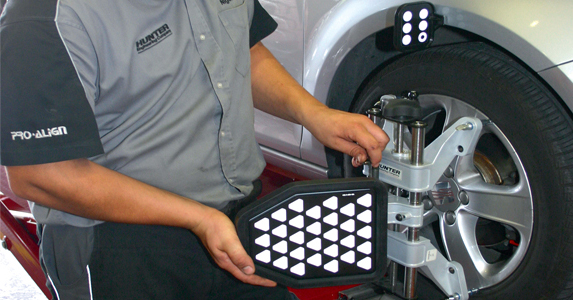
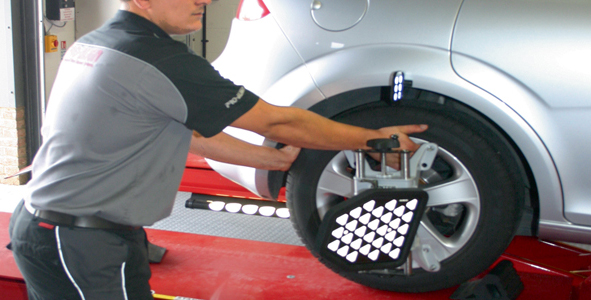
6. Raise the ramp to its working height. Fit the target/sensor units to the wheels, taking care to use any plastic feet or tyre clamp unit for any difficult alloys.
7. Perform run-out compensation in accordance with the aligner’s operating instructions. This important procedure allows the aligner to cater for any errors in the wheel rim or clamp/sensor/ target fitment. Depending on the aligner this can be either ‘jacking compensation’ – requiring full wheel rotation, while others utilise ‘rolling compensation’ – a short roll back and forth. The latest aligners, such as the new Hunter Elite TD aligner, require simply a short roll forward only.
8. Remove any locking pins from the front turn plates, release the rear slip plates and perform the caster swing as instructed by the aligner.
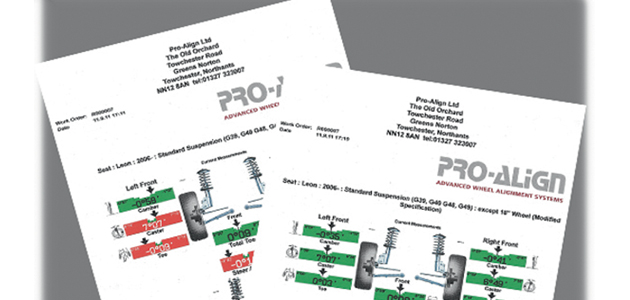
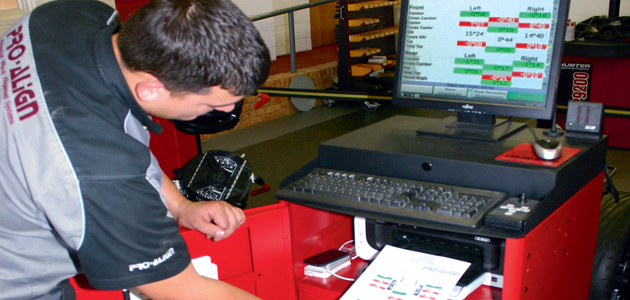
9. Save and print the initial alignment measurements and discuss the measurement findings and potential adjustment work recommendations with the customer.
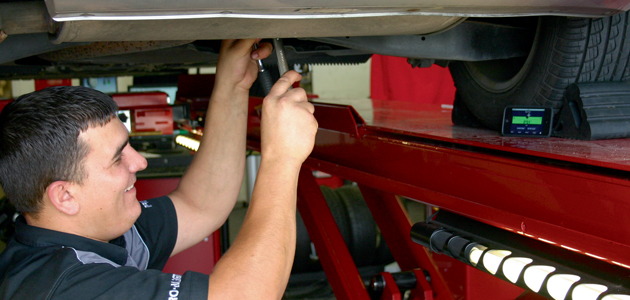
10. Once the customer gives the go ahead: fit the steering wheel clamp before carrying out any adjustments to the vehicle. Make necessary adjustments – adjusting the rears first followed by the fronts, so that its geometry settings fall within the vehicle manufacturers’ specified tolerances.
11. Print and save the final measurements as proof of a job well done which confirms that the car has been properly aligned. Remove the clamp/sensor/target units and return the car to the customer who can be reassured in the knowledge that a proper four wheel alignment service has been provided. The customer, can be satisfied by knowing they will be getting cost savings, improved tyre life, reduced fuel consumption and better handling. Ensure the aligner is prepared for the next job.