A safe and easy way to overcome issues with removing seized parts.
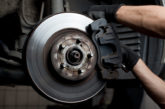
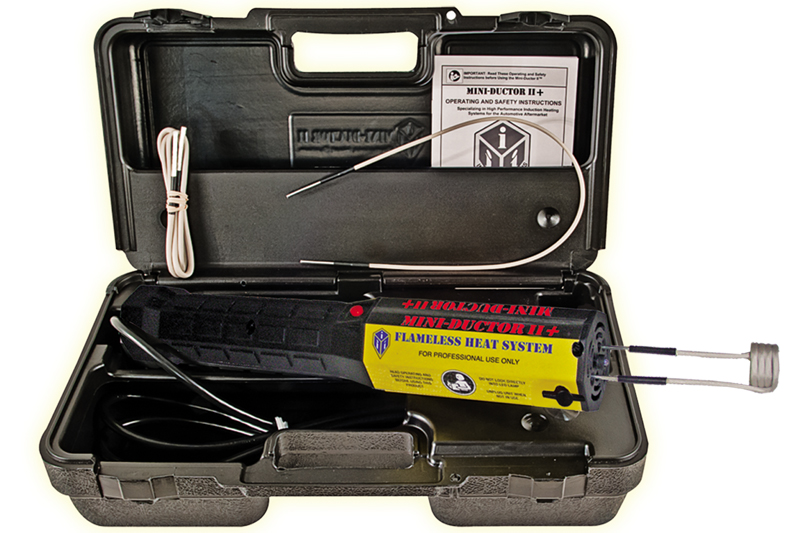
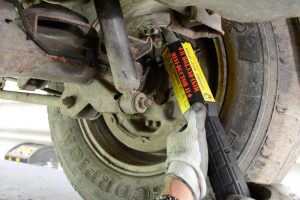
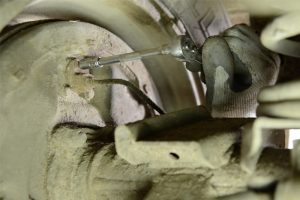
Removing brake bleeder nuts is often a lengthy, difficult and frustrating task. The nuts rust easily and, as they’re usually placed in inaccessible areas, they can be very hard to remove. Help is at hand, however, in the form of the Mini-Ductor® handheld induction heating tool range. This uses invisible heat that heats ferrous metal (and some nonferrous metal) parts in seconds and will allow all types of adhesives bonded to metal, bonded with thread lock compound and seized hardware to be removed and released much quicker and more safely than by traditional naked flame heating.
Ditch the torch
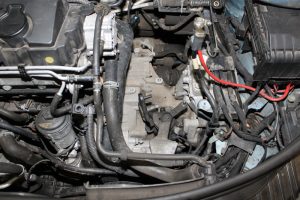
What’s more, technicians no longer need to run the risk of using a torch which could damage brake parts, such as the brake line or pipe. The Mini-Ductor® II + runs off a 240V power source and is also available with 110V CE power and in a new 12V portable version, which runs off a car or portable battery, and is ideal for tricky roadside repairs.