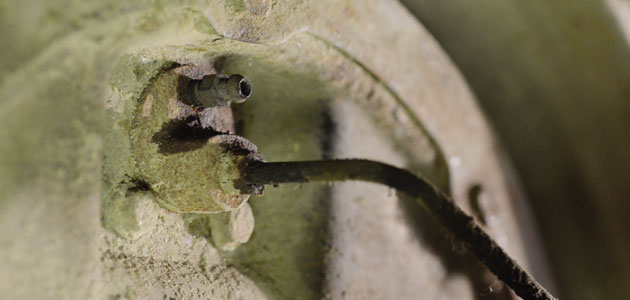
Removing brake bleeder nuts is often a lengthy, difficult and frustrating task. The nuts rust easily and, as they’re usually placed in inaccessible areas, it makes it very hard to remove them. However, help is at hand.
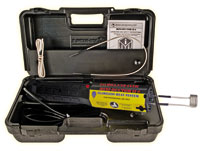 The Mini-Ductor® II + (MD800P) handheld induction heating tool, uses flameless heat that heats ferrous metal (containing iron), and some non-ferrous metal, parts in seconds. This allows all types of adhesives bonded to metal, bonded with thread lock compound and seized hardware to be removed and released much quicker and more safely than by traditional naked flame heating. Garages and technicians do not need to run the risk of using a torch which could damage brake parts, such as the brake line or pipe.
HOW TO REMOVE A STUCK BRAKE BLEEDER NUT
Users require heat resistant gloves, overalls, goggles and a respirator mask (if smoke will be produced from heating).
Step 1: Fit the correct size coil – coils come in different sizes.
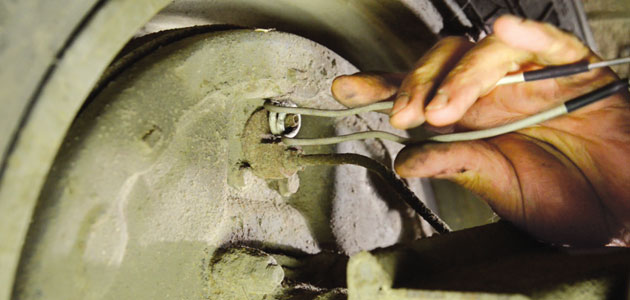
Step 2: Bend the coil to the correct shape – this makes fitting easy.
Step 3: Tighten the pre-formed coil to the Mini-Ductor II + strongly.
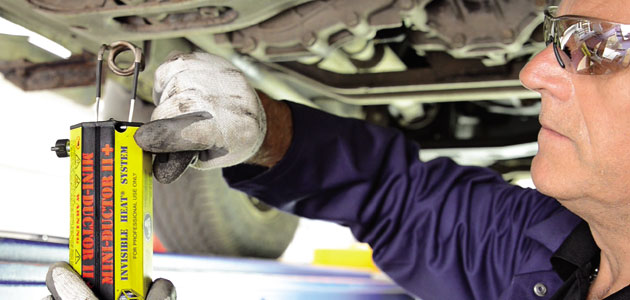
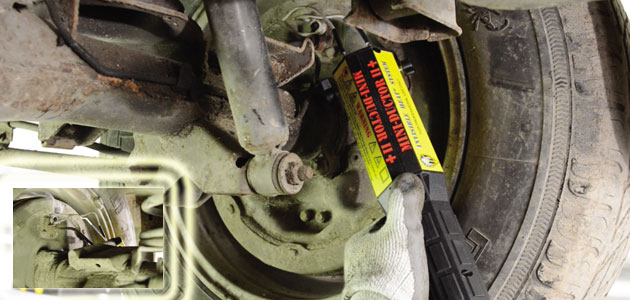
Step 4: Heat the nut until it is red hot. The nut will remain very hot so beware.
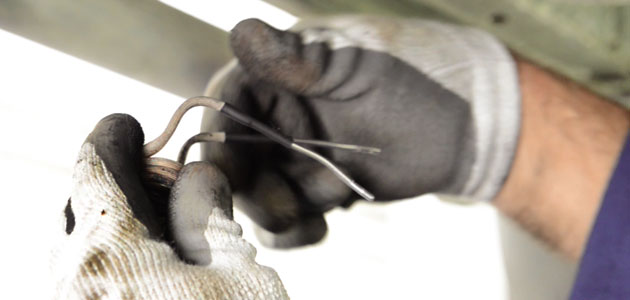
Step 5: Immediately use a selected tool to unscrew the bleeder nut. Dispose of any excessively heated hardware.

Step 6: The nut is removed easily and quickly and there’s no damage to the surrounding area.