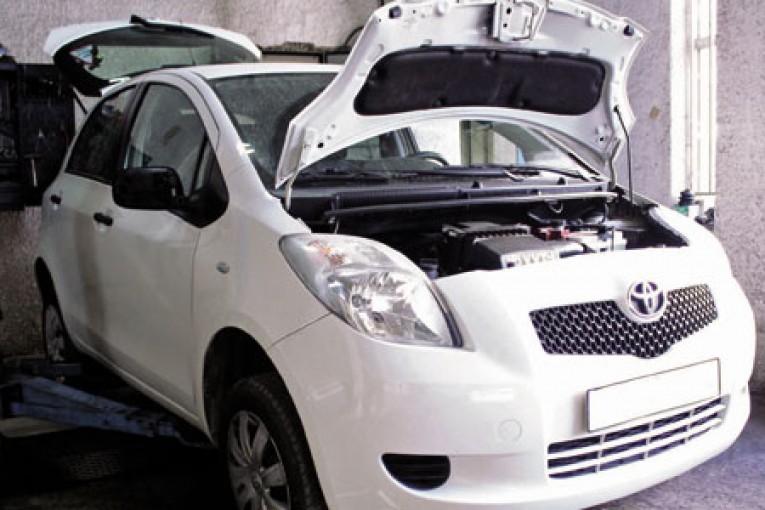
VEHICLE: Toyota Yaris 2016 1.3 VVT-I model with engine code 2SZ-FE
LABOUR TIME: 4.9 HOURS
LUK CLUTCH INSTALLED: 620317300
The first generation of Toyota Yaris was launched in 1999 and it has since gone on to become a popular city car, with the model used for this month’s clinic boasting over 150,000 vehicles on the road today. As a major OE supplier to Toyota, LuK is in a good position to offer handy hints and tips to any UK independent aftermarket garage looking to undertake this repair.
For this procedure we used a two-post ramp, a transmission jack, an engine support bridge and an alignment tool. Before starting, if the vehicle is fitted with alloy wheels then make sure that the locking wheel nut tool is available.
Start by disconnecting and removing the battery and the base plate, as this allows clear access to the top mount.
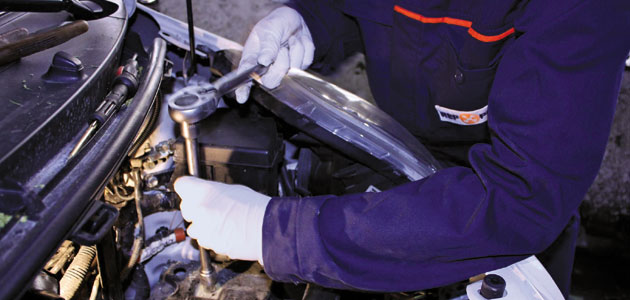
Disconnect the control links of the gearbox selector and then the reverse sensor plug.
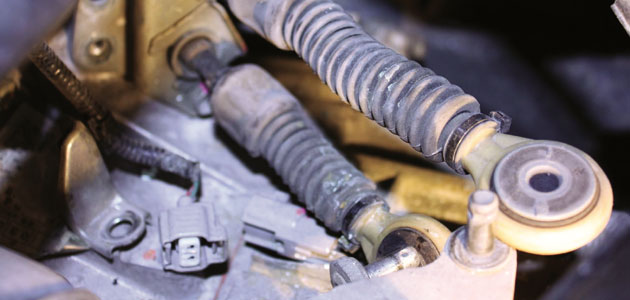
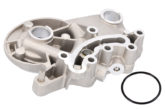
Stow the plug and links to avoid any damage and prohibit the removal of the gearbox. Install the engine support bridge and remove the top mount.
Whilst the vehicle is still on the ground, the external slave cylinder can be removed. Special care should be made as the hydraulic components do not necessarily require replacing (unless they’re damaged) so you must ensure that the components are in perfect operating condition.
During the removal of the external slave cylinder take care not to damage the protective rubber boot and the flexible and rigid sections of the hydraulic pipes; any damage to these will constitute replacement of the parts.
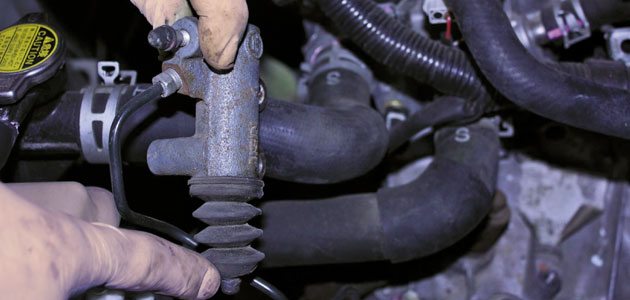
Stow clear from the working area so they do not get caught or tangle when removing the gearbox.
Lift the vehicle and remove both front wheels and engine undertray. You should then drain the gearbox oil. Starting on the nearside, remove the drive shaft nut, remove the bottom ball joint fixing and, using a lever, extract the bottom ball joint from its position. Carefully knock the drive shaft out of the hub and, taking extra care not to damage the oil seal in the gearbox, remove the shaft completely.
Follow this procedure on the off side as well.
Support the gearbox using the transmission jack and remove the bottom mount.
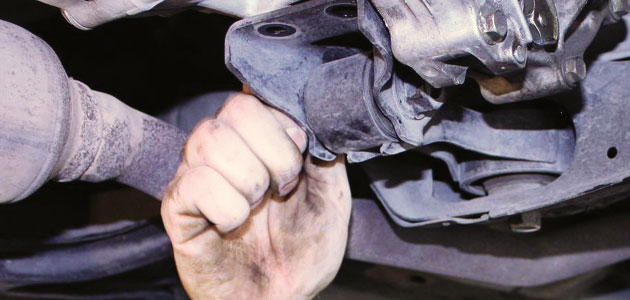
Remove the bell housing bolts and starter (these do not cause much difficulty) and the gearbox is then ready to be lowered to the floor.
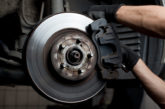
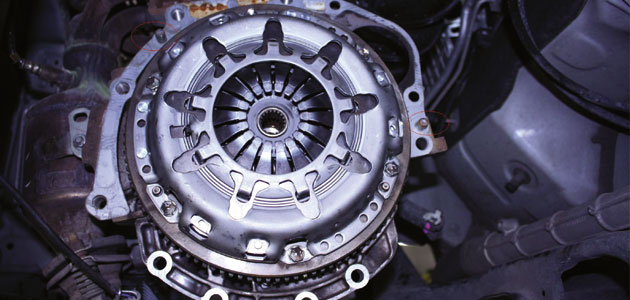
Unbolt the old clutch from the flywheel and check the flywheel for thermal stress and wear.
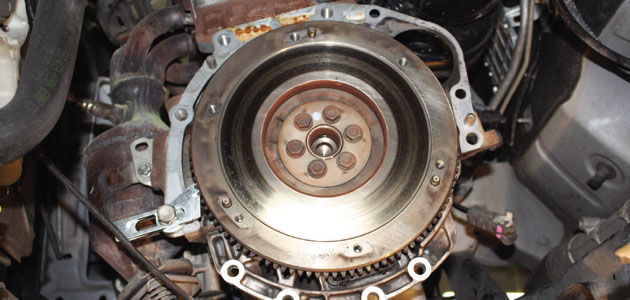
Clean the first motion shaft splines and any debris from the bell housing (especially important when a release bearing has failed). It is also important to check the condition of the release fork as any wear in the fork, cross shaft and bushes will prematurely wear the clutch.
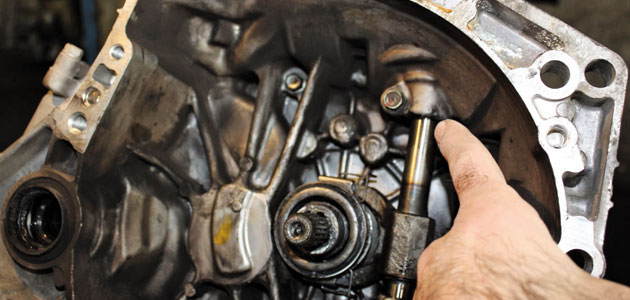
Put a small dab of high melting point grease (not a copper-based product) on the first motion shaft splines and make sure the new driven plate slides freely back and forth. This not only spreads the grease evenly but also makes sure you have the correct kit. Wipe any excess grease off the shaft and driven plate hub. Using a universal alignment tool, and checking the driven plate is the correct way round (note “Getriebe Seite” is German for “Gearbox Side”), the clutch can be bolted to the flywheel evenly and sequentially.
Grease the fork joint and refit the new release bearing. Before fitting the gearbox make sure the locating dowels are in place and not damaged. Refit any that have become dislodged and refit the gearbox. Make sure the gearbox bell housing bolts are secured before lowering the jack. Refitting is the reverse of the removal.
For the latest in online support log on to www.repxpert.com.
MEET THEM AT MECHANEX
Schaeffler Automotive Aftermarket’s three quality brands – LuK, INA and FAG – will all be in attendance throughout 2016 at our MECHANEX trade shows.
Offering visitors the opportunity to talk to Schaeffler’s group of experienced experts who will be on hand to offer helpful demonstrations and workshop hints, attendees can also find out about the latest technologies that will soon be appearing in their workshop.
More details about our 2016 calendar of events can be found on the MECHANEX website.