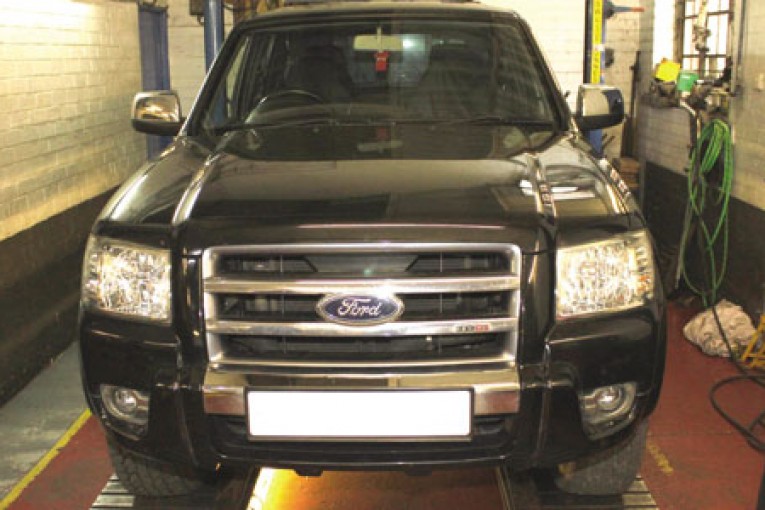
VEHICLE: Ford Ranger
LABOUR TIME: 4 HOURS
LUK P/N: DMF (415041010), DMF BOLTS (411019410), CLUTCH KIT (625305100)
With over 20,000 vehicles on the road the Ford Ranger is among the new breed of ‘company’ vehicles for builders, farmers and our own version of the ‘Baby Boomers’ in the USA, where a generation grew up wanting a big pick up!
The huge gearbox on the 4 x 4 should not put you off as long as you have a ramp, a couple of transmission jacks and a serious attitude towards health and safety. Indeed, it is fairly easy to change the clutch and Dual Mass Flywheel (DMF), if necessary.
The first thing to do is to get under the bonnet and disconnect the battery; as the starter motor is left to do its thing later this is the safest option. In the cab the clipped-in centre console needs removing, together with the two screws retaining the gearstick grommet plate.
After selecting Neutral and lifting the second grommet, remove the six bolts retaining the gear sticks, noting which one goes in which hole (although it’s difficult to get it wrong).
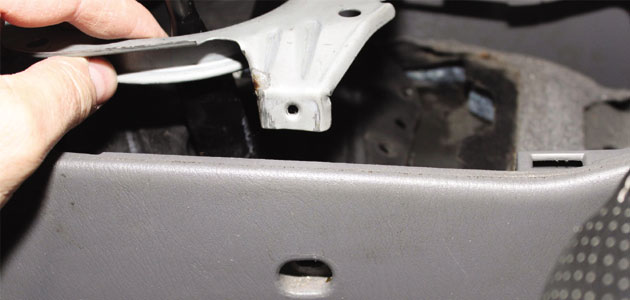
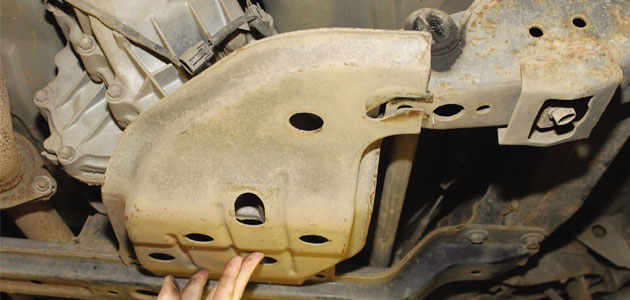
With the vehicle in the air remove the front metal undertray and the transfer box protection plate.
Mark the propshafts to the flanges, as we don’t want to introduce a balancing issue that was not there before. Undo the rear propshaft at the gearbox, remove the centre bearing and stow/support the propshaft to one side. Undo the bolts and remove the front propshaft completely.
Disconnect as much of the gearbox harness as you can, but you may need to come back to some of the higher connections when you lower the gearbox back-end a little. Remove the bolt securing the exhaust clamp to the gearbox bracket and remove the bracket from the gearbox. Remove the two bolts securing the slave cylinder and stow it safely to one side.
Bolt removal
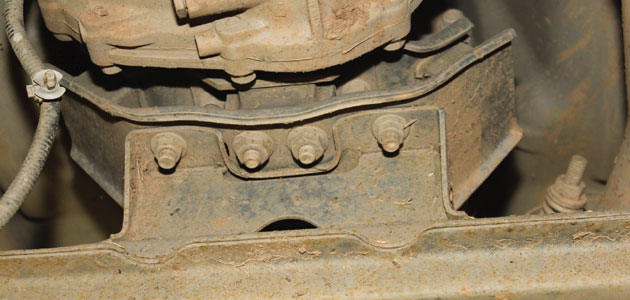
Support the rear of the gearbox with one of the transmission jacks and remove the eight bolts securing the gearbox support beam to chassis. Then remove the three bolts securing it to the rear gearbox mount (one of them is up inside the beam, but easily accessible from underneath) and remove the beam.
Slacken and remove the four bolts securing the front axle support beam to the body.
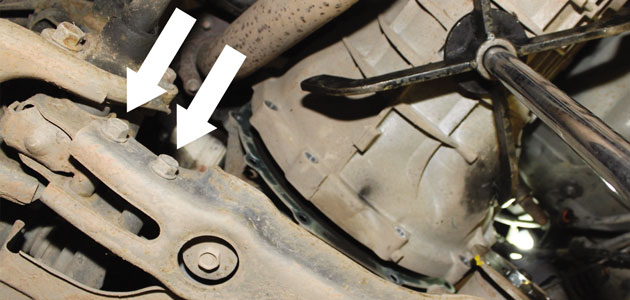
This will allow the front differential to drop a vital few inches and will ensure the differential drive flange is out of the way of the gearbox bell housing for removal.
Lower the rear of the gearbox to allow better access to the remaining harness connections.
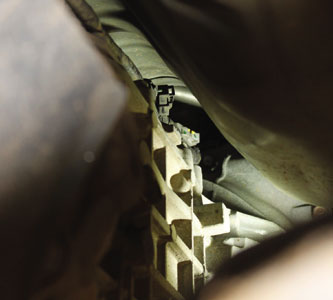
This includes the bell housing bolt that secures the harness support bracket. After disconnection and removal stow the harness clear of the work area.
Undo the three starter motor bolts and make sure the starter is free from the bell housing. Remove the remaining nine starter motor bolts; these are all the same, albeit that some have nuts. Bring the other transmission jack into position and make sure you’re happy with the positioning.
Large gearboxes – especially ones with transfer boxes sticking out of the side – present a real hazard as they do not naturally sit on two transmission jacks and are likely (or required) to rotate when removing.
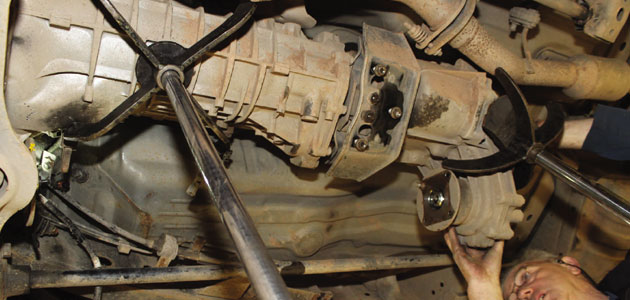
With the utmost care withdraw the gearbox – this may be tight on the dowels. Carefully lower the gearbox and make sure it is secure before continuing.
Remove the clutch and, under normal circumstances, you would test the DMF for rotational freeplay and rock. The maximum limits for this DMF are six teeth freeplay and 2.9mm of rock.Make sure this last measurement is taken precisely, rather than estimated, as DMF rock can be very misleading.
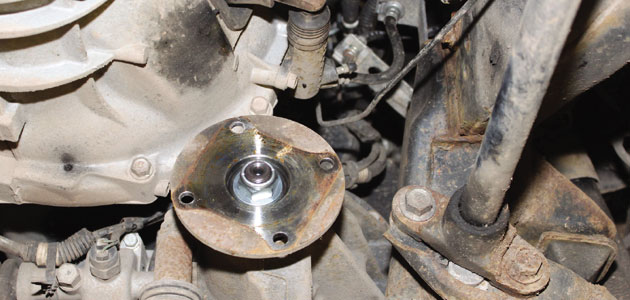
In this case the secondary mass had rotated, covering the bolts, which meant it had exceeded its torque capacity.
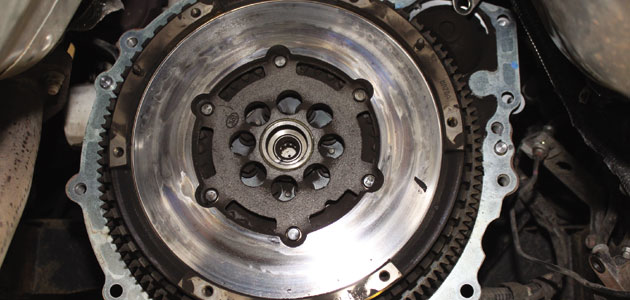
In most cases this would point to a chip-tuned vehicle but, in this example, we knew the vehicle had a gearbox seizure which would led to the same problem. Using the DMF special tool the primary mass was locked and the secondary mass rotated to expose the bolts. As the DMF was scrap we used a long bolt through the clutch fixing hole to lock the flywheel in a position where the bolts were accessible.
Check for leaks
When removed the crank seal should be checked for leaks and the spigot bearing checked and lubricated before the rebuild can begin. Check the clutch fork for damage and wear, and if the ball pivot and socket are both metal lubricate it with High Melting Point Grease (HMPG). Lubricate the splined input shaft with HMPG, slide the new driven plate up and down the shaft and then wipe off any excess.
As it’s a Self Adjusting Clutch (SAC) the new clutch should be pre-loaded to the flywheel before fitting the bolts. This prevents any accidental distortion of the clutch cover, and guarantees no clutch judder or de-adjustment. The SAC special tool is available from the same source as the LuK clutch and DMF and will ensure a professional repair.
The rest of the assembly is the reverse of the removal, taking special care when handling the heavy gearbox.
For the latest in online support log on to www.repxpert.com.
MEET THEM AT MECHANEX
Schaeffler Automotive Aftermarket’s three quality brands – LuK, INA and FAG – will all be in attendance throughout 2015 at our MECHANEX trade shows.
Offering visitors the opportunity to talk to Schaeffler’s group of experienced experts who will be on hand to offer helpful demonstrations and workshop hints, attendees can also find out about the latest technologies that will soon be appearing in their workshop.
More details about our 2015 calendar of events can be found on the MECHANEX website.


