
A full clutch replacement guide for a Vauxhall Corsa 1.2 Petrol (Z12XEP) from the experts at Schaeffler Automotive Aftermarket.
The Vauxhall/Opal Corsa (also known as the Corsa B), launched in the UK in 1993, and is still proving to be a familiar sight on today’s roads. Available with five different engine variations and a range of trim options, it became one of the UK’s most popular ‘Superminis’.
LUK PART NUMBERS USED: CLUTCH KIT – 620309033
The vehicle that the LuK technicians will be looking at in this article is a 2007 model with a 1.2 (Z12XEP) petrol engine. The clutch replacement time is listed as 3.9 hours and the clutch kit to be fitted is LuK reference 620309033. The special tools to be used during the repair are an engine support beam, a transmission jack and a clutch disc alignment tool.
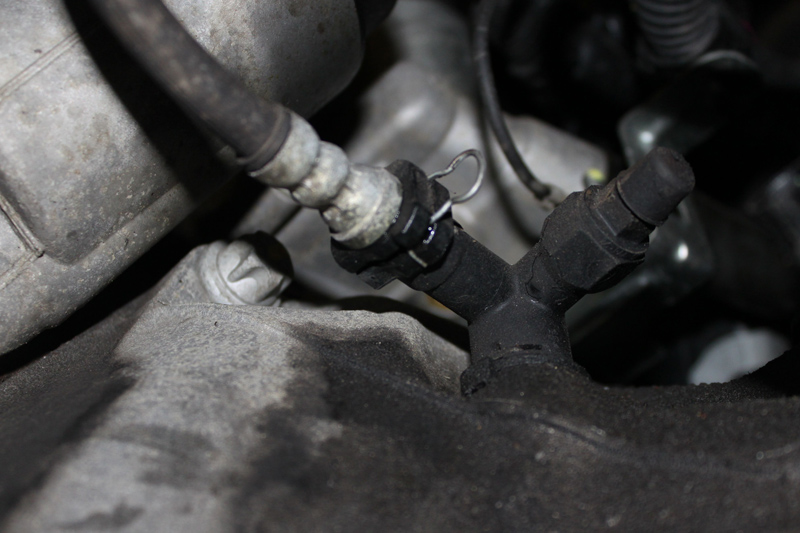
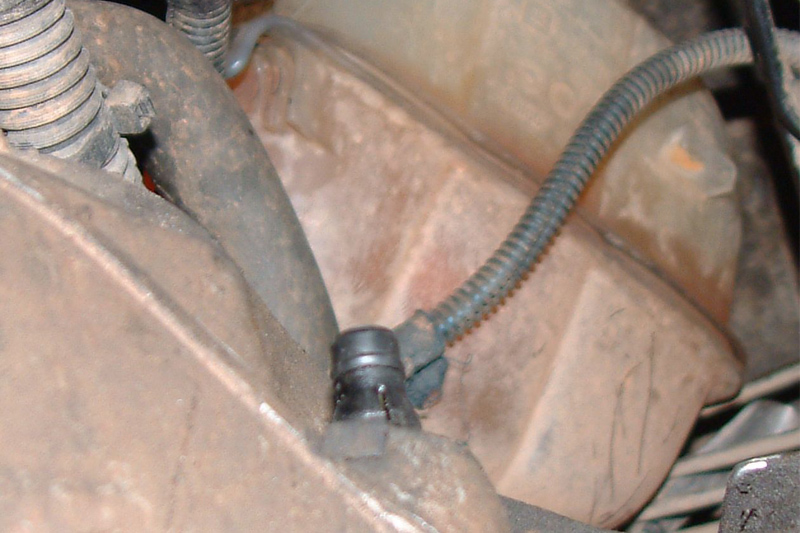
Before starting, make sure you have the locking wheel nut to hand if the vehicle has alloy wheels. Disconnect the battery before any work is started, then completely remove the battery and battery housing to expose the top of the gearbox. Before raising the vehicle, we first have to remove the retaining clip that holds the hydraulic connector pipe into the concentric slave cylinder (CSC) and then disconnect and clamp off the flexible pipe (see below), stowing it securely out of the way so it does not impede the removal of the gearbox later. Disconnect the reverse light plug and keep safe.
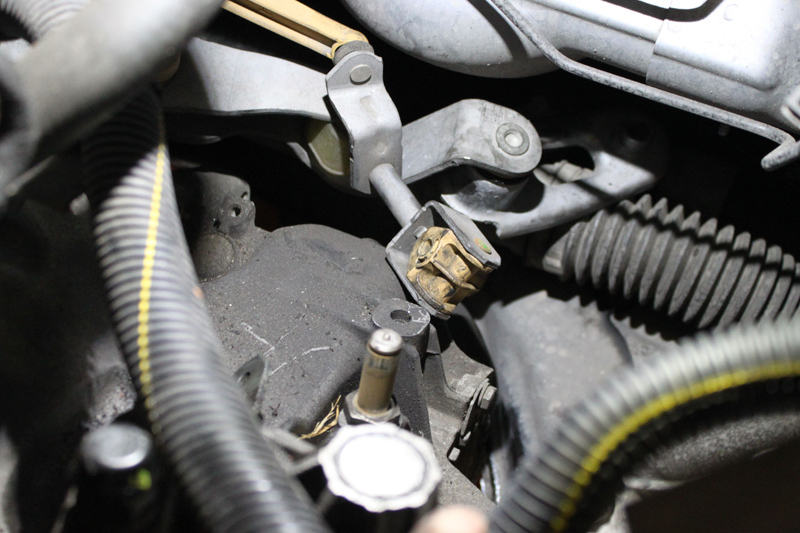
Remove the upper bell housing bolts, then disconnect the gear link arm by removing the plastic universal pin and two retaining clips (see below).
Make sure the gear link arm is stowed securely out of the way. Install the engine support beam before removing the top gearbox mount and also the bracket from the gearbox.
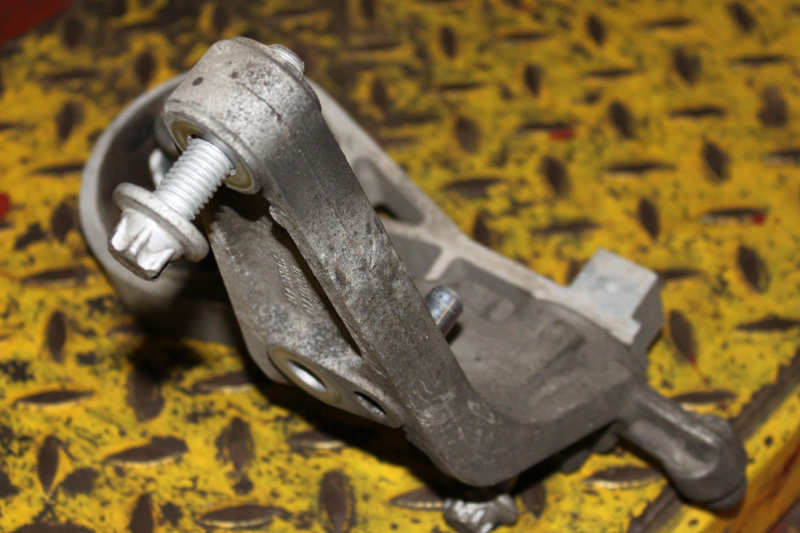
Raise the vehicle to waist height then remove both front wheels and the nearside wheel arch liner, then unbolt and disconnect both drive shafts and separate from the wheel hub assembly. Unbolt and split the bottom ball joints on both sides. Drain the transmission oil by removing the sump pan from the gearbox. Remove the torque support and bracket (see below).
Normally, the subframe would need to be removed completely to aid gearbox removal, but it is possible to just loosen the subframe and lower it slightly, which is what has been done here. We have then raised the vehicle again, but only to lower the gearbox and engine slightly to make it easier to remove the gearbox when ready.
With the vehicle raised, use the transmission jack to support the gearbox and then remove the remaining bell housing bolts.
Carefully lower the gearbox with the transmission jack to the floor. Remove the old clutch from the flywheel and check the flywheel for any signs of heat stress or excessive wear.
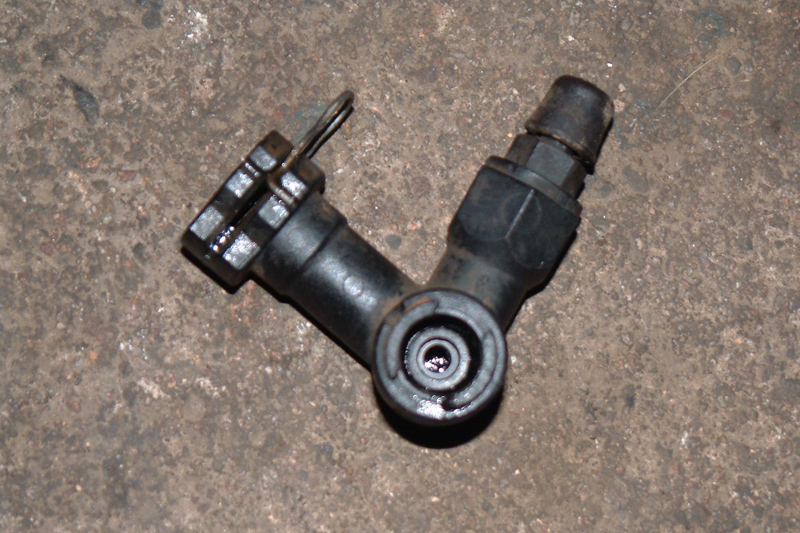
The CSC can now be removed from the gearbox, which, in this case, has a metal pipe. The plastic retaining clip securing the old CSC (see below) can be removed and discarded as it will not be required when fitting the new CSC. Check the top CSC pipe and you should find a small black seal (see below).
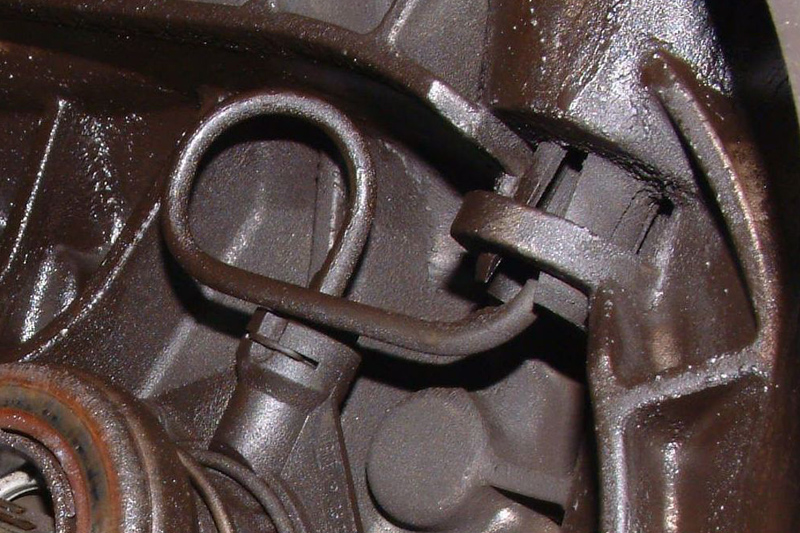
If it is not visible, then it will be inside the main hydraulic pipe connection (see below) and must be found and discarded, as it can cause problems with the new components if left in place.
Clean any debris from the bell housing and the first motion shaft, then install the new ‘O’ ring seal in the bell housing before bolting the new CSC into place, making sure to use the correct vehicle manufacturer’s torque values. The new connection adapter now clips into place where the old black retaining clip used to sit, and it will click together into the CSC.
“Normally, the subframe would need to be removed completely to aid gearbox removal, but it is possible to just loosen the subframe and lower it slightly.”
Put a small dab of high melting point grease (not copper-based) on the first motion shaft splines and make sure the new driven plate slides freely back and forth. This not only spreads the grease evenly but also confirms that you have the correct kit. Wipe any excess grease from the shaft and driven plate hub, then use a universal alignment tool to check that the driven plate is the correct way around (note ‘Getriebeseite’ is German for ‘Gearbox Side’). The clutch can then be bolted to the flywheel evenly and sequentially.
Make sure that no dowels have become dislodged or damaged, replacing any that have been. Install the gearbox and make sure that the bolts are secured and all mountings are refitted before removing the supporting transmission jacks. Refitting the rest of the components is the reverse of the removal, and we also advise that the hydraulic system is flushed and refilled with clean fluid.


