
It’s hard to believe that the first Honda Civic was introduced way back in 1972 – amazingly that’s almost 40 years in production! The Civic has proved a popular purchase in the UK after gaining a reputation for reliability and quality. In this technical article we’re going to take a look at the seventh generation Civic (2000-05) which in the UK has sold a massive 139,000 models and, as a result, is now a popular sight in the aftermarket scene.
A clutch replacement on the Civic can be a little tricky but with the guidance of LuK the whole process will become much easier. Nothing out of the ordinary is needed to complete the job, the only special tools required are a transmission jack, an engine support cradle and a long axle stand. A twopost ramp was used in this example, however a four-post ramp may not provide enough clearance.
For safety reasons its considered best practice to disconnect the battery earth lead before commencing work. If the vehicle has alloy wheels it may be fitted with anti-theft wheel bolts, so make sure you have the key before you start.
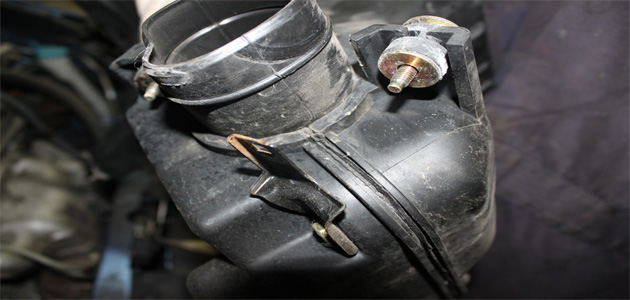
Open the bonnet and remove the battery terminals by releasing the clamps. Undo and remove the battery securing bracket and lift out the battery. Release the battery harness from the metal battery tray and unclip it from around the air intake pipe. Remove the air plenum chamber and the flex pipe, making sure you have removed the attached hidden clip (pictured below).
Remove the springs retaining the gear shifting cables. Then remove the clips (pictured below), securing them to the support brackets. Pull out the selector cables and stow them to one side.
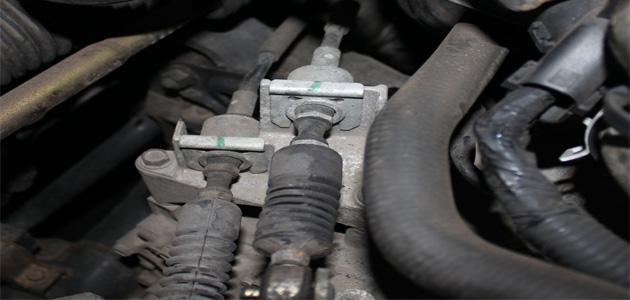
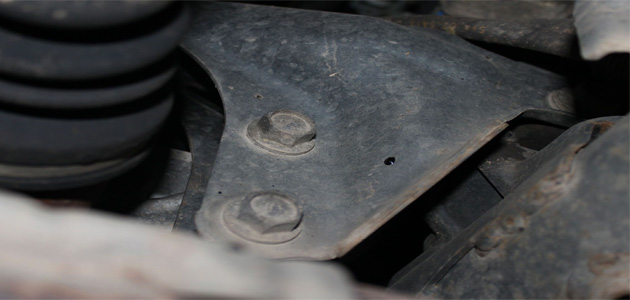
Looking at the large lifting eye bracket on top of the gearbox, release the attached wiring harness (pictured below) and disconnect the reverse light switch connector. Remove the earth point, undo the slave cylinder support bracket and stow them to one side.
Disconnect the starter motor and its attached harness and undo the upper bell housing bolts securing the gearbox.
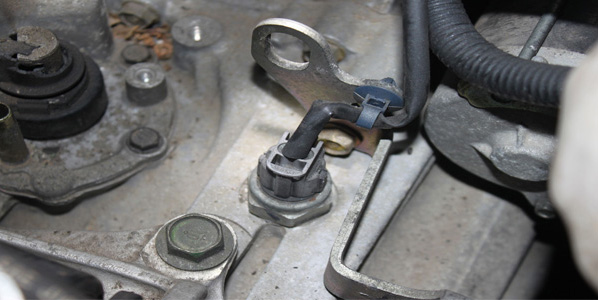
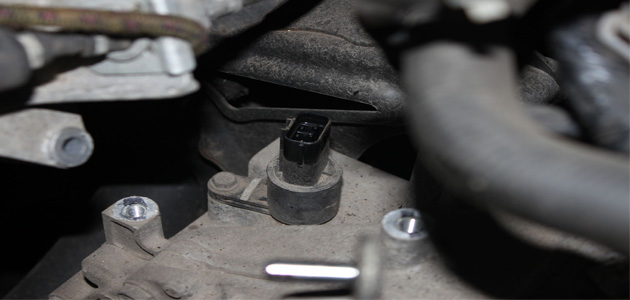
Disconnect the speedometer (pictured below) connection at the rear of the gearbox. Fit the engine support cradle then undo and release the gearbox and engine mounts accessible from above.
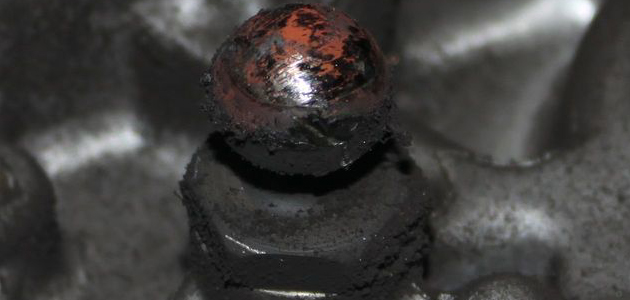
Raise the vehicle and remove the O/S front wheel. Drain the gearbox oil and undo and release the lower O/S arm. Undo the O/S hub nut and release the driveshaft from the hub and move the strut to one side. Pull out the O/S driveshaft and remove the remaining bolts from the front and rear gearbox/engine mounts (pictured below). Finally remove the lower bell-housing bolts and, with the transmission jack, support and withdraw the gearbox.
At this point the gearbox can be moved across and rested on the subframe, a suitable gap is produced which is enough to access all of the clutch components. If more access is required or the gearbox needs to be removed altogether then the subframe and N/S driveshaft will have to be removed.
With the clutch removed, check the flywheel or Dual Mass Flywheel (if it has one fitted) for signs of heat stress and evidence of grease loss. The DMF should also be tested for free play and rock between the primary and secondary masses (LuK tool number 400 0080 10 is specifically designed for this purpose on all LuK manufactured DMFs). Full instructions and tolerance data for all LuK DMFs are contained on a CD which comes with this special tool. Some vehicles (like this one) may have a release fork that operates on a ball pivot (pictured below), these components need to be checked for wear and tear and will almost certainly need to be replaced if they are found to be excessively worn.
Clean the first motion shaft splines and any debris from the bell housing (especially important when a release bearing has failed). Put a small dab of high melting point grease (not a copper-based product) on the first motion shaft splines and make sure the new driven plate slides freely back and forth. This not only spreads the grease evenly but also makes sure you have the correct kit. Wipe excess grease off the shaft and driven plate hub. Using a universal alignment tool and checking the driven plate is the correct way round (note “Getriebe Seite” is German for “Gearbox Side”) the clutch can be bolted to the flywheel evenly and sequentially.
Before fitting the gearbox make sure the locating dowels are in place and not damaged. Refit any that have become dislodged and refit the gearbox. Make sure the gearbox bell housing bolts are secured before lowering the jack. Refitting is the reverse of the removal.


