A clutch replacement can be a little tricky on a Freelander, so with some guidance from LuK, this handy technical guide should prove its worth for any UK independent aftermarket garage looking to undertake this repair.
No special tools are required for the replacement, and we used a two-post ramp and two transmission jacks for this example. If the vehicle is installed with alloy wheels then ensure that the locking wheel nut tool is available before any repair is started.
Battery securing clamp
Remove the top battery cover, disconnect the battery terminals and stow safely. Remove the battery securing clamp and lift out the battery. Disconnect the mass air flow (MAF) sensor switch from the air filter box and stow.
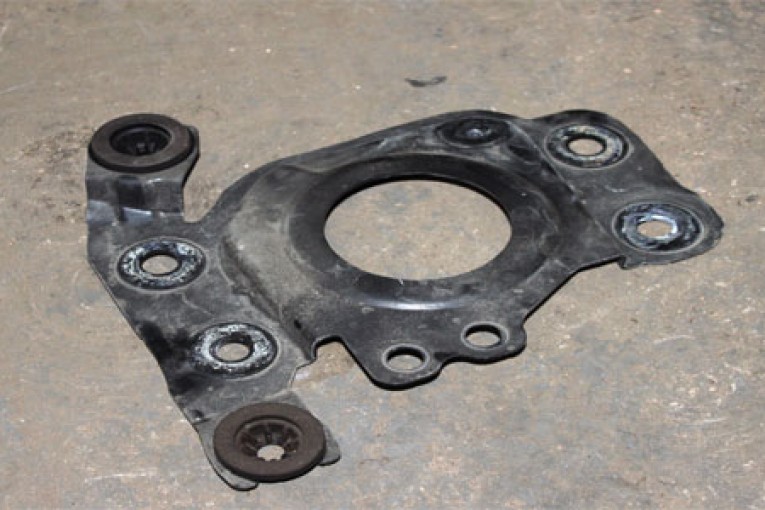
Remove the air filter box and battery housing and remove the support plate (Fig 1 below).
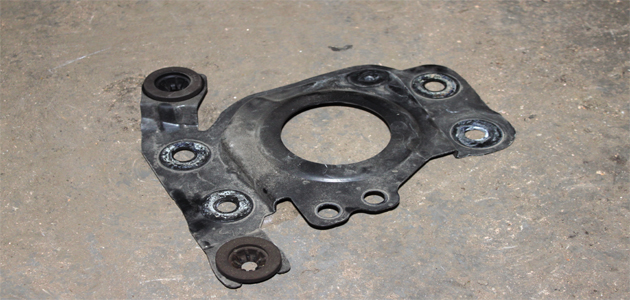
(Fig 1)
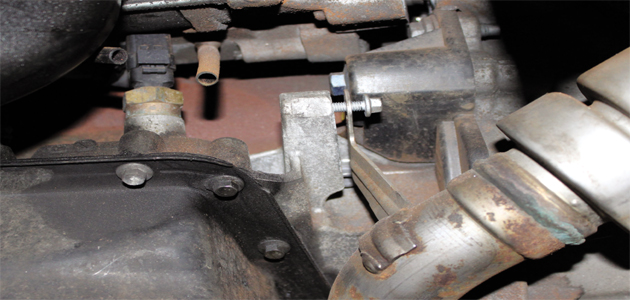
Detach the gear linkage cables from the link arms and remove from the bracket and stow. Disconnect the two switches from the gearbox and stow (Fig 2), before disconnecting the hydraulic pipe from the gearbox.
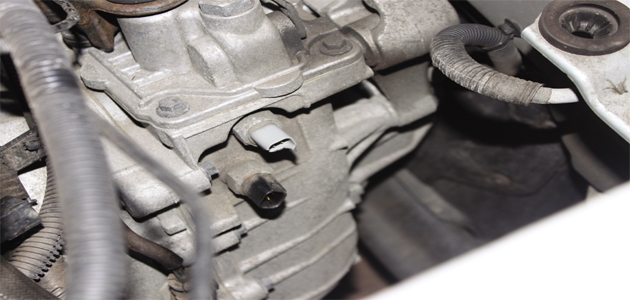
(Fig 2)
Remove the two accessible bell housing bolts from the top and also the three starter motor bolts; one of the bolts from the starter motor also holds a bracket for the wiring harness. Stow safely with the use of a cable tie.
Raise the vehicle and remove both front wheels. Drain the gearbox oil and remove four screws – two each side – from underneath the front bumper, as this holds the bottom section of the wheel arch liner.
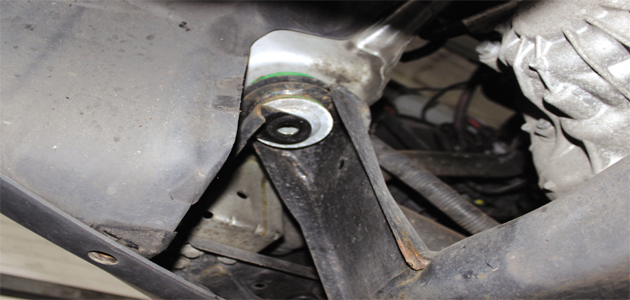
Remove the lower section wheel arch liner that is held in place by four nuts – two each side. Undo and release the lower suspension arm links on both sides. Remove four bolts – two each side – through the subframe to release the anti-roll bar (Fig 3) and undo two more bolts – one each side – through the subframe that secures the steering rack. Secure the steering rack using cable ties.
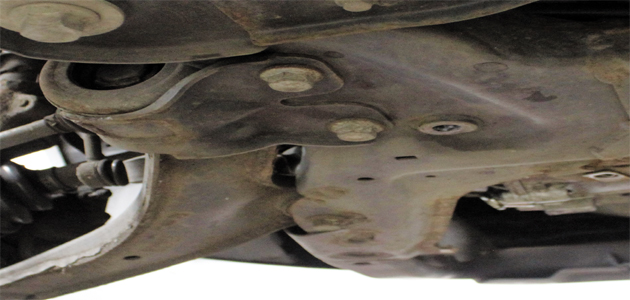
(Fig 3)
Detach the exhaust from the exhaust hanger. Remove the rear cross member and disconnect the fuel pipes from the bracket on the subframe. Using two transmission jacks, support the subframe. Remove two bolts – one each side – that hold the front of the subframe; there is also a bracket but this doesn’t need to be removed (Fig 4). Undo all the remaining subframe bolts and carefully lower and move away from the work area.
(Fig 4)
Jubilee clips
Remove the steel section of the intercooler pipe by removing the bolt from the front bracket (Fig 5) and the nut from the rear bracket (Fig 6).
(Fig 5)
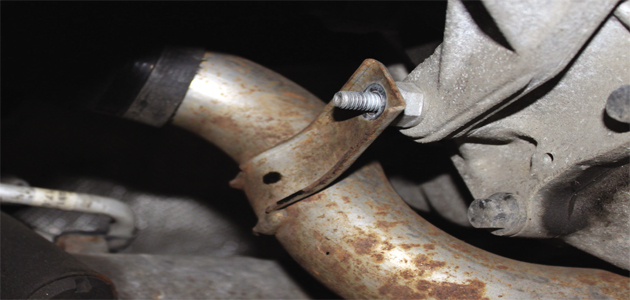
(Fig 6)
Undo the jubilee clips securing the rubber pipe section and detach. Undo the drive shaft bolts on both sides and detach the drive shaft sections from the wheel; you’ll have to remove a bracket holding the right hand side driveshaft in place – this is located on the lower engine/subframe mount (Fig 7).
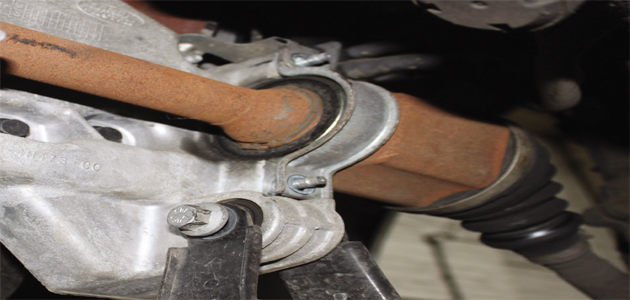
(Fig 7)
Detach the drive shaft sections from the transmission and the engine/subframe mount can now be removed to allow access to the transmission box. Undo the prop shaft bolts and detach from the transfer box. Remove the breather pipe and undo the seven bolts securing the transfer box, before lowering.
Remove the starter motor bracket and three remaining bell housing bolts. Disconnect the earth cable from the gearbox (Fig 8) and, finally, remove the gearbox mount. Carefully lower the gearbox to the floor.

(Fig 8)
Remove the worn clutch cover and clutch plate. In this example the dual mass flywheel (DMF) was also replaced with the clutch and bearing; however, in most cases, you have no need to replace the DMF, as this can be checked whilst on the vehicle for signs of heat stress and evidence of grease loss.
The DMF should also be tested for free play and rock between the primary and secondary masses. The DMF installed on this vehicle has a rotational free play movement of 17° – o r 6 ring gear teeth – and a maximum rock movement of 2.9mm.
LuK tool number 400008010 is specifically designed for this purpose. Full instructions and DMF tolerances can be found by searching ‘DMF data sheet’ at www.schaeffler-aftermarket.com. Clean the first motion shaft splines and any debris from the bell housing, which is especially important when a release bearing has failed.
Put a small dab of high melting point grease – not a copper-based product – on the first motion shaft splines and make sure the new driven plate slides freely back and forth. This not only spreads the grease evenly, but also makes sure you have the correct kit. Wipe any excess grease off the shaft and driven plate hub.
Using a universal alignment tool, and checking the driven plate is the correct way round (note “Getriebe Seite” is German for “Gearbox Side”), the clutch can be bolted to the flywheel evenly and sequentially.
Before fitting the gearbox, make sure the locating dowels are in place and not damaged. Refit any that have become dislodged and refit the gearbox. Make sure the gearbox bell housing bolts are secured before lowering the jack. Refitting is the reverse of the removal.


