RECOMMENDED LABOUR TIME: 6 HOURS LUK PART NUMBER: 623304100
This specific vehicle is fitted with a dual mass flywheel (DMF) and a pull type clutch which, even today, can present some issues when being installed.
In addition to the Citroën C5, this guide is also relevant to some passenger car and light commercial vehicle applications from both Peugeot and Fiat. One thing to always remember, whatever the application, is that it is essential to replace the fork and pivot with each clutch replacement.
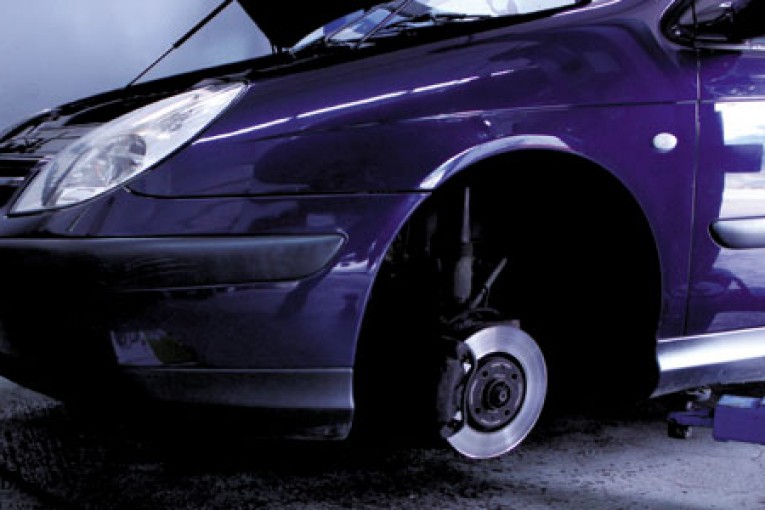
For this repair we used a two-post ramp, engine support, long axle stand, transmission jack and an alignment tool for the clutch driven plate. If the vehicle is fitted with alloy wheels then you should ensure the locking nut is available before starting the repair. For safety purposes, also disconnect the battery earth lead.
Better access
Remove the engine covers, disconnect the air filter hoses, remove the air filter housing and base plate and the electronic multi-plugs. The auxiliary fuse box should be removed to allow better access to the top of the transmission. Disconnect the gear change cables from the gear change selector mechanism on the top of the gearbox and then remove the mechanism.
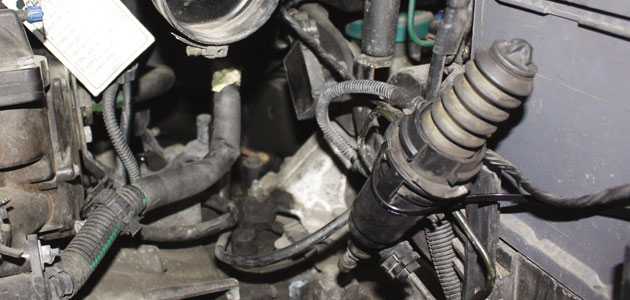
The slave cylinder is removed next and should be carefully cable-tied clear to one side (there is no need to disconnect the hydraulic pipe).
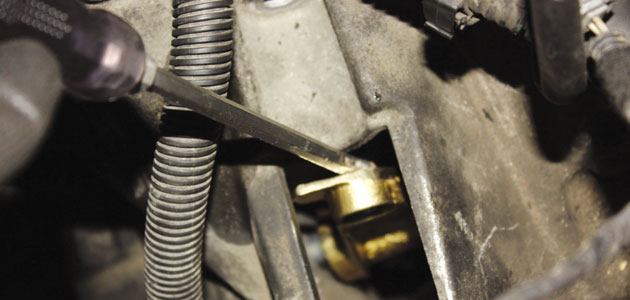
Remove the starter motor, top bell housing bolts and the gearbox mounting and bracket. Disconnect the speedo and reverse light multi-plugs and then install the engine support beam.
Remove the wheel arch cover
Raise the vehicle, remove both front wheels and carefully pull the ABS and brake pad warning sensor wires from their securing rubbers on both sides. Remove the wheel arch cover from the O/S. From under the vehicle remove the engine undershield and disconnect both bottom ball joints and separate. Drain the gearbox oil, remembering to replace the drain plug afterwards.
Remove the pipes from the intercooler to the turbo and their securing brackets attached to the gearbox. Remove the gearbox inspection plate and the three bolts for the gear linkage support bracket.
You should then disconnect the brackets securing the air conditioning hoses and stow clear to one side.
Carefully pull the O/S drive shaft out of the gearbox, undo the N/S drive shaft bearing support and pull the drive shaft out of the gearbox.
Slacken the two sub frame bolts on the O/S and remove the two bolts on the N/S. Support the gearbox with a suitable gearbox jack and then disconnect the remaining bell housing bolts (with this pull type gearbox the release fork will separate from the bearing when the gearbox is removed). The gearbox can then be gently lowered to the floor by rotating slightly to allow it to clear the sub frame.
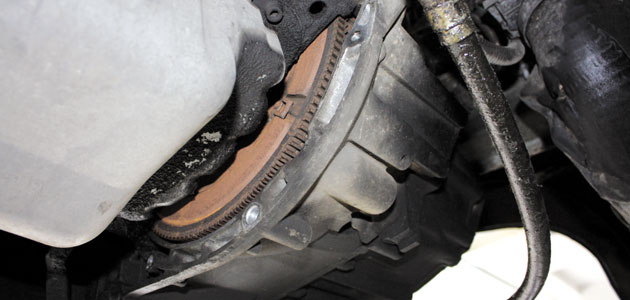
It is important to note that the old release bearing will be attached to the pressure cover and this is where most will go wrong as the new release bearing, prior to fitting the new clutch, will be pushed into the clutch cover. This should never be the case. The release bearing MUST be installed to the release fork first.

On this model it is necessary to check the serviceability of the DMF. There should be no more than 15 – 30mm of free rotational movement between the primary and secondary masses. If there is any movement greater than this, or no movement at all, then it is recommended that the DMF is replaced. On this occasion the radial tolerance was within specifications but the axial tolerance (1.6mm is allowed) was outside its limit (2.1mm) so the DMF was replaced.
Refitting the gearbox is the reverse of removal, however the new release bearing will have to be attached to the new release fork. Do not locate the bearing back into the cover.

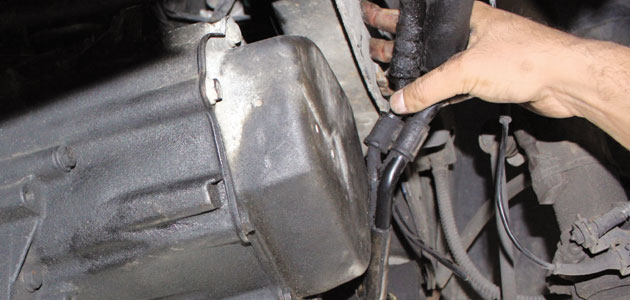
With the gearbox back in place the release bearing can then be snapped into the cover with the aid of an appropriate lever through the clutch cylinder aperture.
You should hear a nice healthy ‘click’ as the bearing locates into the clutch cover. To ensure the bearing is connected fully, carefully operate the fork with the lever in the other direction to operate the clutch. As there is no gearbox level plug, the gearbox is topped back up through the reverse plunger aperture with 1.8 litres of VM specified transmission oil.
For the latest in online support log on to www.repxpert.com.
MEET THEM AT MECHANEX
Schaeffler Automotive Aftermarket’s three quality brands – LuK, INA and FAG – will all be in attendance throughout 2015 at our MECHANEX trade shows.
Offering visitors the opportunity to talk to Schaeffler’s group of experienced experts who will be on hand to offer helpful demonstrations and workshop hints, attendees can also find out about the latest technologies that will soon be appearing in their workshop.
More details about our 2015 calendar of events can be found on the MECHANEX website.


