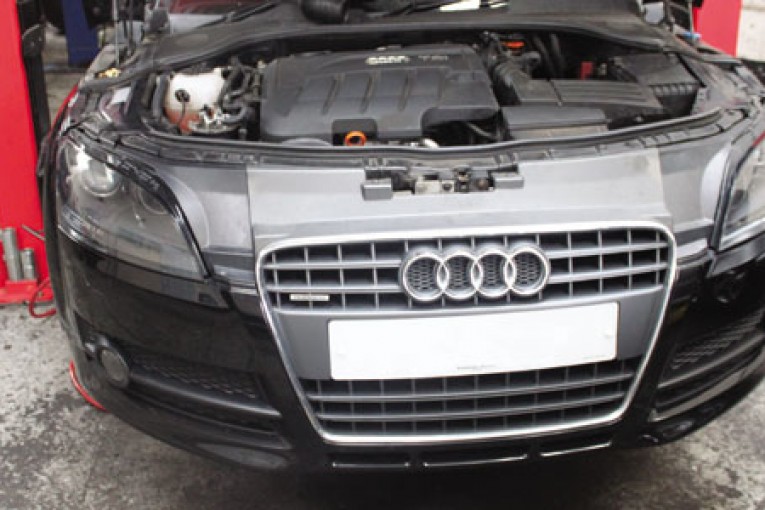
In this month’s ‘Clutch Clinic’, the experts at LuK offer some handy hints to help out any independent garages that may be faced with a clutch and flywheel replacement on the Audi TT 2.0Tdi Quattro.
The Audi TT was launched in 1998 and has proven to be a popular two door sports car in the UK. With three generations of TT, the latest being launched in 2014, available in various engine options, the likelihood of one of these arriving through your workshop doors is high.
The vehicle may be fitted with alloy wheels so before starting the repair make sure that the locking wheel nut key is available. For safety, disconnect the battery which is found in the boot. For this repair we used a two post ramp, a transmission jack and an engine support beam.
Install the engine support beam
Remove both front wheels to begin with, then disconnect the sensor switch from the air filter housing and vacuum pipe and remove the air filter housing as a complete unit. Finally remove the air filter housing bracket. Install the engine support beam, applying slight tension to hold the engine and gearbox.
Remove the three top gearbox mount bolts and mounting bracket, as this restricts the gear link cables from being removed.
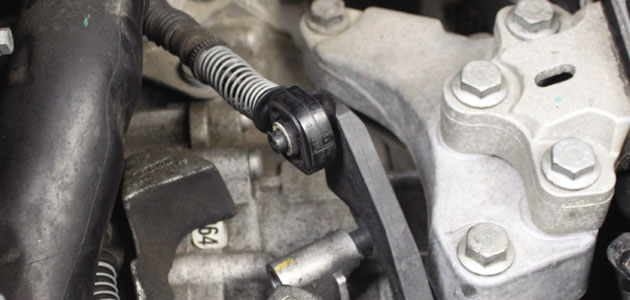
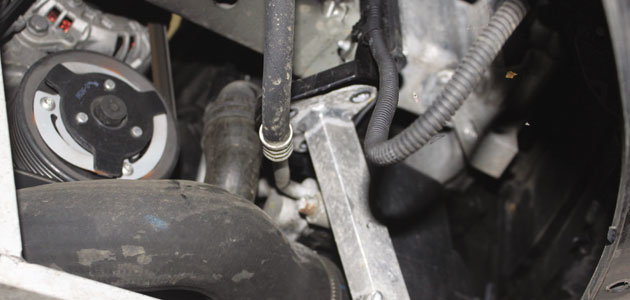
Disconnect the gear linkage cables, one is secured with a plastic clip and the other is a key way fitment held with a nut. Remove the three bolts holding the gear link bracket and slide the one linkage cable from a sleeve and stow the cables safely using a bungee tie.
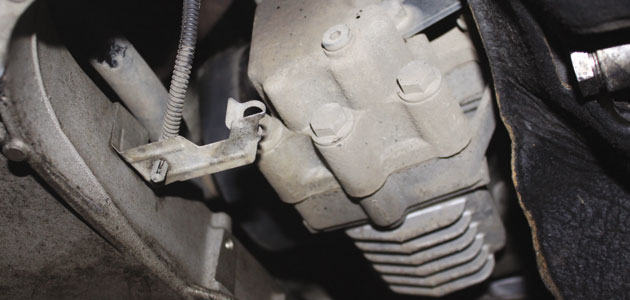
Disconnect the reverse light switch. Disconnect the clutch slave cylinder hydraulic pipe and blank and stow safely.
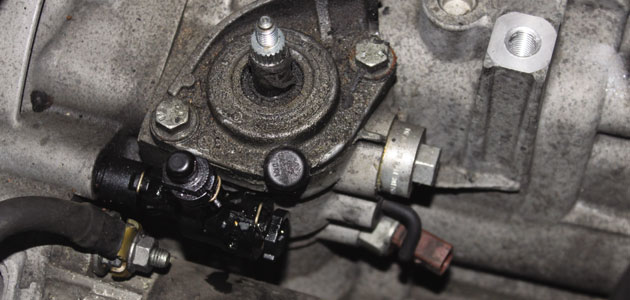
Remove the starter motor bolts, one of which holds in place the earth lead which will need to be stowed, and then remove the starter motor carefully. Remove the top two bell housing bolts and then raise the vehicle. Disconnect the oil level sensor switch and drain the transmission oil.
Remove the engine under tray liner and the front wheel arch liners from both sides. Remove the under tray framework, looking out for the difficult bolts blocked by the air conditioning hose. They are, however, accessible without the need to remove any pipework.
Disconnect the drive shaft nut and bolt configuration from the axle drive.
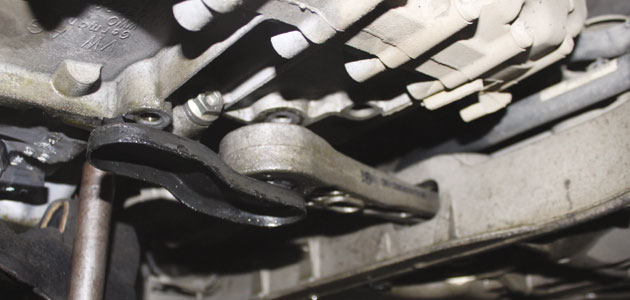
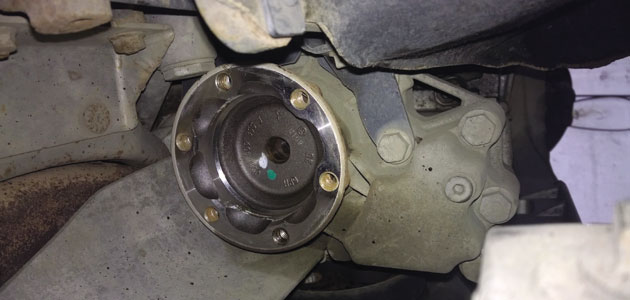
Disconnect the ball joints on both sides and remove the splined bolts (six on each side), holding the drive shafts to the drive flanges and carefully remove the drive shafts from position. Remove the rear gearbox support.
Disconnect the prop shaft from the transfer box and support the front end of the prop shaft.
In this repair we decided to leave the transfer box attached, the clearance is a little tight and it will take some patience to free the gearbox, but it will come free.
You can also disconnect the transfer box if you wish and to do this you will need to remove the five bolts holding the transfer box to the gearbox. One bolt is a 6mm Allen key bolt that is only accessible through the offside drive flange and you will need a very long extension to reach it.
Remove the clutch
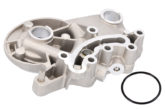
Support the gearbox with the transmission jack and remove the remaining bell housing bolts. Carefully free the gearbox from the engine and lower to the floor, taking care as it is a heavy transmission. Remove the worn clutch, concentric slave cylinder and check the dual mass flywheel.
Test for free play
In this example the dual mass flywheel (DMF) was also replaced with the clutch and slave cylinder. However in most cases you have no need to replace the DMF as this can be checked whilst on the vehicle for signs of heat stress and evidence of grease loss. The DMF should also be tested for free play and rock between the primary and secondary masses. LuK tool number 400008010 is specifically designed for this purpose. Full instructions and DMF tolerances can be found by searching “DMF data sheet” on www.schaeffler-aftermarket.com.
Clean the first motion shaft splines and any debris from the bell housing (especially important when a release bearing has failed). Put a small dab of high melting point grease (not a copper based product) on the first motion shaft splines and make sure the new driven plate slides freely back and forth. This not only spreads the grease evenly but also makes sure you have the correct kit.
Wipe any excess grease off the shaft and driven plate hub.
Fitting of the new clutch will require a special tool. The clutch is a self-adjusting clutch. After checking the spigot bearing, check the adjusting springs on the new clutch cover to make sure they are fully compressed. Fit the clutch alignment tool and locate it into the spigot bearing on the flywheel. Place the driven plate over the alignment tool, making sure the correct side is facing the gearbox (‘Getriebeseite’ means ‘gearbox side’ in German).
Bolt on the pressure plate, tightening each opposing bolt progressively around the cover until the desired torque setting is reached. Remove the special tool and fit the remaining bolts.
Refitting is the reverse of removal.
All information is supported by LuK’s experienced and highly trained technical team, available on 08457 001100. Additionally check out the latest in online support www.repxpert.com.
To see other Clutch Clinics from LuK, click here.