Full belt replacement guide for a Ford Focus C-Max, 1.6l TDCI diesel, using Dayco Kit KTBWP4930.
The 1.6L TDCi diesel engine used in the Ford C-MAX, as well as several Citroën, Mini, Peugeot and Volvo models, features a timing belt driven water pump. As replacing the belt also requires the auxiliary drive system to be removed, Dayco recommends that all the systems’ components – timing drive and auxiliary drive – be replaced at the same time.
Step-by-step process
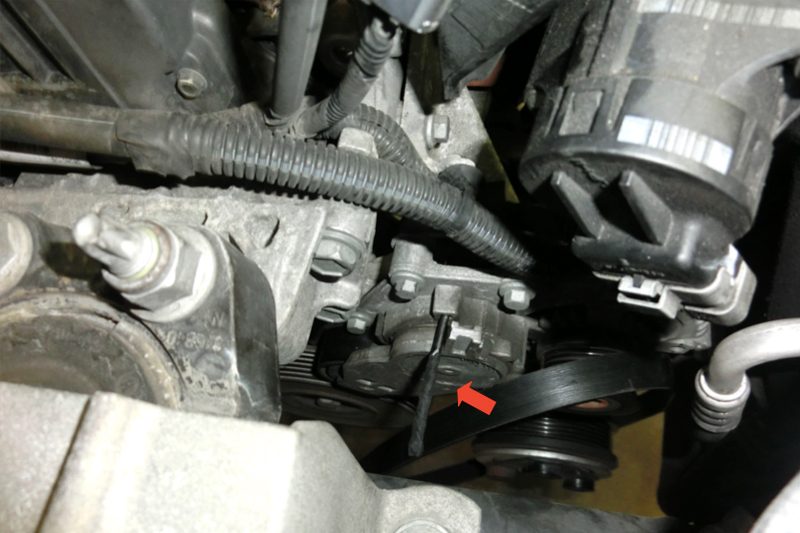
As with all primary drive system jobs, the work should be undertaken when the engine is cold, so ideally the vehicle will not have been run for at least four hours. Remove the cowling from within the front wheel arch of the driver’s side to expose the auxiliary belt system. Slacken the auxiliary belt tensioner with a spanner and hold the tensioner in position with a 6mm ∅ pin (see below) in order to take off the belt, then remove the tensioner, followed by the crankshaft pulley. This will reveal the phonic sensor, and the RPM sensor connector, which needs to be disconnected.
Remove the lower screws of the timing case and then move the coolant reservoir to one side to gain access to the engine mount, which, once the engine has been suitably supported from below, needs to be removed, along with the engine mount flange. Next, remove the upper half of the timing case, which allows the bottom half to be removed and exposes the timing drive system.
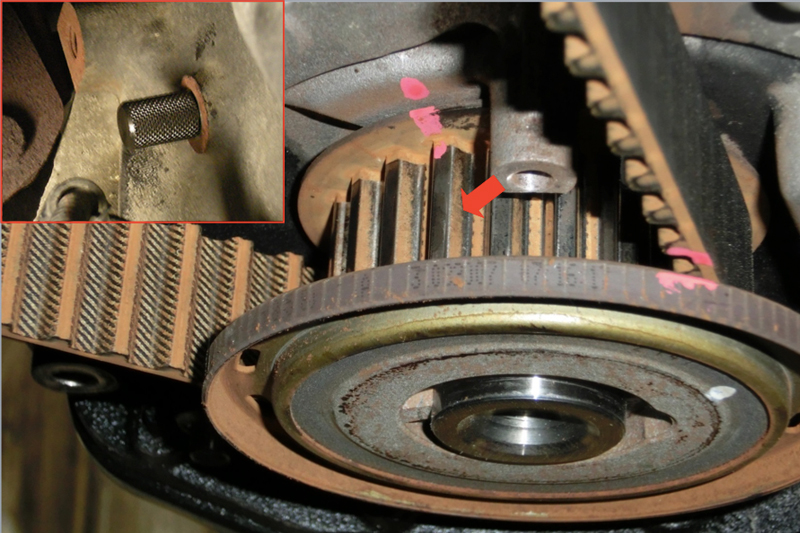
Using a suitable pin, such as a drill bit, hold the camshaft pulley in its timing position. The crankshaft timing must be carried out with a pin inserted in a hole in the engine block (see below) and as this is difficult to reach, it is wise to paint a mark on the crankshaft pinion and engine case.
Loosen the bolt on the timing belt tensioner and remove both bolt and tensioner, followed by the timing belt. Replace the idler with the new one from the Dayco kit KTBWP4930 and tighten the nut to 35Nm. Using another suitable pin, hold the fuel injection pump pulley in the correct position and then remove the water pump.
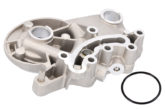
Ensuring that the cooling system has been flushed through and no debris is present, install the new Dayco water pump, complete with its seal, followed by the new tensioner, taking care to position it as shown (see below). While observing its direction of rotating arrows, install the new HT timing belt, with its slack section facing the tensioner.
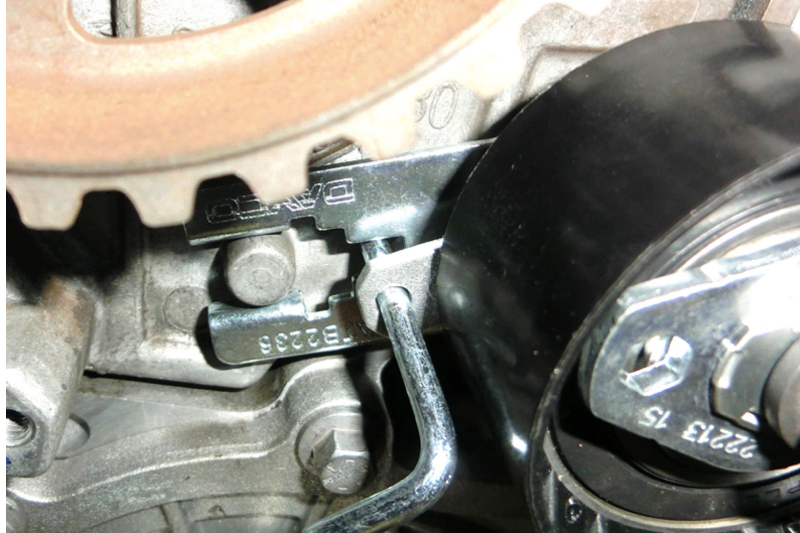
With an Allen key, rotate the tensioner anticlockwise to tension the belt correctly and tighten the bolt to 25Nm and then rotate the engine and check the timing. The correct belt tension has been achieved if the tensioner is positioned as indicated (see below). Repeat the process if necessary. Refit all the components in reverse order. Check, and if necessary, replace, the crankshaft pulley with Dayco DPV1068, the fastener for which should be tightened to 30Nm + 180°, and the auxiliary belt tensioner APV1076.

When it comes to the auxiliary belt system, it is sadly all too common for it to be overlooked, partly because it is generally very reliable, but also because few VMs specify its manitenance in their service schedules. In contrast, Dayco recommends that technicians turn their attention to the system, particularly in this situation, as the belt is already removed.
Auxiliary drive ‘Check & Change’
Unlike the previous generation neoprene rubber based belt, the EPDM formulated belt used nowadays wears very differently. Where the previous technology would gradually cause the belt to perish by cracking or chunking – when a section of the belt actually comes off – the current EPDM technology belt wears gradually, not unlike the wear to a tyre, which actually makes it more difficult to detect.
As a result, technicians should use the vehicle’s mileage as their first point of reference, which means that if the vehicle has covered 60,000 miles or more, the belt should be thoroughly inspected and if it shows any sign of damage or wear, should automatically be replaced. With this in mind, by applying the generally accepted average annual mileage of 12,000 to the latest Department of Transport figures, there are almost 18 million cars in the UK that are likely to have covered more than 60,000 miles. Therefore, the vast majority of cars that enter the workshop on a daily basis will be relevant for the ‘check and change’ rule. To help technicians correctly asses the condition of the belt, Dayco has designed the aWEARness gauge, which provides them with three ways to check whether the belt needs to be replaced or reinstalled. The two most relevant to an EPDM belt are the wear indicator bar, which highlights material loss, and the profile indicator, which reveals whether the belt retains its correct form. Both reflect the level of wear and if the belt fails either check, it must be replaced.
Wear on the belt could also indicate wear to the other components in the auxiliary drive system, which is why technicians must assess the condition of these associated parts. Particular attention should be paid to the tensioner because, in common with the timing drive system, the wrong tension on the belt can contribute to the potential failure of the drive system.
Dayco provides a ‘one-stop’ solution for auxiliary system maintenance and replacement because, in addition to its original equipment designed belts, it also manufactures tensioners, pulley and dampers, which means that technicians have the assurance that they are installing fully compatible parts. With torsion vibration dampers and water pumps also included in the Dayco offering, its auxiliary drive package is complete. For reference, the auxiliary belt for this application is 6PK975.