The 1.9L dCi diesel engine used in the Renault Laguna features a timing belt driven water pump. Since the job also requires the auxiliary drive system to be removed, Dayco recommends that you initially replace all the systems’ components (timing drive, water pump and auxiliary drive). As with all primary drive systems, the work should only be undertaken when the engine is cold.
Remove the upper insulation panel from on top of the engine and then the right-hand side panel, followed by the cowling under the right-hand wing and the panel that covers the auxiliary drive belt.
Spanner time
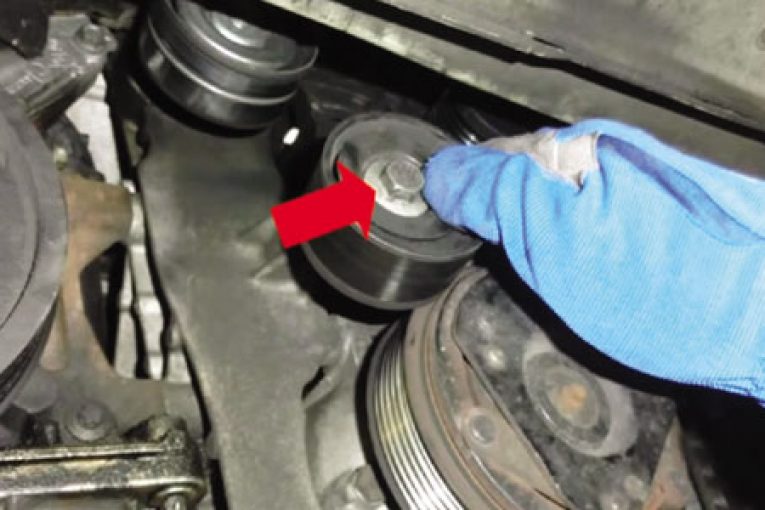
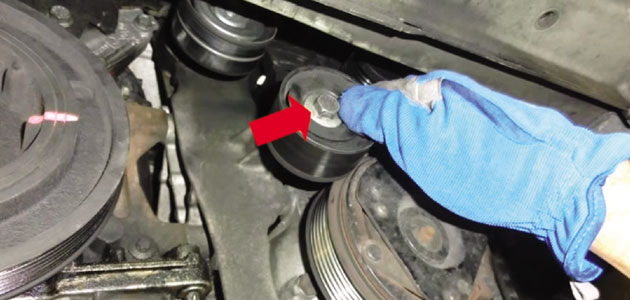
With a ring spanner, release the nut on the auxiliary belt tensioner and remove the belt, then the idler, followed by the tensioner itself and finally the crankshaft pulley.
With the auxiliary drive system now absent, remove the lower engine tie rod and, with the engine suitably supported, remove its right-hand upper support.
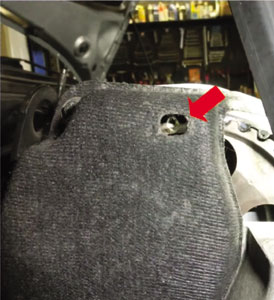
Rotate the crankshaft clockwise until the reference mark on the camshaft pulley appears in the window of the timing belt cover and, after removing the plug in the engine block, insert the crankshaft timing pin (Dayco tool number Mot. 1054) and remove the timing belt cover.
Using paint, mark on the housing behind the camshaft pulley to align with the reference mark on the pulley and then remove the tensioner idler and the timing belt, followed by the tensioner idler plate. The water pump can now be removed.
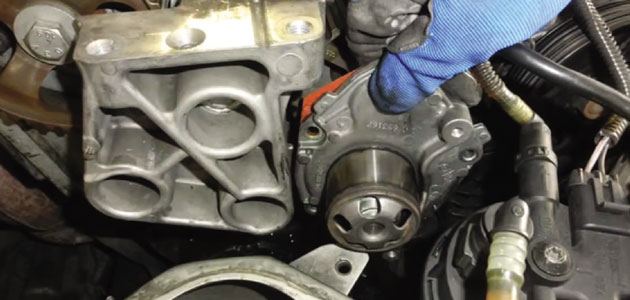
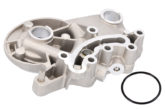
Ensuring that the cooling system has been flushed through and no debris is present, install the new Dayco water pump, complete with its seal, followed by the tensioner idler with its supporting plate, which is to be fastened to 10Nm of torque. Insert a suitable bolt in the thread hole to facilitate adjustment during the belt tensioning stage.
Rotation recommendations
Install the new Dayco timing belt according to the direction of rotation indicated on its back, with the reference point on the belt aligned with the mark on the camshaft pulley, the mark painted on the housing and the crankshaft alignment mark. Then slightly tension the belt by tightening the bolt inserted into the hole on the tensioner idler plate.
With a Dayco DTM Tension meter tool initialised with code 1252129, turn the bolt in the tensioner idler so that the instrument displays ‘OK’ when the belt is vibrated where the instrument is positioned, midway between the tensioner idler and the crankshaft pulley.
Remove the crankshaft timing pin and manually rotate the crankshaft clockwise four complete revolutions and check the position of all the timing marks. If the timing marks don’t align repeat the timing procedure. Once correct, tighten the belt tensioner idler fastener to a torque of 45Nm.
Replacing the kit
Remove the bolt used to put the initial tension on the belt and replace the plug where the crankshaft timing pin was inserted before tightening to 25Nm.
After replacing the timing belt cover, fit a new Dayco auxiliary belt, idler, tensioner and crankshaft pulley, tightening the latter to 40Nm + 110°. Then reattach the engine support and tie and finally, replace the cover, cowling and engine insulation panel.
Now watch the video: