Launched in 2002, the timing belt system on the Mazda 6 may look ominous, but with a little know-how and the appropriate tools, it will prove to be an ideal repair for any UK garage.
Engine type
The engine has been identified as an interference type so, in the event of a cambelt failure, the likelihood of engine damage is extremely high. It is important to install a new timing belt system on an engine at ambient room temperature.
Always adhere to turning the engine in the normal direction of rotation, unless advised otherwise by the OEM installation instructions. Recommended torque values should always be used, and it is recommended that all the tensioners and pulleys are replaced at the same time as the cambelt.
A two-post ramp is ideal for the work to be carried out. If the vehicle has alloy wheels fitted, then the chances are they will have antilocking theft bolts installed, so make sure that you have the key available to remove them.
Removal
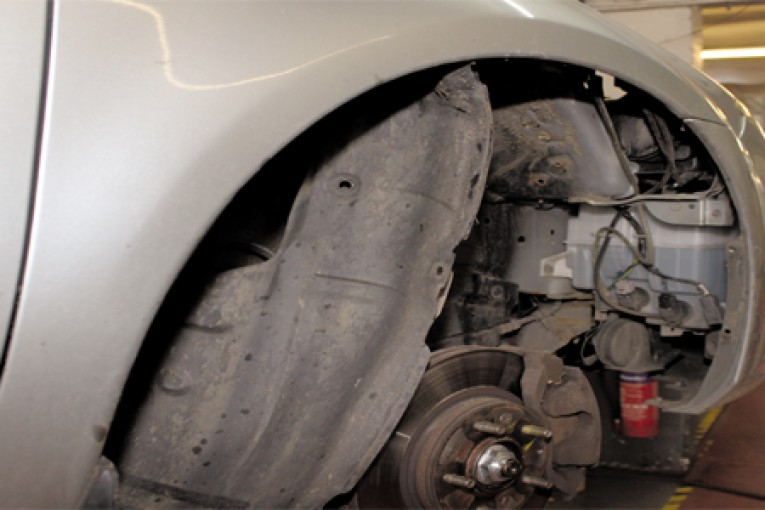
Open the bonnet and, for safety measures, disconnect the battery earth terminal. Remove the engine top cover, which is held with three 10mm nuts. Remove the RH front wheel and remove eight fixings from the front of the wheel arch liner and underneath the bumper. It is advised to remove the liner completely, but we found this not necessary as the liner can just be supported away from the work area (Fig 1 below).
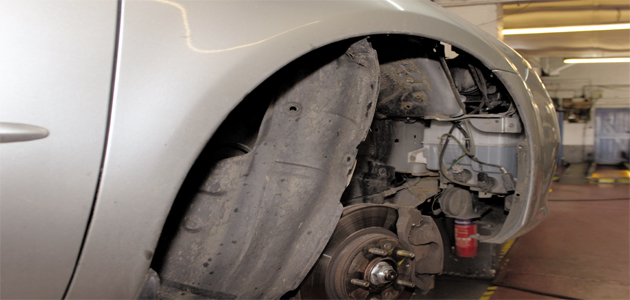
Fig 1
Remove the engine under shield and support the engine with a trolley jack. Remove the RH engine mount, which is held with two nuts and one bolt (Fig 2 below).
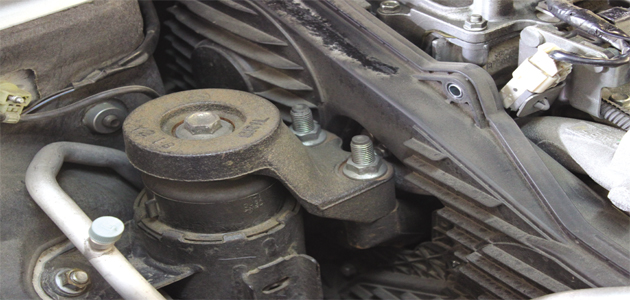
Fig 2
Remove the upper timing belt cover; this is held by seven bolts. Release the auxiliary belt tensioner and remove the auxiliary belt. Remove the crankshaft pulley cover by unclipping it from its position and unbolt the six bolts that hold the crankshaft pulley in place.
Rotate the crankshaft clockwise and align the three timing marks on the camshaft, high-pressure fuel pump and crankshaft pulley (Fig 3 below).
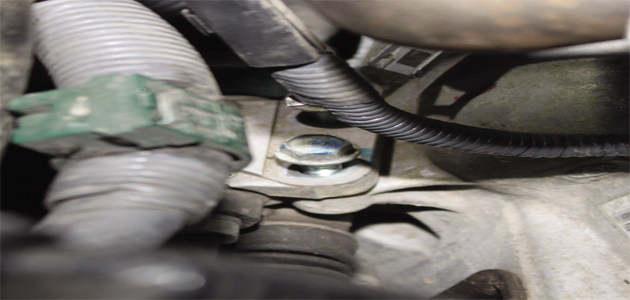
Fig 3
After alignment, install an 8mm bolt into the camshaft pulley, taking care not to overtighten the bolt as damage can be caused to the pulley (Fig 4 below).
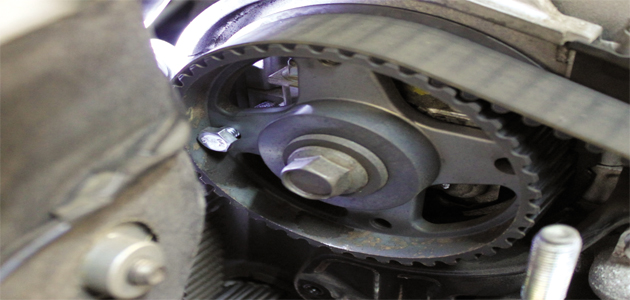
Fig 4
Unbolt the automatic tensioner retaining bolts and remove the tensioner unit from its position. Remove the tensioner pulley and bracket; this is a little tricky to get to so we used a normal allen key from underneath to remove the retaining bolt (Fig 5 below). Remove the guide pulley and, finally, the timing belt.
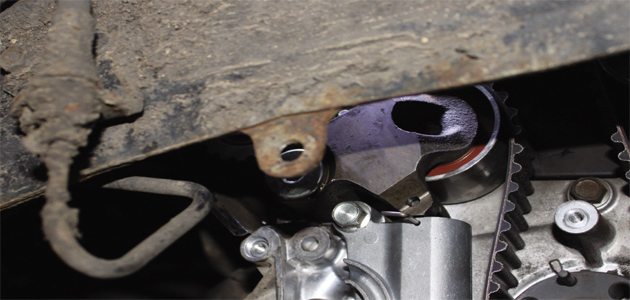
Fig 5
Installation
Install the new tensioner pulley and idler pulley, taking care to leave the green seal facing towards the wheel of the idler as this is an offset pulley and could cause the belt to misalign inside the drive system.
Verify the timing marks are correctly aligned. It is advised to use an alignment tool on the high pressure fuel pump, but in this example we could not see the benefit of using the tool. The timing marks were correct on the fuel pump pulley, so we then installed the timing belt in an anti-clockwise direction, starting from the crankshaft pulley.
Remove the 8mm bolt from the camshaft pulley and install the new automatic tensioner and two retaining bolts. Using a torque wrench, tighten to a correct torque of 25Nm (Fig 6 below).
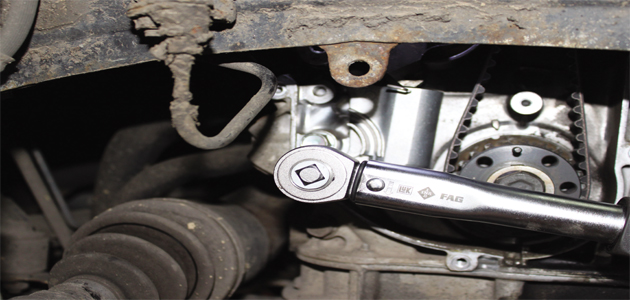
Fig 6
Remove the retaining pin from the tensioner body to release the pushrod (Fig 7 below) and rotate the crankshaft two turns clockwise. Check the timing marks are aligned on the camshaft, high-pressure fuel pump and crankshaft.

Fig 7
If they are not then the tensioning process will need to be repeated, taking extra care to compress the push-rod into the tensioner body vertically and holding in place with the retaining pin.
The installation of the remaining parts is the reverse order of removal. It is strongly advised to check the condition of the auxiliary belt and driven components for excessive wear and consider replacing them.
Finally, it is advisable to rotate the engine by hand a number of times before starting the engine, to check for any interference or noise.


